Publix Banana Pudding Recipe
In my kitchen, this Publix Banana Pudding is a creamy, no-cook dessert made with instant vanilla pudding, bananas, sour cream, whipped topping, and Publix Vanilla Wafers. The name refers to the wafers used in this homemade version; it is not a claim that this is Publix’s official bakery recipe.
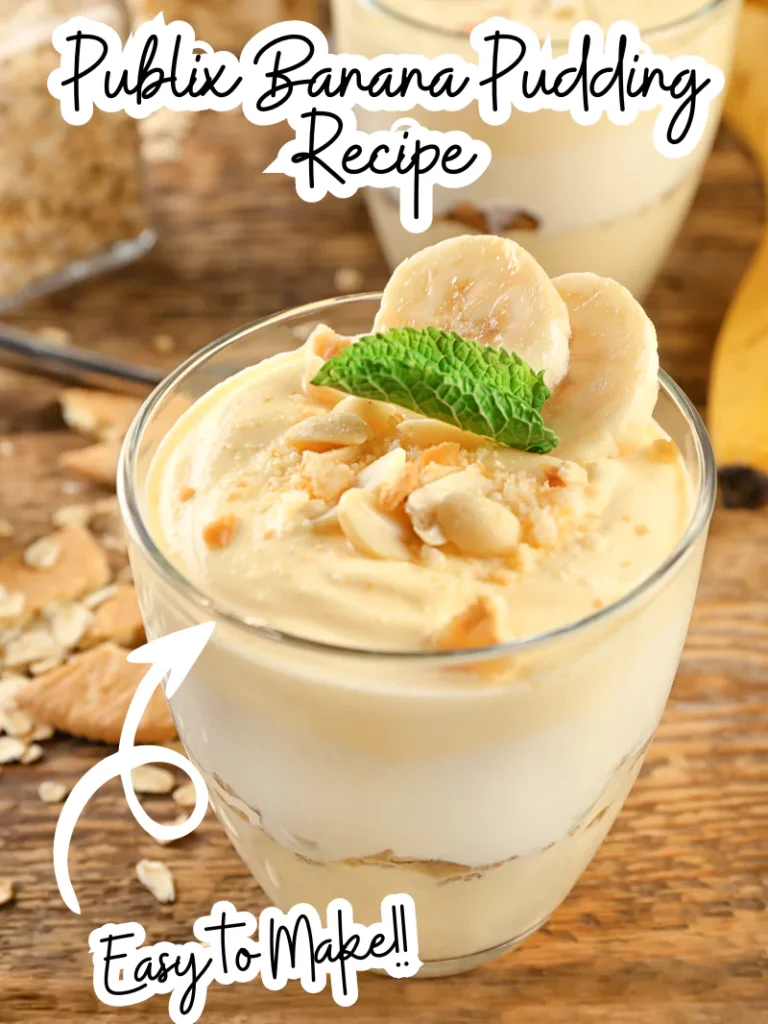
I love making this banana pudding with Publix Vanilla Wafers. It’s a tasty treat that’s easy to prepare. Sharing it with my little sister makes it even more enjoyable. We’ve given it the name “Publix Banana Pudding” because it’s become our special dessert.
The creamy pudding, sweet bananas, and vanilla wafers create a lovely mix of flavors and textures. The wafers soften as the dessert chills, while a few reserved for the top can stay crisp. Plan ahead for thawing the whipped topping and chilling the assembled pudding; the actual mixing and layering are simple.
Ingredients for Publix Banana Pudding
- 1 (6-serving) box of instant vanilla pudding mix
- 3 cups milk
- 1 cup frozen whipped topping
- 1 cup sour cream
- 24 Publix Vanilla Wafers
- 3 bananas, peeled and sliced
- Optional: peanuts for garnish
Instant vanilla pudding: Use a six-serving box intended to be prepared with 3 cups cold milk. Check both the word “instant” and the milk directions on the package before starting. A smaller box or a cook-and-serve mix will not behave the same way with these amounts. The dry mix supplies the sweetness and thickening, so there is no separate sugar in this recipe.
Milk: Measure all 3 cups carefully and keep the milk cold. Regular dairy milk is the straightforward choice for this formula. Different milk alternatives can change how instant pudding sets, so do not assume a direct swap will give the same consistency. Check your mix’s package instructions if you need a different type of milk.
Whipped topping and sour cream: “Frozen whipped topping” describes the product as sold. Thaw it in the refrigerator before measuring and folding in 1 cup. Keep it cold and fluffy. The sour cream gives the pudding a little tang and extra body; stir any liquid back into the sour cream in its own container before measuring the cup.
Bananas and wafers: Choose ripe bananas that are yellow and easy to slice, with flesh that still holds its shape. Very soft, heavily spotted bananas are better suited to banana bread. Keep the wafers dry until layering, and slice the bananas only when you are ready to assemble the dessert.
Kitchen Equipment You Will Need
As an Amazon Associate I earn from qualifying purchases.
- Large mixing bowl
- Whisk
- Silicone spatula
- Serving bowl
- Dessert cups with lids
- Measuring cups
- Chef’s knife
- Cutting board
- Serving spoon
- Lidded food container
Planning the Recipe
A silicone spatula helps you fold in the topping without beating out its air.
Use a serving bowl that comfortably holds all the ingredients, or divide the mixture among six dessert cups with lids.
Choose cups roomy enough for several layers, and have a little extra space available rather than filling them to the rim.
Allow about 15 minutes to prepare and assemble, plus at least 2 hours to chill. Starting with a fully frozen tub of whipped topping also requires thawing time: a typical tub calls for about 4 hours in the refrigerator. The recipe card’s total of 6 hours 15 minutes includes that 4-hour thaw, preparation, and chilling. If the topping is already thawed, allow about 2 hours 15 minutes. Follow the thawing directions on your particular product if they differ.
How to Make Publix Banana Pudding
1. Thaw the topping and mix the pudding
First, thaw the whipped topping in the refrigerator according to its package directions. Keep it refrigerated until you are ready to use it; do not try to fold in frozen chunks. In a large bowl, whisk the instant vanilla pudding mix with all 3 cups cold milk until smooth, about 2 minutes or as directed on the box. Let it stand for about 5 minutes to begin setting. It should thicken before the other creamy ingredients are added.
2. Fold in the sour cream and topping
Stir the measured cup of sour cream into the thickened pudding until evenly combined. Then gently fold in the cup of thawed whipped topping. Run the spatula down through the mixture, across the bottom, and up over the top, turning the bowl as you work. Stop when the mixture is uniform and there are no large white streaks. There is no need to beat it with an electric mixer.
3. Layer the wafers, bananas, and pudding
Peel and slice the 3 bananas into even rounds just before layering. If you want a crisp wafer garnish, set aside 6 of the 24 wafers in a covered container at room temperature. Layer the remaining wafers, banana slices, and pudding in the serving dish or cups, repeating until used. End with pudding and spread it over the exposed banana slices. For individual servings, divide everything evenly among six cups.
4. Cover and chill
Cover the dish or each cup and refrigerate at 40°F or below for at least 2 hours. The pudding should be chilled throughout and hold a soft spoonful, while the layered wafers become tender. This is a spoonable dessert rather than a firm pudding to cut into slices. Leave the containers level and avoid stirring the layers while they chill.
5. Add the garnish and serve
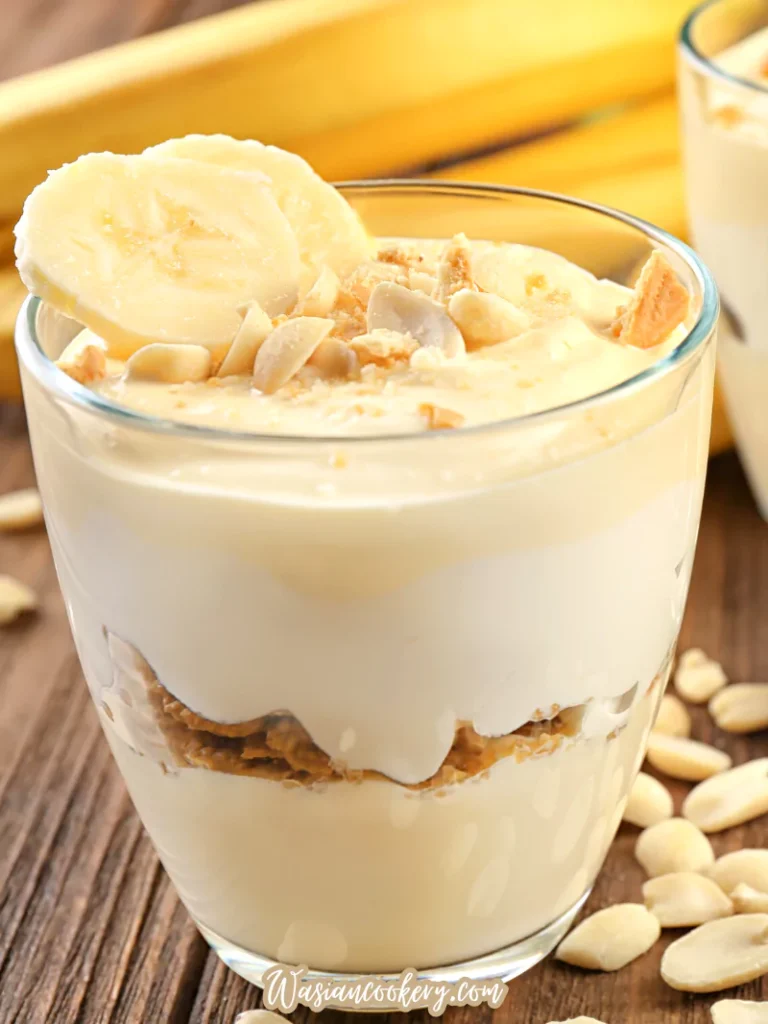
Just before serving, add the reserved wafers and optional peanuts, if desired. Reserving wafers from the original 24 keeps the ingredient total unchanged. There is no need to add extra bananas or cookies. For a shared dessert, offer peanuts separately and use a clean serving spoon so everyone can choose whether to add them.
Tips for the Best Texture
Why is my pudding runny?
Check the pudding box first: it must be instant, the correct six-serving size, and suitable for the listed 3 cups milk. Let the milk-and-mix base thicken before adding sour cream and topping. If it never begins to set, layering will not fix a wrong mix-to-milk ratio. Do not add more milk, and do not try to cook the assembled dessert as a rescue step.
Why did the topping lose its fluffiness?
The topping should be thawed but still cold. Warm topping and vigorous mixing can give a looser texture. Use gentle folds and stop once combined. If the tub is still partly frozen, give it more time in the refrigerator rather than forcing hard pieces through the pudding or warming the tub to speed things up.
How do I keep the bananas looking fresh?
Slice them close to assembly and cover them with pudding instead of leaving a layer exposed on top. Some darkening over time is normal. Choose ripe, firm fruit and serve the dessert within the suggested storage period. This recipe does not need an added lemon-juice treatment, which would introduce another flavor and ingredient.
Should the wafers be crunchy or soft?
The wafers inside the pudding are meant to soften as they absorb moisture. The longer the dessert chills, the softer they become. Save the garnish until serving if you like a contrast between tender layers and crisp cookies. Adding all the wafers the night before will give a softer dessert throughout.
Serving Ideas and Optional Toppings
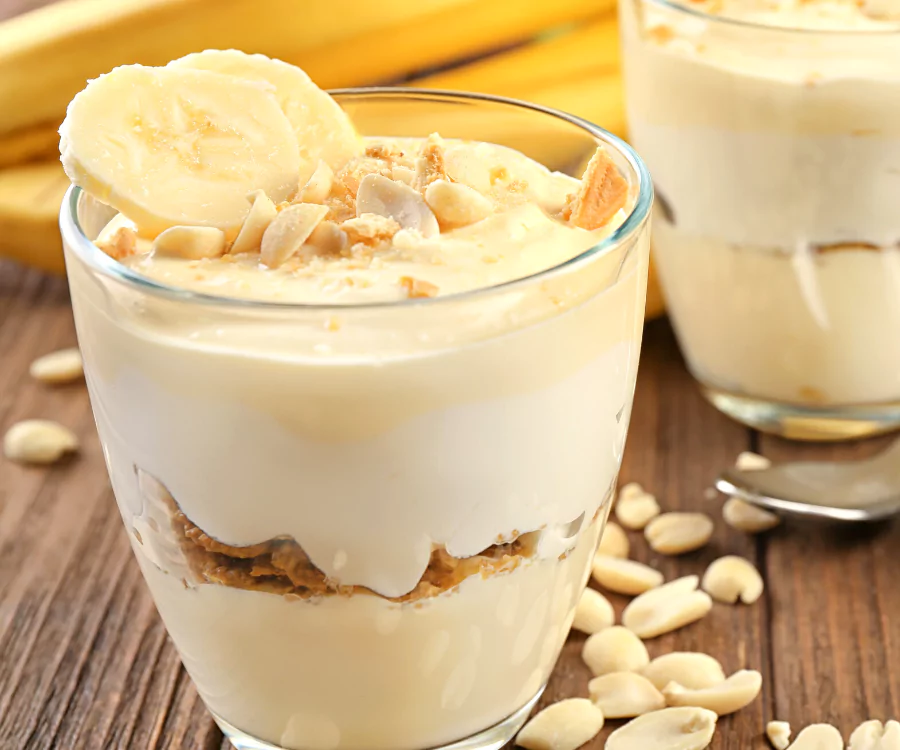
Classic dessert cups: Individual cups show off the layers and make serving easy. You can also assemble the pudding in one larger bowl and let everyone scoop a portion. Keep the top simple with the reserved wafers and optional peanuts, rather than piling on toppings before the dessert has chilled.
Small additions: The original serving ideas include chocolate chips, toasted coconut, chopped pecans or walnuts, and caramel sauce. Offer these as optional toppings at the table. If using crushed pineapple, drain it thoroughly and add it to an individual serving, since loose juice can thin the pudding. These additions are separate from the base ingredient amounts.
For gatherings: Keep the serving dish chilled until dessert time, and bring out small portions as needed. For a fruit-focused dessert spread, Mango Bango gives guests another creamy fruit option. If you are comparing banana-pudding styles, see the separate Patti LaBelle banana pudding recipe; follow each recipe’s own ingredient amounts and method.
How to Store
Refrigerate the pudding in an airtight container or tightly covered dish at 40°F or below and use within 2 to 3 days. The bananas and wafers will become softer over time, so the first day or two gives the freshest texture. Keep any reserved dry wafers separate until serving. Avoid freezing the assembled dessert because thawing can leave the fruit and dairy mixture watery.
Do not leave this perishable dessert out for more than 2 hours in total, or more than 1 hour when the temperature is above 90°F. For a picnic, transport it in an insulated cooler with ice or frozen packs and keep it cold until serving. Putting a warm dessert back in the refrigerator does not reset time already spent out of safe cold storage.
FAQ
Can I prepare it the night before?
Yes. Assemble, cover, and refrigerate overnight, then add the reserved wafers just before serving. Expect softer cookies the next day. Leave the bananas covered by pudding and keep optional toppings separate so the layers stay tidy.
Can I use another cookie?
Vanilla wafers are the listed ingredient and give the expected flavor. Shortbread or graham crackers were suggested as variations in the original recipe, but they absorb moisture differently. Changing cookies can affect how quickly the layers soften and how sweet the dessert tastes.
Is this pudding gluten-free?
It is not automatically gluten-free. Regular vanilla wafers commonly contain wheat, and every packaged ingredient needs to be checked for the intended diet. Do not rely only on the pudding mix’s label when the assembled dessert also contains cookies and toppings.
Can I reduce the sweetness by leaving out some mix?
Keep the full packet and listed amounts for this formula. The instant mix provides thickening as well as sweetness, so using less can make the pudding loose. There is no extra sugar to omit. Sour cream already adds a tangy balance to the sweet pudding and wafers.
Publix Banana Pudding Recipe
Course: DessertCuisine: AmericanDifficulty: Easy6
servings15
minutes6
hours15
minutesA homemade no-cook banana pudding with Publix Vanilla Wafers, sour cream, and whipped topping. Total time includes thawing the topping and chilling the assembled dessert.
Ingredients
1 (6-serving) box of instant vanilla pudding mix
3 cups milk
1 cup frozen whipped topping
1 cup sour cream
24 Publix Vanilla Wafers
3 bananas, peeled and sliced
Optional: peanuts for garnish
Directions
- Thaw the frozen whipped topping in the refrigerator according to its package directions before measuring 1 cup; a typical tub takes about 4 hours. Use a six-serving instant vanilla pudding box intended for 3 cups milk. Whisk the dry mix with all 3 cups cold milk until smooth, about 2 minutes or as directed, then let stand about 5 minutes to thicken.
- Stir the measured cup of sour cream into the thickened pudding until smooth. Gently fold in 1 cup thawed, cold whipped topping until evenly combined, without beating.
- Peel and slice the 3 bananas just before assembling. For a crisp garnish, reserve 6 of the 24 wafers separately. Layer the remaining wafers, banana slices, and pudding in a roomy serving dish or six dessert cups, dividing evenly. Repeat the layers, ending with pudding covering the bananas.
- Cover and refrigerate at 40°F or below for at least 2 hours, until chilled throughout and softly set. Allow about 15 minutes preparation, no cooking, and 2 hours chilling. Total time is about 6 hours 15 minutes including a 4-hour topping thaw, or 2 hours 15 minutes with already-thawed topping.
- Just before serving, garnish with the reserved wafers and optional peanuts if desired. No extra wafers or bananas are needed beyond the listed amounts.
- Serve chilled. Keep covered in the refrigerator and use within 2 to 3 days. Discard pudding left out for more than 2 hours total, or 1 hour above 90°F. Freezing the assembled dessert is not recommended for texture.