Air Fryer Shrimp Recipe
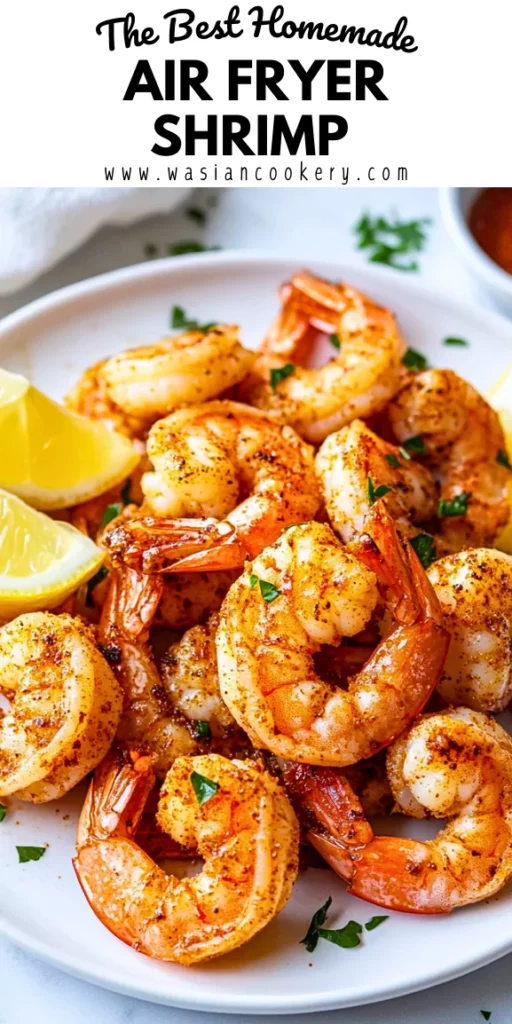
My favorite part of air fryer shrimp is how quickly garlic, paprika, and lemon can turn a simple ingredient into dinner. This recipe gives you juicy shrimp with lightly seasoned edges, ready for rice bowls, tacos, or a small appetizer plate.
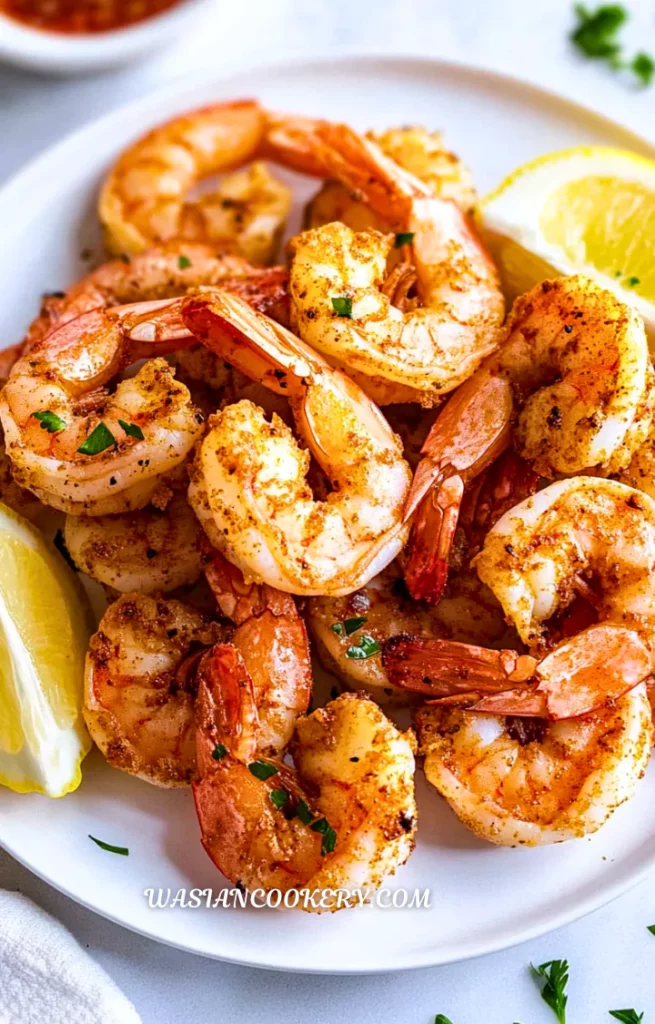
I love using simple seasonings because they let the shrimp’s flavor come through. The optional cayenne adds a little heat, while the parsley and lemon wedges make the finished plate feel fresh. There is no breading here, so expect tender shrimp rather than a crunchy shell.
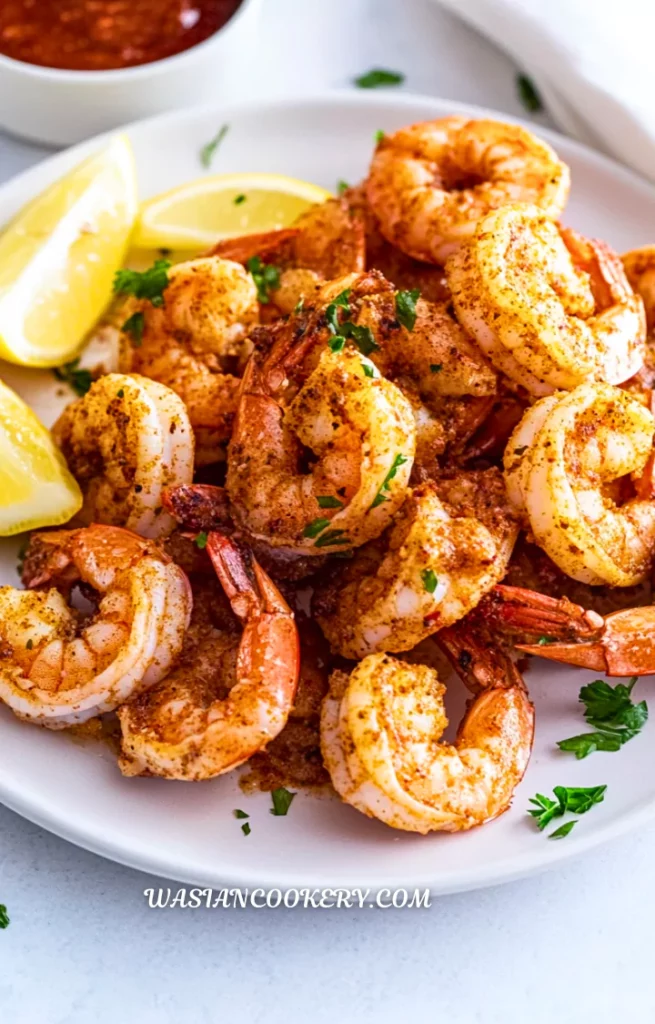
Start with raw shrimp and thaw them before cooking. The recipe serves three and takes about 26 minutes when the pound of shrimp needs two batches. Drying, spacing, and checking doneness make the difference between a juicy result and shrimp that become tough before dinner reaches the table.
Why This Dish Is Great
- The short cooking time suits an easy lunch or dinner once the shrimp are thawed.
- A tablespoon of oil helps the spices coat a full pound of shrimp without a heavy batter.
- The same recipe works as a simple appetizer, taco filling, or protein for a grain bowl.
- The optional cayenne lets you keep the flavor mild or give it a gentle kick.
- Garlic powder and onion powder offer even seasoning without pieces of fresh garlic scorching in the basket.
What Is the Best Main Ingredient?
Choose raw shrimp of a similar size, preferably large shrimp so you can turn and check them easily. Look at the count per pound on the package rather than relying only on words such as jumbo. Smaller shrimp cook faster; very large ones can need longer than the starting range.
Frozen shrimp can be an excellent choice, but frozen does not mean raw. Read the label for raw, fully cooked, or ready-to-eat. Buy intact packages without signs of thawing, and thaw raw shrimp overnight in a covered dish in the refrigerator at 40°F or below. Keep them chilled until preparation; never leave them on the counter to thaw.
Ingredients
- 1 lb (450g) shrimp, peeled and deveined
- 1 tbsp olive oil
- 1 tsp garlic powder
- ½ tsp paprika
- ½ tsp salt
- ½ tsp black pepper
- ½ tsp onion powder
- ¼ tsp cayenne pepper (optional, for spice)
- 1 tbsp lemon juice
- Fresh parsley (for garnish)
- Lemon wedges (for serving)
The tablespoon of lemon juice belongs in the seasoning mixture; the wedges are for a fresh squeeze at the table. Mix shortly before cooking rather than leaving the shrimp in acidic seasoning for a long time. Long exposure can change their delicate texture.
Kitchen Equipment You Will Need
As an Amazon Associate I earn from qualifying purchases.
- Air fryer
- Mixing bowl
- Measuring spoons
- Mixing spoon
- Paper towels
- Kitchen tongs
- Instant-read food thermometer
- Knife
- Cutting board
- Oven mitts
- Serving plate
- Shallow food storage containers
- Freezer bags
- Heatproof trivet
- Cheese grater
- Small dipping bowls
How To Make Air Fryer Shrimp
Step 1
Start with raw, fully thawed shrimp that are peeled and deveined. Drain any thawing liquid and pat the shrimp dry with paper towels. If the package says fully cooked, do not use this raw-shrimp cooking schedule. Prepare the parsley and lemon wedges on a clean cutting board before handling the raw shrimp.
Step 2
In a mixing bowl, toss the shrimp with the olive oil, garlic powder, paprika, salt, black pepper, onion powder, optional cayenne, and the measured lemon juice. Stir until evenly coated, then cook promptly. Keep any portion waiting for a later batch refrigerated.
Step 3
Set the air fryer to 375°F (190°C) and preheat for 3 minutes, or follow your model's instructions. Use the correctly installed basket and crisper plate, leaving them unlined. Allow about 10 minutes altogether for drying, seasoning, arranging ingredients, and preheating; thawing is extra.
Step 4
Arrange the shrimp in one layer with small gaps, usually in two batches for a compact basket. Air fry each batch for 6–8 minutes, turning with tongs halfway through. Begin checking at 6 minutes. The flesh should be firm, pearly, and opaque, with 145°F (63°C) in the thickest part. If needed, continue in 1-minute increments until done; size and appliance differences affect the time.
Step 5
Transfer with clean tongs to a clean serving plate and garnish with parsley and lemon wedges. Repeat with the remaining shrimp, checking the second batch early. Serve as each batch is ready. The 26-minute total allows 10 minutes preparation/preheating and two 8-minute cooking batches; one roomy-basket batch may finish in about 16–18 minutes.
Notes
- Pat the shrimp dry before seasoning. Water from thawing dilutes the coating and encourages steaming rather than light browning.
- Do not fill the basket deeply. Keep shrimp from overlapping, and obey the appliance’s capacity limit even when its basket looks roomy.
- Check temperature in several of the largest shrimp. Insert a thin probe along the thickest part of the flesh without touching the basket.
- Use more than pink color as your cue. Some raw shrimp are naturally pink; firm, pearly, opaque flesh and the safe temperature are more useful.
- Clean raw-food tools before touching cooked shrimp. Wash hands, the mixing bowl, tongs, and preparation surfaces after handling raw seafood.
- Keep the basket unlined for this recipe. Never preheat with loose paper or foil, which can lift toward the heating element or obstruct airflow.
- Have the sides ready first. Shrimp need only a short cooking window, and they taste best when served promptly rather than repeatedly reheated.
Ingredients You Can Add
- Cajun seasoning: Add a small pinch of a salt-free blend if you want a bolder spice flavor.
- Parmesan cheese: Scatter a little finely grated cheese over the cooked shrimp while they are warm.
- Soy sauce: A light finishing drizzle adds savory flavor; choose reduced-sodium sauce if salty flavors build up quickly.
- Honey: Toss with a little honey after cooking for sweetness, keeping it away from the heating element.
- Chili flakes: Sprinkle over the finished plate for a heat level that each person can choose.
- Butter: Toss a little softened butter through the hot shrimp so it melts into the lemony coating.
What To Serve With Air Fryer Shrimp
My favorite way to serve air fryer shrimp is over rice with vegetables alongside. For something crisp and fresh, add spicy Korean cucumber salad. Keep its dressing separate from the hot shrimp until you are ready to eat.
The shrimp also make a simple taco filling with avocado, shredded greens, and Macayo’s Baja sauce. Remove the tails before filling tacos so every bite is easy to eat, and add the sauce after the shrimp leave the air fryer.
For an appetizer plate, serve them with lemon wedges and Luby’s tartar sauce for dipping. Use clean individual serving plates and keep extra dipping sauce chilled while the second batch cooks. This keeps the hot and cool parts at their best.
Variations and Swaps
- Spicy shrimp: Include the cayenne and offer extra chili flakes at the table, rather than making the whole batch too hot.
- Garlic butter shrimp: Finish the hot shrimp with softened garlic butter and fresh parsley for a richer coating.
- BBQ shrimp: Use a small amount of salt-free barbecue seasoning in place of the paprika and onion powder.
- Lemon herb shrimp: Add chopped parsley and basil after cooking, keeping their fresh flavor away from prolonged heat.
- Teriyaki shrimp: Toss cooked shrimp lightly with prepared teriyaki sauce. Adding a sugary sauce at the end helps prevent scorching.
- Milder shrimp: Leave out the optional cayenne and use sweet paprika, keeping the garlic and lemon flavors.
- Lime shrimp: Replace the measured lemon juice with the same amount of lime juice and serve with lime wedges.
- Tail-free shrimp: Remove tails before seasoning for bowls or tacos. Tails can stay on for an appetizer, but remind diners to remove them.
Storage
Refrigerate cooked shrimp in shallow covered containers within 2 hours of cooking, or within 1 hour if the temperature is above 90°F. Keep the refrigerator at 40°F or below and use leftovers within 3 days. Store sauces separately. Properly chilled cooked shrimp can be eaten cold in a salad without putting them through another cooking cycle.
For longer storage, freeze portions in freezer bags for up to 2 months for best quality, then thaw in the refrigerator. If reheating, use 350°F (175°C) and begin checking after 2–3 minutes, continuing until the shrimp reach 165°F. Repeated heating can make them firm, so warm only what you need. A short timer alone is not proof that chilled shrimp have reheated fully.
FAQ
Can I use frozen shrimp?
Yes, if they are raw shrimp that you thaw first. Drain and dry them thoroughly. The cooking times here do not apply to a solid frozen pile or to packaged breaded shrimp, which need their own instructions.
Can I use fully cooked frozen shrimp?
Check and follow the package’s thawing and serving directions. Ready-to-eat shrimp may be served chilled after proper thawing. They should not go through this full raw-shrimp cooking schedule, which can make them rubbery.
How do I know the shrimp are done?
Look for firm, pearly, opaque flesh throughout and check for 145°F in the thickest part with a thin food thermometer probe. Pink color alone is not enough, especially with naturally pink raw varieties.
Why did my shrimp turn rubbery?
Overcooking is a common cause. Begin checking early, especially with smaller shrimp or a very hot second batch. Remove individual pieces as they reach doneness instead of waiting for every piece to become equally brown.
Do I have to turn them?
Turning halfway through helps expose both sides to the hot air. Use tongs gently, then restore the single layer. Follow any handling instructions for your basket and place the hot drawer on a heatproof surface.
Can I make this with shell-on shrimp?
This recipe is written for peeled, deveined shrimp. Shell-on shrimp need a different seasoning approach because much of the coating stays on the shell. Peel them first for the closest match and keep the measured shrimp amount consistent.
Short Description
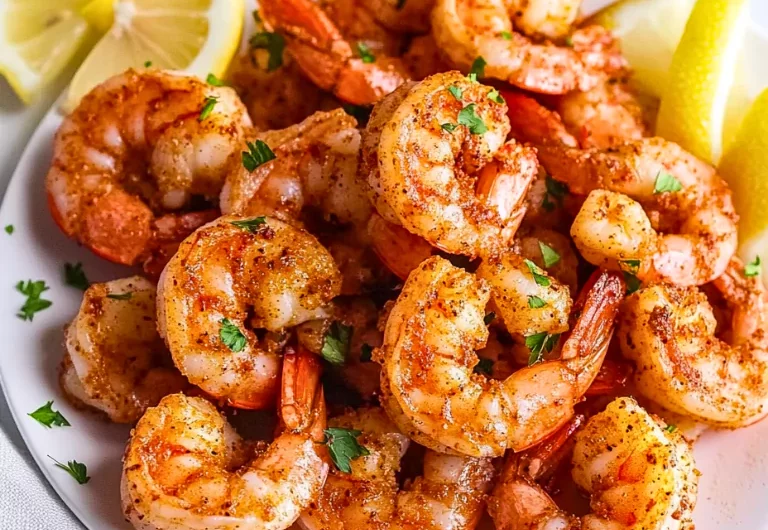
Air fryer shrimp with garlic, paprika, and lemon are a quick option for bowls, tacos, or appetizers. Start with raw, thawed shrimp and cook in a single layer until safely done.
Air Fryer Shrimp
Course: AppetizersCuisine: AmericanDifficulty: Easy3
servings10
minutes16
minutes26
minutesAir fryer shrimp with garlic, paprika, and lemon are a quick option for bowls, tacos, or appetizers. Start with raw, thawed shrimp and cook in a single layer until safely done.
Ingredients
1 lb (450g) shrimp, peeled and deveined
1 tbsp olive oil
1 tsp garlic powder
½ tsp paprika
½ tsp salt
½ tsp black pepper
½ tsp onion powder
¼ tsp cayenne pepper (optional, for spice)
1 tbsp lemon juice
Fresh parsley (for garnish)
Lemon wedges (for serving)
Directions
- Start with raw, fully thawed shrimp that are peeled and deveined. Drain any thawing liquid and pat the shrimp dry with paper towels. If the package says fully cooked, do not use this raw-shrimp cooking schedule. Prepare the parsley and lemon wedges on a clean cutting board before handling the raw shrimp.
- In a mixing bowl, toss the shrimp with the olive oil, garlic powder, paprika, salt, black pepper, onion powder, optional cayenne, and the measured lemon juice. Stir until evenly coated, then cook promptly. Keep any portion waiting for a later batch refrigerated.
- Set the air fryer to 375°F (190°C) and preheat for 3 minutes, or follow your model’s instructions. Use the correctly installed basket and crisper plate, leaving them unlined. Allow about 10 minutes altogether for drying, seasoning, arranging ingredients, and preheating; thawing is extra.
- Arrange the shrimp in one layer with small gaps, usually in two batches for a compact basket. Air fry each batch for 6–8 minutes, turning with tongs halfway through. Begin checking at 6 minutes. The flesh should be firm, pearly, and opaque, with 145°F (63°C) in the thickest part. If needed, continue in 1-minute increments until done; size and appliance differences affect the time.
- Transfer with clean tongs to a clean serving plate and garnish with parsley and lemon wedges. Repeat with the remaining shrimp, checking the second batch early. Serve as each batch is ready. The 26-minute total allows 10 minutes preparation/preheating and two 8-minute cooking batches; one roomy-basket batch may finish in about 16–18 minutes.
Notes
- Use raw, fully thawed shrimp. Frozen packages may contain raw or fully cooked shrimp; read the label and follow the appropriate directions.
- Timing allows two batches, 6–8 minutes each, plus 10 minutes preparation/preheating. Thawing is extra. Cook shrimp to 145°F; reheat cooked leftovers to 165°F.
- Refrigerate leftovers within 2 hours, or 1 hour above 90°F, and use within 3 days.