Costa Vida Queso Recipe
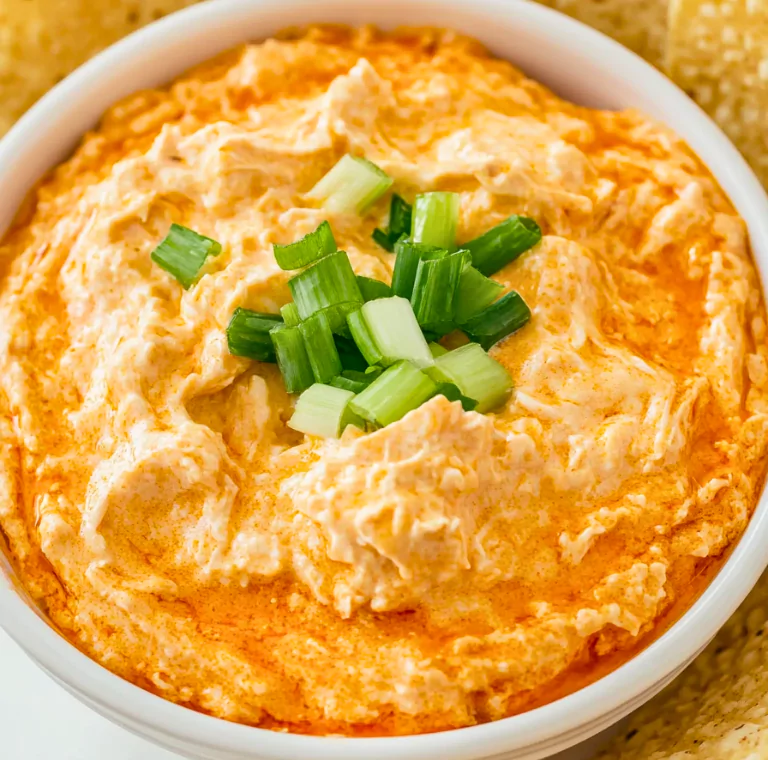
I love this warm, creamy homemade Costa Vida Queso dip made with cheddar, Monterey Jack, milk, and a little flour. Diced vegetables add color and texture, and the green chilies bring gentle heat. It is a home-style interpretation, not an official restaurant recipe.
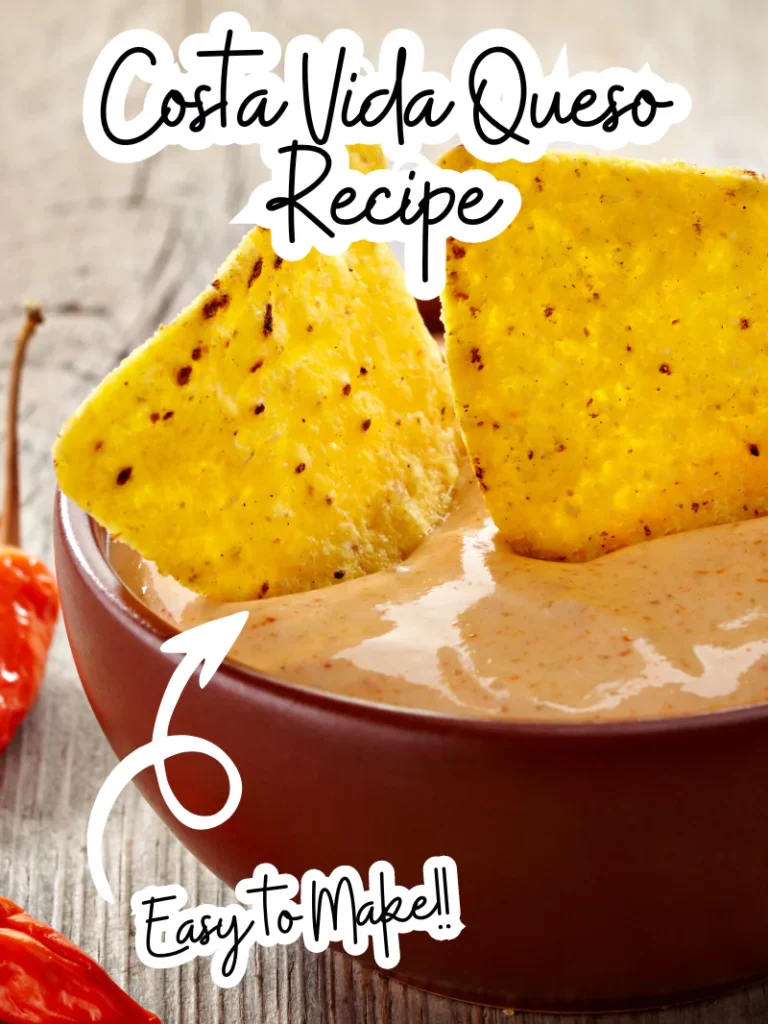
Have you ever tried Costa Vida’s Chips with Queso Dip? It’s my favorite order whenever I visit Costa Vida restaurant. But sometimes, I love to make homemade queso and enjoy it with homemade chips too.
There’s something irresistible about the combination of warm, creamy queso and crispy, salty chips. This version makes a thick, spoonable dip that also works over nachos or a burrito bowl. Have the cheese shredded and vegetables diced before you start, because the sauce comes together quickly once the pan is warm.
How to Make Costa Vida Queso
Ingredients
- 2 cups shredded cheddar cheese
- 1 cup shredded Monterey Jack cheese
- 1 cup milk
- 2 tablespoons butter
- 2 tablespoons all-purpose flour
- 1/4 cup diced green chilies
- 1/4 cup diced tomatoes
- 1/4 cup diced red bell peppers
- 1/4 cup diced yellow onion
- 1/4 teaspoon garlic powder
- Salt and pepper to taste
Cheddar and Monterey Jack: The cheddar brings a fuller cheese flavor, while Monterey Jack helps the sauce melt smoothly. Shred the cheeses before starting the stove so you can add them gradually. Mild or medium cheddar is a practical choice for a gentler flavor. Measure the shreds loosely rather than packing them tightly into the cup.
Milk, butter, and flour: These ingredients form the sauce base. Whole milk gives a rich result, but the important point is to measure the listed cup accurately. The butter and flour are cooked together around the vegetables, then the milk is whisked in. This step gives the cheese a smooth, thickened base instead of leaving it to melt directly against a hot pan.
Vegetables and seasoning: Cut the yellow onion and red bell pepper into small, even pieces so they soften within a few minutes. Choose diced green chilies with a heat level you enjoy, and drain loose liquid before measuring them. If the tomatoes are very juicy, let the excess juice drain away before measuring. Garlic powder seasons the sauce evenly without adding another raw vegetable texture.
Kitchen Equipment You Will Need
As an Amazon Associate I earn from qualifying purchases.
- Heavy-bottomed saucepan
- Whisk
- Flexible spatula
- Box grater
- Chef’s knife
- Cutting board
- Measuring cups
- Measuring spoons
- Shallow storage container
- Food thermometer
- Serving spoon
Preparation Tips
Use a heavy-bottomed saucepan with enough room to stir comfortably.
A thin pan can develop hot spots and scorch the milk.
A whisk is helpful when adding the milk, and a flexible spatula reaches the pan’s corners when you fold in the cheese.
A box grater makes it easy to prepare the cheese just before cooking.
Step-by-Step Instructions
1. Melt the butter
In a saucepan, melt the 2 tablespoons butter over medium heat. Let it melt gently without browning. Have the measured milk nearby and the cheese ready before you continue. This recipe takes about 10 minutes to prepare and 15 minutes to cook, for roughly 25 minutes total; use the texture cues below alongside the clock.
2. Soften the vegetables
Add the diced onion and red bell pepper to the saucepan and sauté until softened, about 3 to 4 minutes. Stir often so the small pieces cook evenly. The onion should look more translucent, and the pepper should lose its hard, raw bite. If the pan starts browning quickly, reduce the heat before adding the flour.
3. Cook the flour
Sprinkle the 2 tablespoons flour over the vegetables and stir for 1 to 2 minutes. Coat the pieces and scrape the bottom of the pan until there are no dry flour pockets. The mixture will look pasty, which is expected. Keep it pale; this is a light sauce base, not a dark roux.
4. Whisk in the milk and thicken
Slowly pour in the milk while whisking continuously. Begin with a little of the measured cup and whisk it smooth before adding the rest. Cook over medium-low heat, stirring, until the sauce gently simmers and lightly coats the spoon, about 3 to 5 minutes. Thickening the milk before adding cheese is an important step; do not rush straight from pouring milk to melting the cheese.
5. Melt the cheeses gently
Take the pan off the heat. Add the cheddar and Monterey Jack in small handfuls, stirring until each addition melts before adding the next. The warm sauce should melt the shreds in about 2 to 3 minutes. If needed, return the pan briefly to the lowest heat while stirring. Avoid a bubbling boil after the cheese goes in, which can make the sauce oily or grainy.
6. Add the remaining vegetables
Stir in the measured green chilies, diced tomatoes, and garlic powder. Fold them through the sauce so every scoop contains some vegetables. The dip will be thick and creamy, with visible pieces of onion, pepper, tomato, and chilies. It will not have the completely smooth texture of a sauce made only with processed cheese.
7. Season and warm through
Taste before adding salt because the cheeses already contain some. Season with salt and pepper to taste, then warm gently over low heat for about 2 to 3 minutes, stirring often. Take it off the heat as soon as it is evenly hot. Serve the queso warm with tortilla chips or as a topping for your favorite Mexican-inspired dishes.
Tips and Troubleshooting
What if the queso is too thick?
This formula uses three cups of shredded cheese and a flour-thickened milk base, so expect a substantial dip. It also thickens as it cools. Stir and gently warm it before deciding it needs a change. For a reheated portion that needs loosening, a small splash of milk can help; that is a serving adjustment rather than part of the original measured batch.
What causes graininess or an oily surface?
Too much heat or adding all the cheese at once can make it harder to form a smooth sauce. Remove the pan from the heat and stir gently if you see oil gathering on top. Avoid increasing the heat to force stubborn shreds to melt. Very aged cheese can also behave differently from milder cheese. Prevention is easier than fixing a sauce that has already separated.
What if there are lumps?
Whisk the flour-and-milk base thoroughly before adding cheese. Small vegetable pieces are expected, but flour lumps feel pasty rather than crisp. Adding the milk slowly gives you a chance to work out those lumps early. Keep the whisk moving around the pan’s edges as well as through the center, where dry flour can otherwise remain hidden.
Optional Ingredients
Jalapeños: Diced or sliced jalapeños add more heat for anyone who wants it. Offer them alongside the finished dip so the basic batch stays at the heat level of the green chilies you selected.
Cilantro and green onions: Fresh cilantro adds herbal freshness, while diced green onions give a mild onion flavor. Sprinkle either over individual bowls just before serving. That keeps their fresh texture separate from the cooked vegetables already in the sauce.
Cumin or smoked paprika: A small pinch of either can give a serving a warmer or smokier flavor. These are optional variations, not required ingredients in the base recipe. Try one addition at a time so you can still taste the cheddar and Monterey Jack.
Serving Suggestions
Chips and salsa: Serve the queso as a classic appetizer with crisp tortilla chips. Pair it with Uncle Julio’s salsa for a fresh contrast to the rich cheese. Keep separate spoons in the bowls so the dips stay distinct.
Nachos and burrito bowls: Spoon the warm queso over chips, rice, beans, cooked meat, or vegetables just before serving. On the Border salsa is another option for adding a tangy finish. Avoid covering chips too far ahead, because they soften under the warm sauce.
Loaded fries: Spoon queso over garlic fries and serve immediately. The original serving idea also includes cooked diced bacon, green onions, and jalapeños as optional toppings. Keep any bacon separate when serving guests who prefer a meatless dip.
Quesadillas or taco dip: Use a little inside a quesadilla with cooked chicken, steak, or vegetables, or layer it with beans and salsa in a shallow dish. A modest amount is easier to eat than overfilling, particularly while the sauce is warm.
Storage and Reheating
Transfer leftover queso to a shallow, covered container and refrigerate promptly at 40°F or below. Use within 3 to 4 days. Refrigerate within 2 hours of cooking or serving, or within 1 hour if the temperature is above 90°F. Do not leave the pan on the counter until it has cooled completely.
Reheat only the portion you plan to eat. Stir frequently over gentle heat and check that it reaches 165°F throughout. A small splash of milk can loosen the chilled sauce if needed. For serving over an extended period, keep the hot dip at 140°F or above in suitable warming equipment and stir regularly; otherwise serve small portions and refrigerate the rest promptly.
FAQ
Is this Costa Vida Queso gluten-free?
No. This recipe contains all-purpose wheat flour, so it is not gluten-free as written. The naturally gluten-free status of milk or cheese does not change that. A restaurant’s allergen information also cannot be used to describe this homemade formula.
Is the queso spicy?
The heat mainly depends on the diced green chilies you use. Choose mild chilies for a gentler dip and offer the optional jalapeños separately. Bell pepper adds sweetness and color rather than chili heat.
Can I make it ahead of time?
Yes, but the texture is creamiest when freshly made. Refrigerate it safely and reheat the portion you need, stirring and checking the temperature. It is normal for a chilled cheese sauce to become firmer before warming again.
Is it vegetarian-friendly?
The base recipe contains dairy but no meat. If you follow a vegetarian diet, check that the cheese is made with suitable enzymes, and omit the optional bacon serving suggestion. Keep toppings and utensils separate when serving a mixed group.
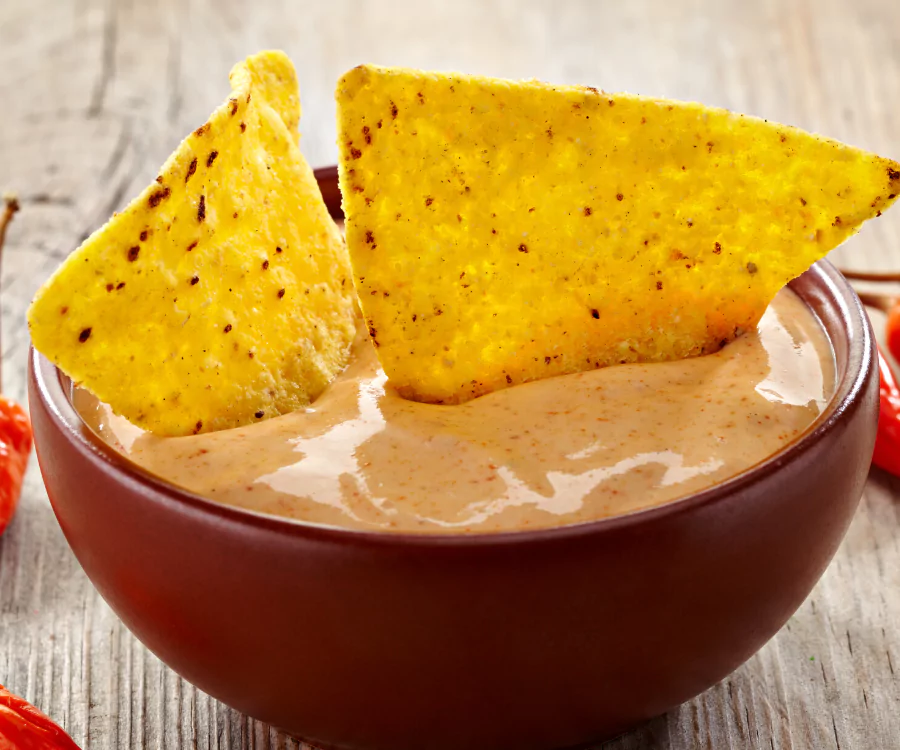
Costa Vida Queso Recipe
Course: DipCuisine: MexicanDifficulty: Easy4
servings10
minutes15
minutes25
minutesA homemade cheddar and Monterey Jack queso with diced vegetables and green chilies. This flour-thickened dip is not gluten-free.
Ingredients
2 cups shredded cheddar cheese
1 cup shredded Monterey Jack cheese
1 cup milk
2 tablespoons butter
2 tablespoons all-purpose flour
1/4 cup diced green chilies
1/4 cup diced tomatoes
1/4 cup diced red bell peppers
1/4 cup diced yellow onion
1/4 teaspoon garlic powder
Salt and pepper to taste
Directions
- Shred and measure the cheeses and finely dice the vegetables. Melt the butter in a saucepan over medium heat without browning.
- Add the diced onion and red bell pepper and sauté for 3 to 4 minutes, stirring, until softened. Reduce the heat if the vegetables brown quickly.
- Sprinkle the flour over the vegetables and cook for 1 to 2 minutes, stirring constantly, until no dry flour remains. Keep the mixture pale.
- Slowly whisk in the measured milk, adding a little first and whisking smooth before adding the rest. Cook over medium-low heat for about 3 to 5 minutes, stirring, until gently simmering and lightly thickened.
- Remove the pan from the heat. Stir in the cheddar and Monterey Jack in small handfuls, letting each melt before adding the next, about 2 to 3 minutes. Return briefly to the lowest heat only if needed. Do not boil after adding cheese.
- Stir in the measured green chilies, diced tomatoes, and garlic powder. Drain excess liquid from the chilies and tomatoes before measuring.
- Taste and season with salt and pepper as needed, remembering that the cheese already contains salt.
- Warm over low heat for 2 to 3 minutes, stirring, just until evenly hot. The sauce should be thick and spoonable. Preparation is about 10 minutes and cooking about 15 minutes; follow the texture cues.
- Serve warm with tortilla chips or spoon over nachos or bowls. Refrigerate in a shallow covered container at 40°F or below within 2 hours, or 1 hour above 90°F, and use within 3 to 4 days. Reheat gently, stirring, to 165°F; a little milk can loosen a reheated portion if needed.