Teriyaki Chicken Recipe
From time to time, I like to try new flavors and cuisines for family dinners. One of our favorites is Teriyaki Chicken. I use fresh chicken thighs because they stay juicy, and the sweet, savory sauce makes the dish really tasty. This quick skillet version uses soy sauce, honey or brown sugar, ginger, and garlic.
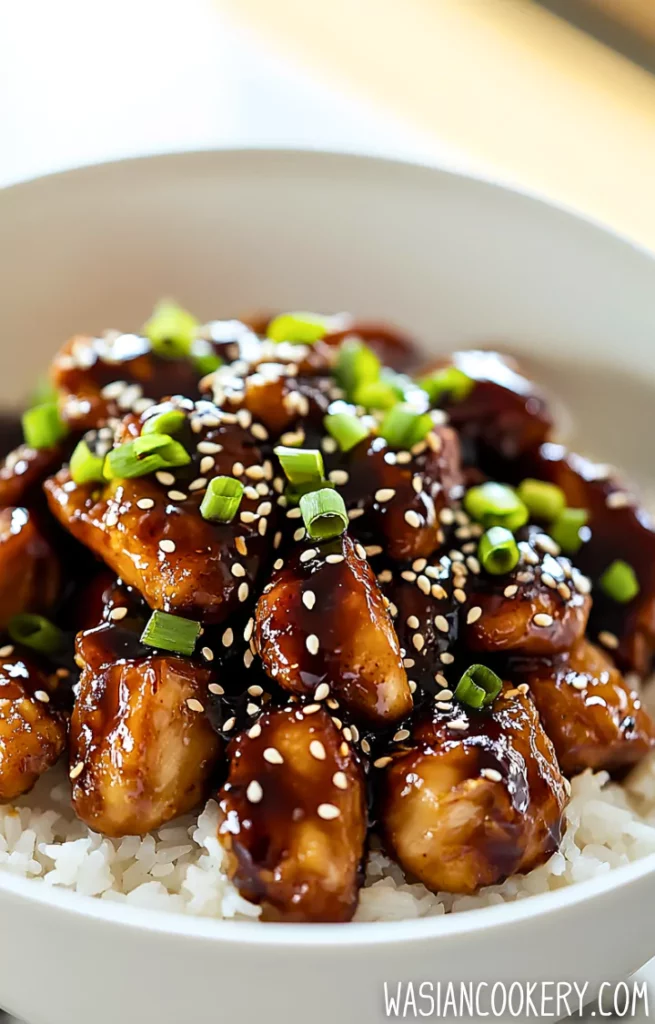
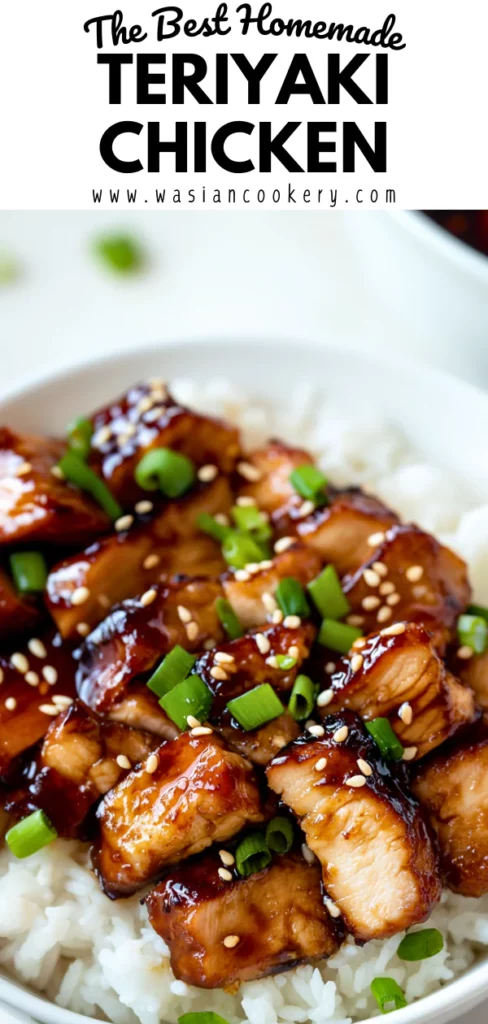
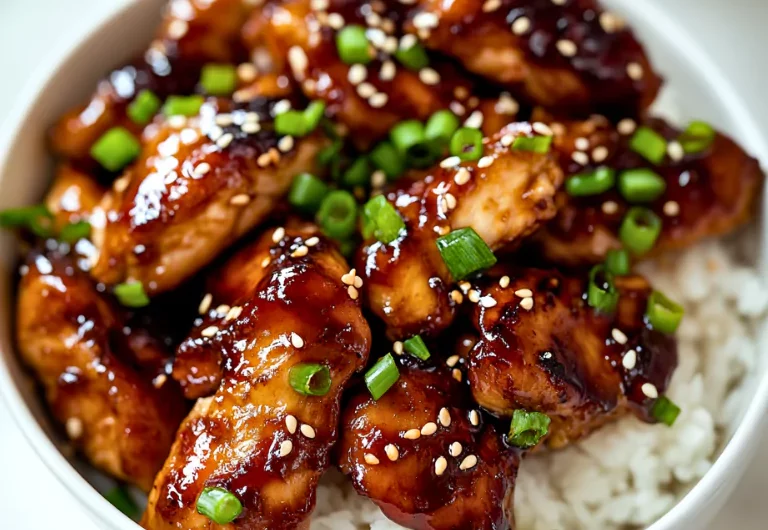
The glaze gives the chicken a lovely shine, with enough sauce to coat the little pieces. Everything is mixed before the pan gets busy, so there is less to juggle once cooking starts. There is no marinating step in this recipe; the sauce goes into the skillet after the chicken has cooked.
For serving, I like to put the Teriyaki Chicken over fluffy rice, which soaks up the extra sauce nicely. I also add steamed vegetables, like broccoli or snap peas, to make the meal colorful and crunchy. It feels like a cozy dinner without needing a long ingredient list.
Why This Dish Is Great
- Bite-sized chicken is easy to portion and works well in bowls with rice or noodles.
- The sweetener, soy sauce, and vinegar make a simple sauce with a pleasant sweet and tangy balance.
- Fresh ginger and garlic bring flavor without needing a long marinade or extra cooking pot.
- Cooking in two small batches gives the chicken room to brown instead of steaming in a crowded pan.
- The cornstarch slurry turns the measured sauce into a glossy coating with only a short simmer.
- Leftovers are useful for another meal when cooled promptly and reheated gently to the proper temperature.
What Is the Best Chicken for Teriyaki?
Boneless, skinless thighs are a good choice because they stay tender through browning and a short simmer. Breasts work too, especially when cut evenly and checked promptly for doneness. Keep the original 1 pound total and aim for pieces about 1 inch across. A mix of tiny scraps and large chunks is harder to cook evenly.
Use fresh ginger and garlic, minced finely enough that they can soften in the sauce. Pick plain rice vinegar rather than seasoned rice vinegar, which contains added sugar and salt. Soy sauce already brings salt, so start with a light hand when seasoning the chicken. Honey gives a rounded sweetness; brown sugar adds a gentle caramel note.
Ingredients
- 1 lb (450g) boneless, skinless chicken thighs or breasts, cut into bite-sized pieces
- 2 tbsp soy sauce
- 2 tbsp honey or brown sugar
- 2 tbsp rice vinegar (or apple cider vinegar)
- 1/4 cup water
- 1 tsp fresh ginger, minced
- 1 tsp garlic, minced
- 1 tbsp cornstarch, mixed with 2 tbsp water (for thickening)
- 1 tbsp vegetable oil
- Salt and pepper to taste
- Sesame seeds and chopped green onions, for garnish
The water is used in two places: the ¼ cup goes into the sauce, and a separate 2 tablespoons goes into the cornstarch slurry. Keep those measurements separate. Mix the sauce in a clean bowl and keep it away from the raw chicken, its cutting board, and any used utensils.
Kitchen Equipment You Will Need
As an Amazon Associate I earn from qualifying purchases.
- Chef’s knife
- Cutting board
- Paper towels
- Mixing bowl
- Small bowl
- Whisk
- Measuring cups
- Measuring spoons
- Large skillet
- Heat-resistant spatula
- Tongs
- Instant-read thermometer
- Clean plate
- Serving spoon
- Shallow storage containers
- Microwave-safe covered dish
- Oven mitts
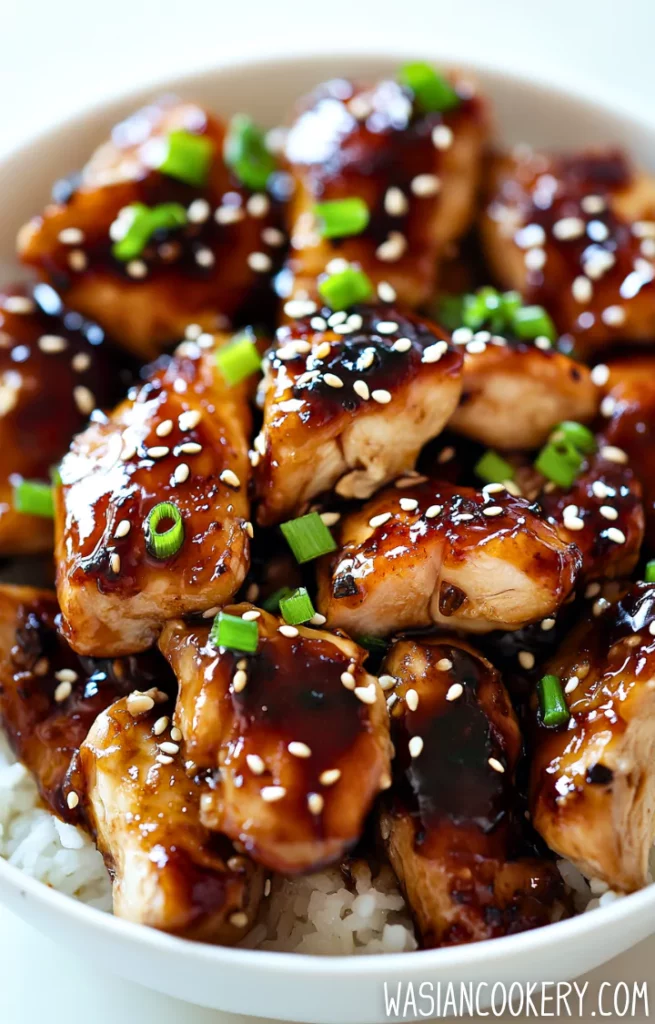
How To Make Teriyaki Chicken
Step 1: Prepare the chicken and sauce
Cut the 1 pound chicken into even, roughly 1-inch pieces and pat dry with paper towels. In a clean bowl, whisk together the 2 tablespoons soy sauce, 2 tablespoons honey or brown sugar, 2 tablespoons rice vinegar, ¼ cup water, 1 teaspoon minced ginger, and 1 teaspoon minced garlic. Keep this sauce separate from the raw chicken. Reserve the other 2 tablespoons water for the slurry.
Step 2: Brown two batches
Season the chicken lightly with salt and pepper. Heat 2 teaspoons of the measured vegetable oil in a large skillet over medium-high heat. Add half the chicken in one layer and cook about 6–8 minutes, turning to brown several sides, until the thickest pieces reach 165°F (74°C). Transfer to a clean plate. Add the remaining 1 teaspoon oil and repeat with the other half; allow about 12–16 minutes for both batches, or longer if needed to reach 165°F.
Step 3: Add the sauce
Lower the heat to medium and return all the cooked chicken to the skillet. Pour in the clean, prepared sauce and stir to coat. Bring it to a gentle simmer for about 1–2 minutes so the ginger and garlic soften. Reduce the heat if the sauce bubbles fiercely or starts catching on the pan.
Step 4: Thicken the glaze
In a small bowl, stir the 1 tablespoon cornstarch with the reserved 2 tablespoons cold water until completely smooth. Stir again just before adding it to the gently simmering sauce. Pour in the slurry while stirring, then cook about 1–2 minutes, until the sauce looks glossy and coats the chicken. Keep it gently bubbling while it thickens, then remove from the heat; do not keep reducing a thick glaze.
Step 5: Garnish and serve
Sprinkle with sesame seeds and chopped green onions as desired. Serve the chicken hot with rice or noodles and spoon the glaze over the top. The recipe makes 4 servings when paired with sides. No marinating or resting time is required.
Plan on about 15 minutes of preparation and 25 minutes of cooking, or 40 minutes total. The cooking allowance includes heating the skillet, both chicken batches, and finishing the sauce. Rice, noodles, and other side dishes have their own cooking time, so start those early enough to be ready with the chicken. Larger pieces or a smaller skillet can need more time.
Notes
- Cut the chicken evenly. Similar-sized pieces make the temperature checks easier and help breast meat stay tender.
- Pat the surface dry before adding the chicken to hot oil. Wet pieces release more steam and brown less readily.
- Let the first side sit briefly before stirring. Tossing continuously can keep the chicken pale even when the pan is hot.
- Keep the prepared sauce clean. It is added after the chicken cooks and should never be used as a container for raw chicken.
- Use cold water for the slurry. Cornstarch stirred straight into hot sauce can form lumps before it spreads through the liquid.
- Stir the slurry again immediately before pouring, since cornstarch sinks while the bowl sits on the counter.
- Stop simmering when the glaze coats the pieces. Prolonged cooking can make the sauce too thick and the chicken dry, especially with breast meat.
Ingredients You Can Add
- A pinch of red pepper flakes adds gentle heat to the simmering sauce.
- A small drizzle of sriracha gives a spicy finish for anyone who likes a little extra warmth.
- Thinly sliced fresh chili can be offered at the table so each person chooses the heat.
- Cooked broccoli florets can be folded through just before serving or placed beside the chicken.
- Cooked bell pepper strips add sweetness and color; keep them well drained so they do not thin the glaze.
- Cooked snap peas make a crunchy side that works nicely with the tender chicken and sticky sauce.
What To Serve With Teriyaki Chicken
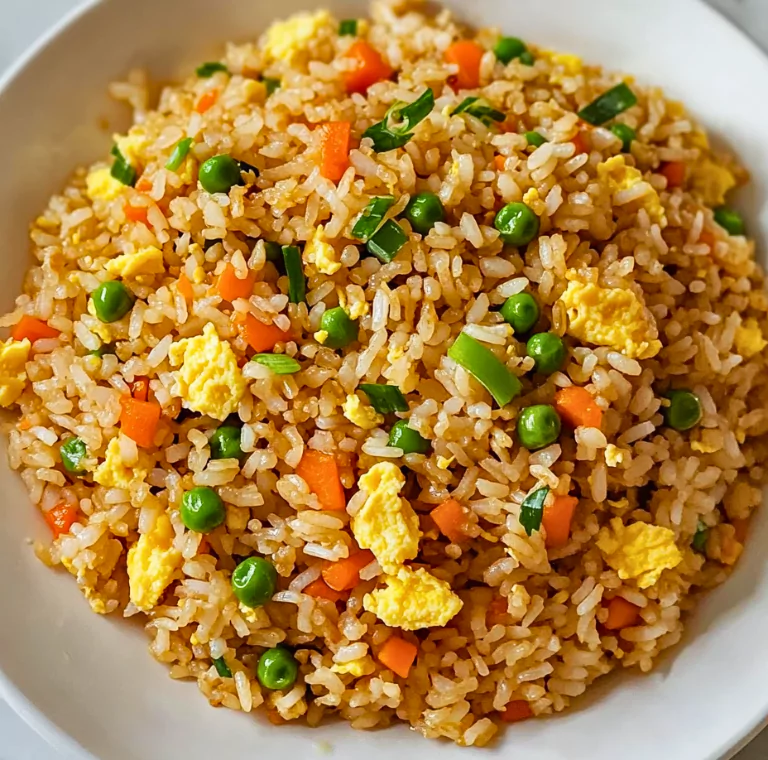
I love serving Teriyaki Chicken with simple sides that complete the meal. Steamed rice is a favorite because it soaks up the tasty sauce. When you want a more substantial rice dish, Subgum Fried Rice is another option; serve a modest portion since the chicken is already full of flavor.
A quick cucumber salad or a light slaw brings a cool, tangy contrast. This Tomato Cucumber Salad adds freshness and color beside the glossy chicken. Noodles such as soba or udon also make a cozy base, with a green vegetable alongside.
For a sweeter rice pairing, try Pineapple Fried Rice. A small bowl of miso soup or some lightly salted edamame can round out the meal too. Choose one or two sides so the table feels generous without making dinner complicated.
Variations and Swaps
- Choose thighs or breasts within the original 1 pound amount; both need to reach 165°F before serving.
- Use the listed honey option for a smooth sweetness or the same listed amount of brown sugar for a deeper flavor.
- The original apple cider vinegar option works when rice vinegar is unavailable; it gives a slightly fruitier tang.
- A reduced-sodium soy sauce can keep the sauce from tasting too salty while preserving the measured volume.
- Gluten-free tamari can replace soy sauce, but check its label and the labels of other packaged ingredients before serving to someone avoiding gluten.
- For more heat, use one of the chili additions above and add it gradually so it does not overwhelm the sweet-savory glaze.
- Serve the finished chicken over noodles instead of rice, keeping the side dish separate from the sauce measurements.
- For a vegetable-heavy bowl, use a smaller portion of the finished chicken with extra cooked vegetables rather than crowding raw vegetables into the chicken’s browning batches.
Storage
Divide leftovers into shallow containers and refrigerate within 2 hours of cooking, or within 1 hour when the temperature is above 90°F. Do not leave the chicken out to cool completely. Keep it at 40°F or below and use within 3–4 days. Store rice separately when possible, and cool and refrigerate that promptly too.
Freeze chicken and sauce together in a freezer-safe container for up to 2 months for best quality. Thaw in the refrigerator, then reheat gently in a skillet or a covered microwave-safe dish until the chicken reaches 165°F. If the chilled glaze is very thick, stir in a small splash of water during reheating. The sauce may look a little different after freezing but should still coat the chicken.
FAQ
Do I need to marinate the chicken?
No. This recipe gets its flavor from the finishing sauce. Keep that sauce separate and clean until the browned chicken is ready. Adding a marinade would require extra planning and is not part of the written timing.
Why is my chicken pale?
The pan may be crowded, the surface of the meat wet, or the heat too low. Use the two batches in the directions and leave room around the pieces. Browning is a flavor cue; check 165°F separately for safety.
Why did the sauce turn lumpy?
The starch may have met hot liquid before it was mixed smoothly with cold water. Stir the slurry thoroughly and pour it into gently bubbling sauce while stirring. Avoid sprinkling dry cornstarch directly into the pan.
Can I prepare the sauce ahead?
Yes. Mix it in a clean covered container and refrigerate up to a day ahead. Stir before using. Prepare the cornstarch slurry separately just before finishing the dish, and keep all sauce away from raw chicken.
Is honey a sugar-free option?
No. Honey and brown sugar both sweeten this recipe and contribute sugars. Choose the one you prefer for flavor; this dish is not written as a sugar-free recipe.
What if the sauce is already thick enough?
Remove the skillet from the heat once the full measured slurry has cooked and the glaze coats the chicken. A long simmer is unnecessary. For leftovers, a little water during reheating helps loosen a glaze that has firmed in the refrigerator.
Short Description
Tender chicken pieces coated in a glossy soy, ginger, and garlic sauce. Brown the chicken in two batches, add the clean sauce, and thicken it with a cold-water cornstarch slurry.
Teriyaki Chicken Recipe
Course: MainCuisine: JapaneseDifficulty: Easy4
servings15
minutes25
minutes40
minutesTender chicken pieces coated in a glossy soy, ginger, and garlic sauce. Brown the chicken in two batches, add the clean sauce, and thicken it with a cold-water cornstarch slurry.
Ingredients
1 lb (450g) boneless, skinless chicken thighs or breasts, cut into bite-sized pieces
2 tbsp soy sauce
2 tbsp honey or brown sugar
2 tbsp rice vinegar (or apple cider vinegar)
1/4 cup water
1 tsp fresh ginger, minced
1 tsp garlic, minced
1 tbsp cornstarch, mixed with 2 tbsp water (for thickening)
1 tbsp vegetable oil
Salt and pepper to taste
Sesame seeds and chopped green onions, for garnish
Directions
- Cut the 1 pound chicken into even, roughly 1-inch pieces and pat dry with paper towels. In a clean bowl, whisk together the 2 tablespoons soy sauce, 2 tablespoons honey or brown sugar, 2 tablespoons rice vinegar, ¼ cup water, 1 teaspoon minced ginger, and 1 teaspoon minced garlic. Keep this sauce separate from the raw chicken. Reserve the other 2 tablespoons water for the slurry.
- Season the chicken lightly with salt and pepper. Heat 2 teaspoons of the measured vegetable oil in a large skillet over medium-high heat. Add half the chicken in one layer and cook about 6–8 minutes, turning to brown several sides, until the thickest pieces reach 165°F (74°C). Transfer to a clean plate. Add the remaining 1 teaspoon oil and repeat with the other half; allow about 12–16 minutes for both batches, or longer if needed to reach 165°F.
- Lower the heat to medium and return all the cooked chicken to the skillet. Pour in the clean, prepared sauce and stir to coat. Bring it to a gentle simmer for about 1–2 minutes so the ginger and garlic soften. Reduce the heat if the sauce bubbles fiercely or starts catching on the pan.
- In a small bowl, stir the 1 tablespoon cornstarch with the reserved 2 tablespoons cold water until completely smooth. Stir again just before adding it to the gently simmering sauce. Pour in the slurry while stirring, then cook about 1–2 minutes, until the sauce looks glossy and coats the chicken. Keep it gently bubbling while it thickens, then remove from the heat; do not keep reducing a thick glaze.
- Sprinkle with sesame seeds and chopped green onions as desired. Serve the chicken hot with rice or noodles and spoon the glaze over the top. The recipe makes 4 servings when paired with sides. No marinating or resting time is required.
Notes
- This skillet recipe has no marinade or rest. Timing includes two chicken batches and the sauce finish.
- Keep ¼ cup sauce water separate from the 2 tablespoons cold water used for the slurry.
- Keep the prepared sauce separate from raw chicken. Cook chicken to 165°F and refrigerate leftovers promptly.