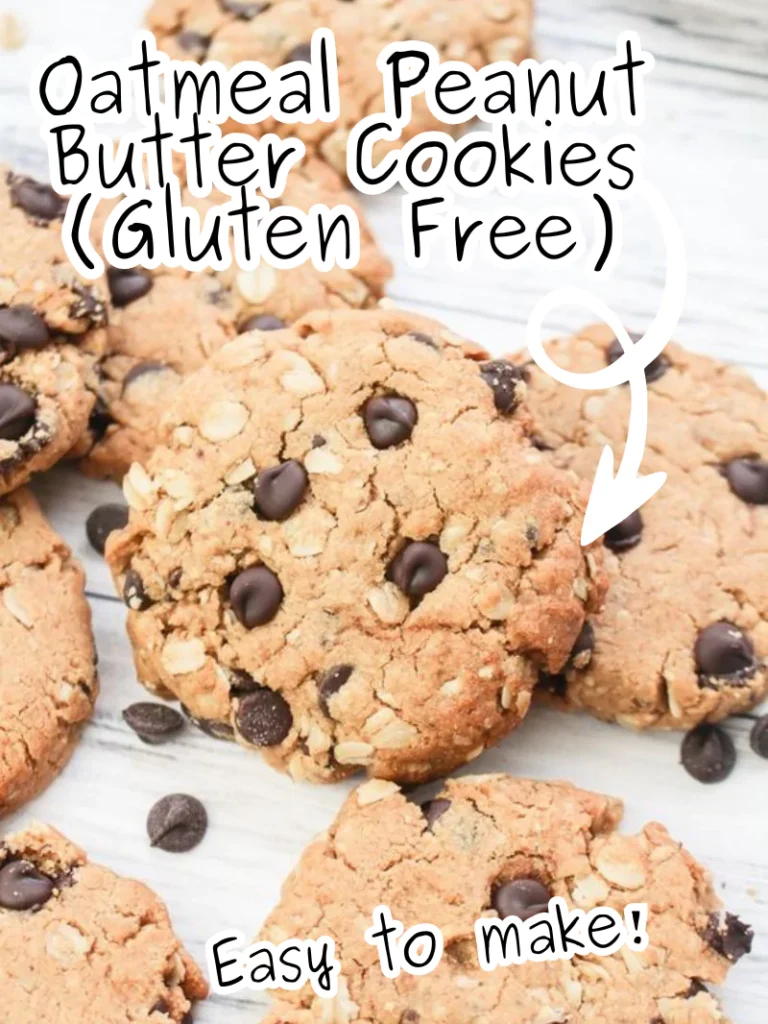
Oatmeal Peanut Butter Cookies (Gluten Free)
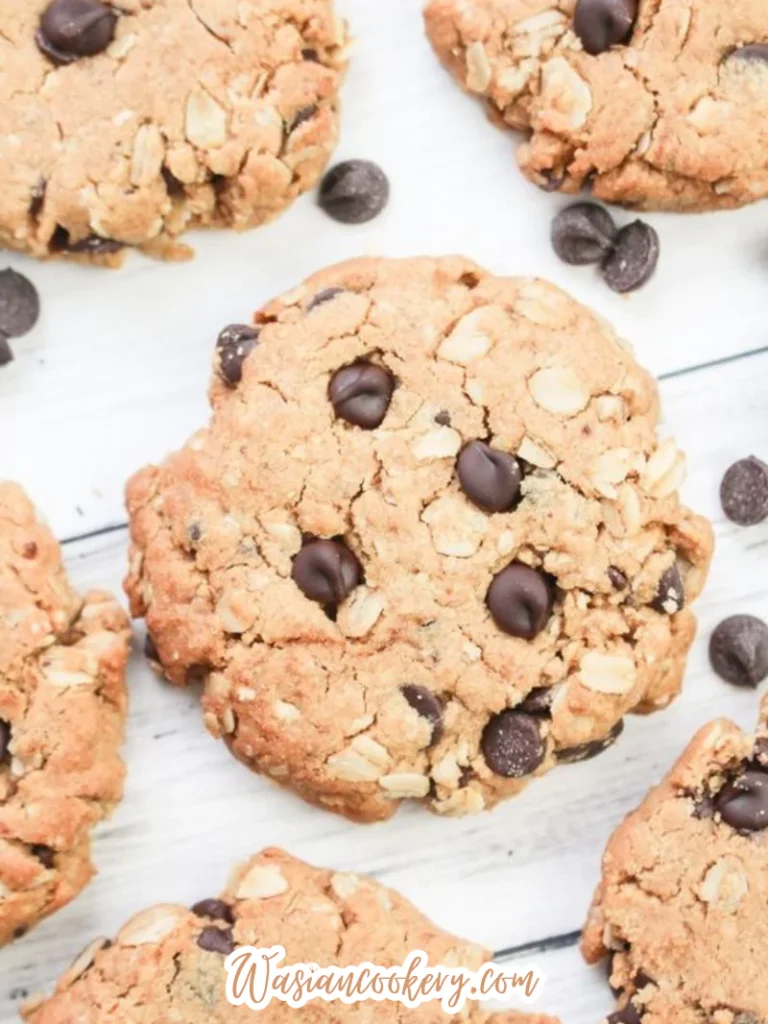
In my kitchen, these oatmeal peanut butter cookies use peanut butter, rolled oats and one egg to make a flourless dough. Brown sugar adds a caramel note, and dark chocolate chips give small pockets of melted chocolate.
For a gluten-free batch, choose oats labeled gluten-free and check the other ingredients. Ordinary oats can pick up gluten during growing or processing, so flourless does not automatically mean gluten-free.
The dough needs no planned chilling. Allow about 1 hour for mixing, baking two trays one after another and cooling the cookies until they hold together. They are soft when they leave the oven, so give them time on the baking sheet before moving them.
Kitchen Equipment You Will Need
As an Amazon Associate I earn from qualifying purchases.
- Large mixing bowl
- Hand mixer
- Sturdy spoon
- Rimmed baking sheets
- 2-tablespoon cookie scoop
- Kitchen scale
Ingredients
- 265g (1 cup) peanut butter
- 100g (½ cup) light brown sugar
- 1 large egg
- 1 teaspoon vanilla extract
- 75g (¾ cup) rolled oats (gluten-free if needed)
- 1 teaspoon bicarbonate of soda (baking soda)
- 100g (½ cup) dark chocolate chips (semi-sweet or bittersweet)
Ingredient notes
Peanut butter: A smooth, no-stir peanut butter is the most straightforward choice for this dough. Oil-separated peanut butter behaves differently and can make flourless cookies more crumbly. Avoid reduced-fat spreads or powdered peanut butter as direct swaps.
Oats: Use rolled oats for the stated texture. For the gluten-free version named here, the oats must be labeled gluten-free. Do not use steel-cut oats; they will not soften in this short bake.
Measurements: Use the listed gram weights if your measuring cups vary, especially for sticky peanut butter. Measure the baking soda with a level teaspoon and mix it through the oats so no concentrated pockets remain.
Chocolate chips: Check the label if avoiding gluten or dairy. Any chips pressed onto the finished cookies come from the measured 100g, so there is no need to increase the amount.
Break up any firm brown sugar lumps before mixing so they do not remain as dry pockets in the dough. The peanut butter should be easy to stir, but there is no need to melt it. If it has been refrigerated and feels stiff, let it soften enough to mix comfortably.
To weigh sticky ingredients, put the mixing bowl on the scale and reset it to zero before adding the peanut butter. Reset again for the sugar. Measure the oats and chocolate separately before combining them, which makes it easier to correct a measurement without picking ingredients out of the dough.
How to make the cookies
A large mixing bowl, a hand mixer or sturdy spoon, and two rimmed baking sheets are enough. A 2-tablespoon cookie scoop helps keep the cookies even. Use a kitchen scale for the listed gram weights when possible.
Step 1
Heat the oven to 350°F (180°C), or 160°C fan. Line two baking sheets with parchment or silicone baking mats. For a gluten-free batch, use oats labeled gluten-free, check the other ingredient labels, and use clean equipment free of flour or crumbs.
Step 2
In a large bowl, beat the peanut butter and brown sugar until evenly combined. Beat in the egg and vanilla until smooth, scraping the sides and bottom of the bowl.
Step 3
Mix the oats and baking soda together, then stir them into the peanut butter mixture. Fold in the chocolate chips. If you want chips on top, reserve 1 tablespoon from the measured 100g before folding in the rest.
Step 4
Scoop about 2 tablespoons of dough per cookie, roll gently into balls and place at least 2 inches apart on the lined sheets. Flatten each ball to an even disc about 1/2 inch thick. Keep the cookie sizes similar so they bake evenly.
Step 5
Bake one sheet at a time on the middle rack for 10–12 minutes per tray, until the edges are lightly golden and the centers look set rather than wet. They will still feel soft. Allow about 25 minutes of oven time for both trays; do not wait for the cookies to become hard in the oven.
Step 6
If you reserved chocolate chips, gently press them into the warm cookies. Let each tray cool for 10 minutes, then move the cookies with a wide spatula to a rack for about 10 minutes more, or until cool and firm enough to handle. Cool completely before packing away.
Tips for soft, sturdy cookies
Flatten the dough before baking. A thick ball and a thin disc cook differently, even when they weigh the same. Leave space between cookies and keep the second tray away from the hot stovetop while the first bakes.
If the dough feels too sticky to shape, cover and refrigerate it briefly until manageable. This is an optional troubleshooting step and adds time beyond the stated hour. Do not add extra oats just to dry it out, because that changes the balance.
Let the cookies firm up before testing their texture. A warm flourless cookie can bend or break when lifted even though it has baked enough. Use a wide spatula and keep the first 10 minutes of cooling on the sheet.
After adding the oats, scrape along the bottom of the bowl with a sturdy spatula. Look for any lighter streaks of unmixed egg or dry patches of oats, then fold until the mixture looks even. This is especially useful with a deep bowl, where the center can look combined before the bottom is ready.
When shaping, press down any loose oats at the edge of each disc and tuck stray chocolate chips into the dough. Keep the tops fairly level rather than leaving a high mound in the center. A small piece of parchment between the dough and your hand can make flattening a sticky portion easier.
Planning the two trays
Line both sheets and make room for the cooling rack before mixing. Shape the portions across both trays so you can compare their size side by side. Once the first tray is in the oven, keep the second on a cool work surface and have a timer ready for the changeover.
Give the first tray its cooling time while the second bakes. Keep track of which sheet has just left the oven, especially if children are helping decorate or move the cookies. Leave enough clear counter space to set down each hot pan without shifting another batch.
Serving ideas
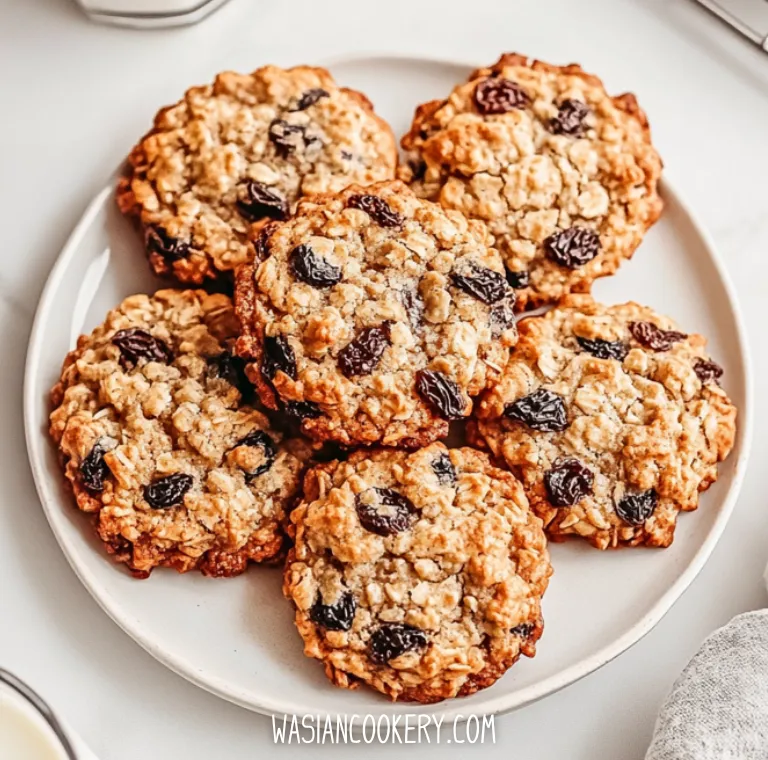
Serve with milk, tea or coffee once the chocolate has cooled enough to eat comfortably. If you are putting together a mixed cookie plate, oatmeal raisin cookies give another oat-based option and classic chocolate chip cookies offer a familiar contrast.
For a separate flourless dessert to explore, try chocolate-covered strawberries. Those serving ideas have their own ingredient lists; check each recipe and keep gluten-containing cookies away from a gluten-free batch.
Storage
Once fully cool, keep the cookies in an airtight container at room temperature for about 3–4 days for best texture. Separate layers with parchment if the chocolate is soft. Sealing warm cookies traps steam and can make them sticky.
For longer storage, freeze the cooled cookies in a well-sealed container for up to 3 months for best quality. Thaw only what you need at room temperature, leaving them covered so they do not dry out.
Common questions
Can I leave out the egg or change the sugar?
The egg and sugar both affect the structure of this flourless dough. Egg replacements, liquid sweeteners and sugar substitutes are not direct swaps in this recipe; use a formula developed for those changes instead.
Can I use quick oats?
Quick oats are thinner and give a finer texture, while rolled oats keep more chew. This version specifies rolled oats. Whichever type you use in a different recipe, check the gluten-free label when needed.
Can I taste the raw dough?
Do not eat the unbaked dough because it contains raw egg. Bake the cookies as directed and wash hands, utensils and work surfaces after handling it.
Can I bake these with one baking sheet?
Yes, but allow more time. Let the first batch rest on the sheet as directed, transfer it carefully to the rack, then let the empty baking sheet cool before adding the next portions. Dough placed on a hot tray can soften before it enters the oven, making the second batch behave differently.
Do I need to make a fork pattern?
A fork pattern is optional. The important part is shaping the dough into evenly thick discs before baking. If a fork sticks and pulls the cookie apart, smooth the surface gently and use your fingers or a piece of parchment instead. The cookies do not need decorative marks to bake properly.
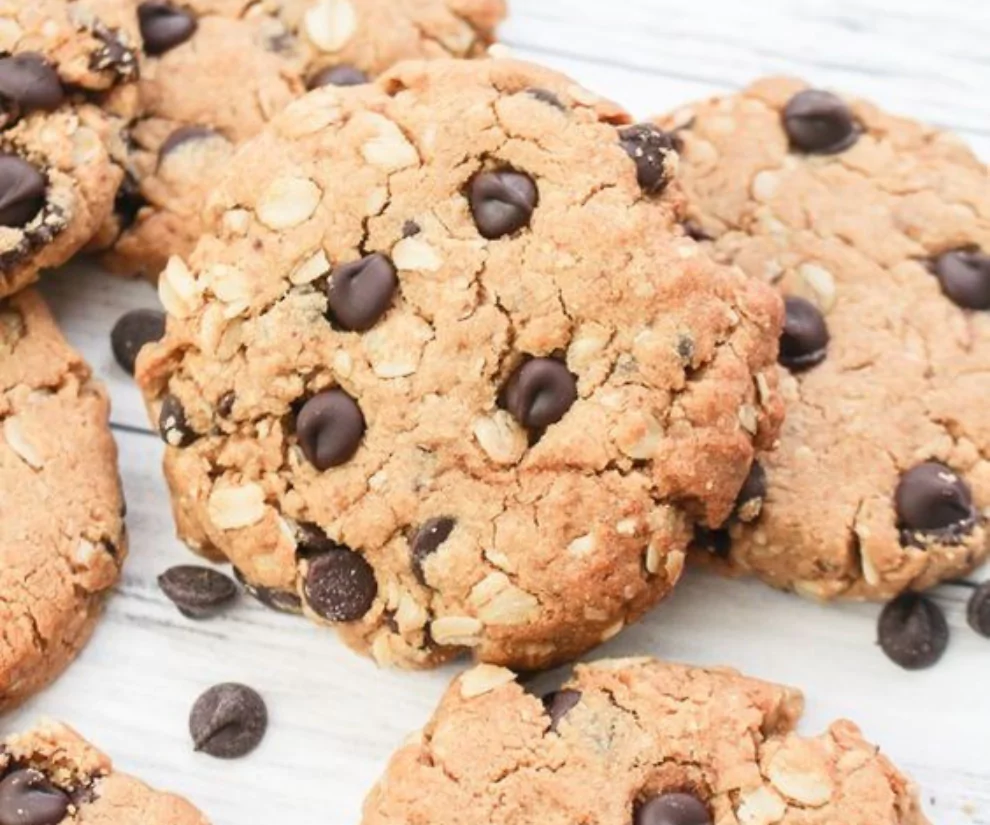
Gluten-free Peanut Butter Oatmeal Cookies
Course: DessertCuisine: AmericanDifficulty: Easy4
servings15
minutes25
minutes1
hourFlourless peanut butter cookies with rolled oats and dark chocolate chips. Use gluten-free-labeled oats and checked ingredients for a gluten-free batch.
Ingredients
265g (1 cup) peanut butter
100g (½ cup) light brown sugar
1 large egg
1 teaspoon vanilla extract
75g (¾ cup) rolled oats (gluten-free if needed)
1 teaspoon bicarbonate of soda (baking soda)
100g (½ cup) dark chocolate chips (semi-sweet or bittersweet)
Directions
- Heat the oven to 350°F (180°C), or 160°C fan. Line two baking sheets with parchment or silicone baking mats. For a gluten-free batch, use oats labeled gluten-free, check the other ingredient labels, and use clean equipment free of flour or crumbs.
- In a large bowl, beat the peanut butter and brown sugar until evenly combined. Beat in the egg and vanilla until smooth, scraping the sides and bottom of the bowl.
- Mix the oats and baking soda together, then stir them into the peanut butter mixture. Fold in the chocolate chips. If you want chips on top, reserve 1 tablespoon from the measured 100g before folding in the rest.
- Scoop about 2 tablespoons of dough per cookie, roll gently into balls and place at least 2 inches apart on the lined sheets. Flatten each ball to an even disc about 1/2 inch thick. Keep the cookie sizes similar so they bake evenly.
- Bake one sheet at a time on the middle rack for 10–12 minutes per tray, until the edges are lightly golden and the centers look set rather than wet. They will still feel soft. Allow about 25 minutes of oven time for both trays; do not wait for the cookies to become hard in the oven.
- If you reserved chocolate chips, gently press them into the warm cookies. Let each tray cool for 10 minutes, then move the cookies with a wide spatula to a rack for about 10 minutes more, or until cool and firm enough to handle. Cool completely before packing away.