Keto Pizza Crisps recipe
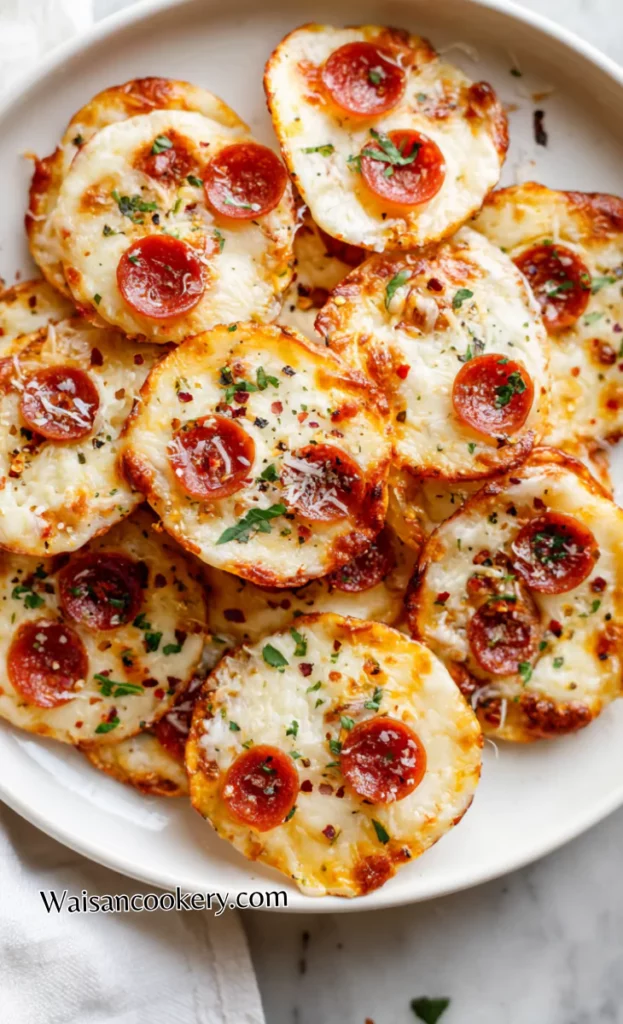
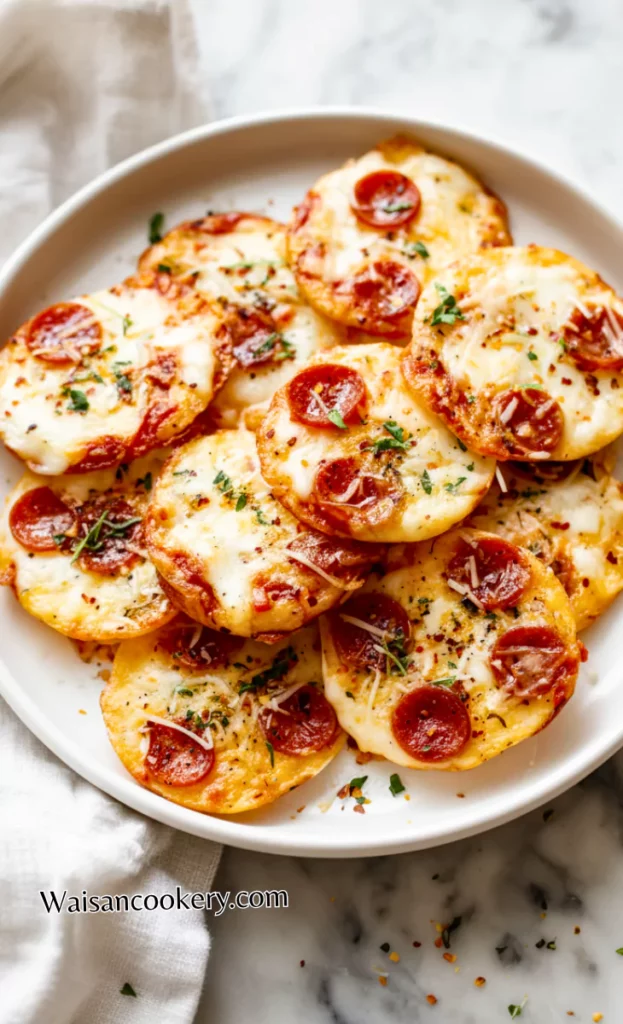
I love the savory smell of cheese and pepperoni baking together. These keto pizza crisps have the familiar flavor of a pizza topping in small, crustless rounds. Parmesan brings a nutty edge, while mozzarella gives the middle a little chew.
I have made them many times when I wanted a quick cheese snack. The ingredients are simple, but spreading the cheese evenly and allowing it to cool make a difference. They are soft straight from the oven and become firmer as they stand.
The full mixture makes about 12 crisps using all the cheese and pepperoni. Plan for two batches on large baking sheets and include the cooling time. Serve them with a dip, alongside a salad, or as one part of a snack platter.
Why This Dish Is Great
- There is no dough to mix, knead, or rise, so preparation centers on measuring cheese and arranging small rounds.
- Mozzarella and Parmesan give different textures, with browned edges and a slightly softer center depending on the cheese.
- Garlic powder and Italian seasoning spread easily through the mixture without needing to chop fresh garlic.
- Ready-to-eat pepperoni adds the familiar pizza flavor in small pieces that fit each round.
- A lined pan makes it easier to lift the cooled crisps without scraping melted cheese from bare metal.
- Small portions are convenient for a snack board, and you can leave some plain for people who prefer them.
Which Cheese Should I Use?
Use low-moisture shredded mozzarella with shredded Parmesan. Fresh mozzarella balls packed in water contain more moisture and are not a direct match for this method. Measure the shreds without pressing them tightly into the cup, then mix gently so the Parmesan is distributed throughout.
Freshly shredded and packaged cheeses may melt differently because their moisture and coatings vary. Watch the cheese itself rather than expecting every brand to finish at the same minute. A mozzarella-heavy crisp can remain a little chewy even after cooling; the goal is browned edges and a round that lifts without stretching apart.
Ingredients
- 1 cup shredded mozzarella cheese
- 1/2 cup shredded Parmesan cheese
- 1/2 teaspoon Italian seasoning
- 1/4 teaspoon garlic powder
- 1/4 cup mini pepperoni (or chopped regular pepperoni)
- Pinch of red pepper flakes (optional)
- Fresh parsley for garnish (optional)
Use ready-to-eat mini pepperoni or finely chopped regular pepperoni, not raw sausage. The red pepper flakes and parsley are optional. No added salt is needed in the basic recipe because the cheese and pepperoni are already salty; taste a finished crisp before adding any.
Kitchen Equipment You Will Need
As an Amazon Associate I earn from qualifying purchases.
- Baking sheets
- Parchment paper
- Mixing bowl
- Measuring cups
- Measuring spoons
- Spoon
- Thin spatula
- Cooling rack
- Oven mitts
- Box grater
- Chef’s knife
- Cutting board
- Skillet
- Instant-read thermometer
How To Make Keto Pizza Crisps
Allow about 15 minutes to preheat and prepare, up to 20 minutes for two baking batches, and 10 minutes cooling after the last batch: about 45 minutes total. The first batch can cool while the second bakes. A larger quantity or a slower oven needs extra time.
Step 1:
Preheat the oven to 400°F (200°C). Line two large rimmed baking sheets with parchment rated for this temperature. In a bowl, combine the 1 cup shredded mozzarella, 1/2 cup shredded Parmesan, 1/2 teaspoon Italian seasoning, and 1/4 teaspoon garlic powder until evenly mixed.
Step 2:
Divide all the cheese mixture into 12 equal portions, about 2 tablespoons each. Put six portions on each sheet and spread each into a thin round about 3 inches wide, leaving about 2 inches between rounds. Keep the thickness even, with no tall mound in the center.
Step 3:
Divide the full 1/4 cup ready-to-eat pepperoni among the 12 rounds. Scatter the pieces across each surface rather than stacking them in the center. If using regular pepperoni, chop it small enough that every crisp gets several little pieces.
Step 4:
Bake one sheet at a time for about 8–10 minutes per batch, checking from 7 minutes. The cheese should bubble and spread, with golden edges and a set-looking center. Remove before the edges become dark brown. Bake the second sheet the same way; allow additional time only if needed for its centers to set.
Step 5:
Let each batch sit on its sheet for 5 minutes before lifting with a thin spatula. Transfer the rounds to a rack for about 5 more minutes, until cool and firm enough to hold. If a round still stretches, give it more cooling time before moving it. Mozzarella can leave the centers slightly chewy.
Step 6:
Add the optional pinch of red pepper flakes and fresh parsley, if using, shortly before serving. Keep the crisps in a single layer until fully cooled. Enjoy the 12 crisps promptly, or refrigerate leftovers within 2 hours of baking, or within 1 hour above 90°F.
Notes
- Spread each portion into an even layer. A high mound can stay soft inside while its thin outer edge becomes too dark.
- Keep the rounds separate. If two melt together, gently separate them with the spatula after the first cooling period.
- Check both the nearest and farthest edges of the pan. Ovens have hot spots, so one side may brown sooner.
- Use the second cool sheet for the next batch. Cheese starts melting immediately on a hot pan and can spread unevenly.
- Let the crisps rest before lifting. Melted cheese is flexible, and moving it too soon can fold or tear the rounds.
- Blot any excess surface oil lightly after the rounds have set. Pressing hard can break their delicate, lacy edges.
- Keep wet dips and fresh garnishes separate until serving. Moisture softens the crisps, especially where it touches their centers.
Ingredients You Can Add
- Use the optional pinch of crushed red pepper flakes for heat, dividing it lightly over the finished batch.
- Add a few tiny diced green pepper pieces to selected rounds. Keep the topping sparse so the cheese can still spread.
- Pat sliced black olives dry and chop them small before adding a few pieces to the cheese.
- Tear fresh basil into small pieces and add it after cooling, just before the crisps go to the table.
- Replace a little Parmesan with finely grated Asiago or Romano for a sharper taste, keeping the total cheese amount the same.
- Cook finely chopped mushrooms in a skillet until their liquid evaporates, then cool and use a small amount as a topping.
What To Serve
Serve the cooled crisps beside tomato cucumber salad for contrasting textures. Keep them on a dry plate, then take a bite with the salad instead of dropping them into its dressing ahead of time. They also work beside plain cucumber or pepper sticks.
For dipping, offer marinara or On the Border-style salsa in a small bowl. Scoop gently because these are more delicate than a thick tortilla chip. Spoon the dip onto a crisp if its edges are thin or lacy.
On a mixed snack board, peach salsa adds a sweet, fresh option alongside vegetables and the savory crisps. Choose dips and portions to suit your guests. The recipe name does not describe the carbohydrate content of the whole platter.
Recipe Variations And Swaps
- For plain cheese crisps, leave out the pepperoni and keep the same cheese mixture. Watch closely because the uncovered cheese can brown differently.
- For vegetable crisps, replace pepperoni with a few dry, finely chopped peppers, olives, or cooked mushrooms. Avoid a thick blanket of toppings.
- For a spicier version, add a little cayenne or use the optional pepper flakes. Try it on a few rounds first.
- For more herb flavor, add a little dried oregano, basil, or thyme to the mixture. Finely crushed herbs distribute more evenly.
- For Parmesan-only crisps, replace the mozzarella with Parmesan while keeping the total cheese volume. They spread and brown differently, so begin checking earlier.
- For dairy-free rounds, choose shreds intended for melting and omit meat toppings if desired. Bake one small trial first; dairy-free cheeses may stay soft instead of becoming crisp.
- For a breakfast-style variation, use cooked, crumbled sausage or cooked bacon in place of pepperoni. Drain well and scatter it lightly across the rounds.
- For smaller crisps, use smaller equal portions and spread them thin. You will get more pieces and may need another batch, with earlier doneness checks.

How To Store
Let the rounds finish their brief cooling in a single layer, then refrigerate in a covered container at 40°F or below within 2 hours, or within 1 hour above 90°F. Separate layers with parchment and use within 3–4 days. These homemade mozzarella-and-pepperoni crisps are not treated as shelf-stable crackers; do not store them on the counter for days.
Refrigeration may soften their texture. You can eat safely stored leftovers cold, or reheat in a single layer at 350°F (175°C), checking after a few minutes and heating leftovers to 165°F. Let them cool and firm again before handling. Watch carefully because thin edges burn quickly; the microwave tends to leave a softer, chewier result.
FAQ
Why are my crisps soft in the middle?
The cheese may be too moist or too thick, or the rounds may still be warm. Use low-moisture mozzarella, spread thinly, and allow the full cooling time. A little center chew is normal with mozzarella.
Can I use only mozzarella?
You can, but expect a softer result with less of the dry, nutty texture that Parmesan brings. Keep the rounds thin and judge them after cooling rather than while the cheese is bubbling.
Are these zero-carb snacks?
No zero-carb amount is promised. Cheese, seasoning, pepperoni, and sauces vary by brand and portion. Check the labels you use if you track carbohydrates; the recipe title alone is not a nutrition calculation.
Can I make them in the microwave?
This recipe uses the oven for more even browning across the batch. A microwave can melt cheese quickly but may leave chewy centers, so it is not a direct substitute for the listed baking schedule.
Can I bake both sheets together?
Only if your oven has room and heats evenly. Rotate their positions if needed and watch each sheet separately. The timing here uses two successive batches for more predictable checking.
How far ahead should I make them?
For their best texture, bake them on the day you plan to serve them and let them cool. If saving them for later, refrigerate promptly and expect some softening rather than the snap of a packaged cracker.
Short Description
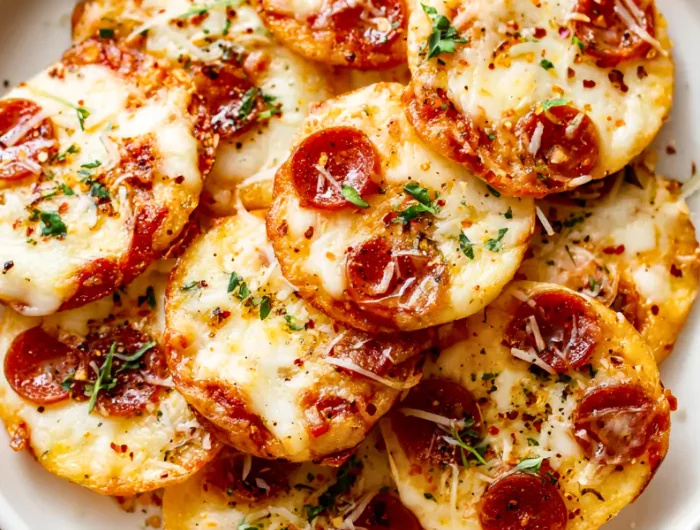
Keto Pizza Crisps combine mozzarella, Parmesan, Italian seasoning, garlic, and pepperoni in small baked rounds. Let them cool before serving so the golden edges can firm up.
Keto Pizza Crisps
Course: Appetizers, SnacksCuisine: AmericanDifficulty: Easy12
crisps15
minutes20
minutes45
minutesKeto Pizza Crisps combine mozzarella, Parmesan, Italian seasoning, garlic, and pepperoni in small baked rounds. Let them cool before serving so the golden edges can firm up.
Ingredients
1 cup shredded mozzarella cheese
1/2 cup shredded Parmesan cheese
1/2 teaspoon Italian seasoning
1/4 teaspoon garlic powder
1/4 cup mini pepperoni (or chopped regular pepperoni)
Pinch of red pepper flakes (optional)
Fresh parsley for garnish (optional)
Directions
- Preheat the oven to 400°F (200°C). Line two large rimmed baking sheets with parchment rated for this temperature. In a bowl, combine the 1 cup shredded mozzarella, 1/2 cup shredded Parmesan, 1/2 teaspoon Italian seasoning, and 1/4 teaspoon garlic powder until evenly mixed.
- Divide all the cheese mixture into 12 equal portions, about 2 tablespoons each. Put six portions on each sheet and spread each into a thin round about 3 inches wide, leaving about 2 inches between rounds. Keep the thickness even, with no tall mound in the center.
- Divide the full 1/4 cup ready-to-eat pepperoni among the 12 rounds. Scatter the pieces across each surface rather than stacking them in the center. If using regular pepperoni, chop it small enough that every crisp gets several little pieces.
- Bake one sheet at a time for about 8–10 minutes per batch, checking from 7 minutes. The cheese should bubble and spread, with golden edges and a set-looking center. Remove before the edges become dark brown. Bake the second sheet the same way; allow additional time only if needed for its centers to set.
- Let each batch sit on its sheet for 5 minutes before lifting with a thin spatula. Transfer the rounds to a rack for about 5 more minutes, until cool and firm enough to hold. If a round still stretches, give it more cooling time before moving it. Mozzarella can leave the centers slightly chewy.
- Add the optional pinch of red pepper flakes and fresh parsley, if using, shortly before serving. Keep the crisps in a single layer until fully cooled. Enjoy the 12 crisps promptly, or refrigerate leftovers within 2 hours of baking, or within 1 hour above 90°F.
Notes
- Divide the full 1 1/2 cups cheese mixture into 12 thin rounds, about 2 tablespoons each. Use all 1/4 cup pepperoni across them. Two large sheets with six rounds each allow room for spreading.
- Timing allows 15 minutes preheating and preparation, two 8–10-minute baking batches, and 10 minutes cooling after the final batch: about 45 minutes total.
- Low-moisture mozzarella works best here. Centers may remain slightly chewy; the rounds firm as they cool.
- These homemade cheese-and-pepperoni crisps require refrigeration. Refrigerate within 2 hours, or 1 hour above 90°F, and use within 3–4 days. Store at 40°F or below; texture may soften.