Gus world famous fried chicken recipe
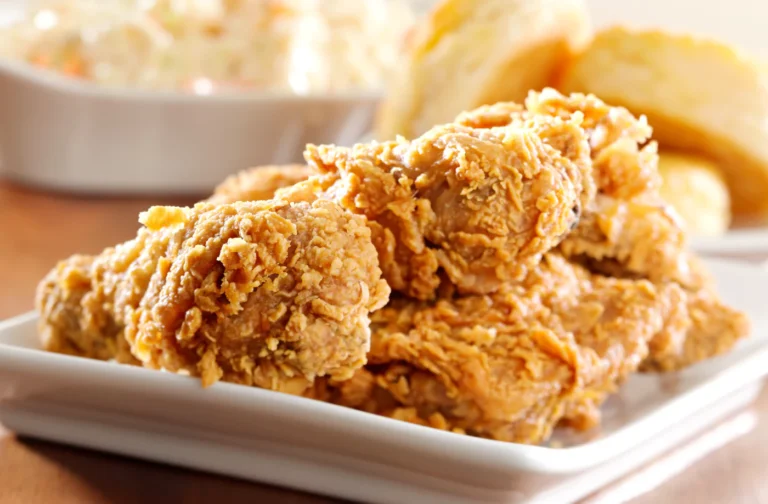
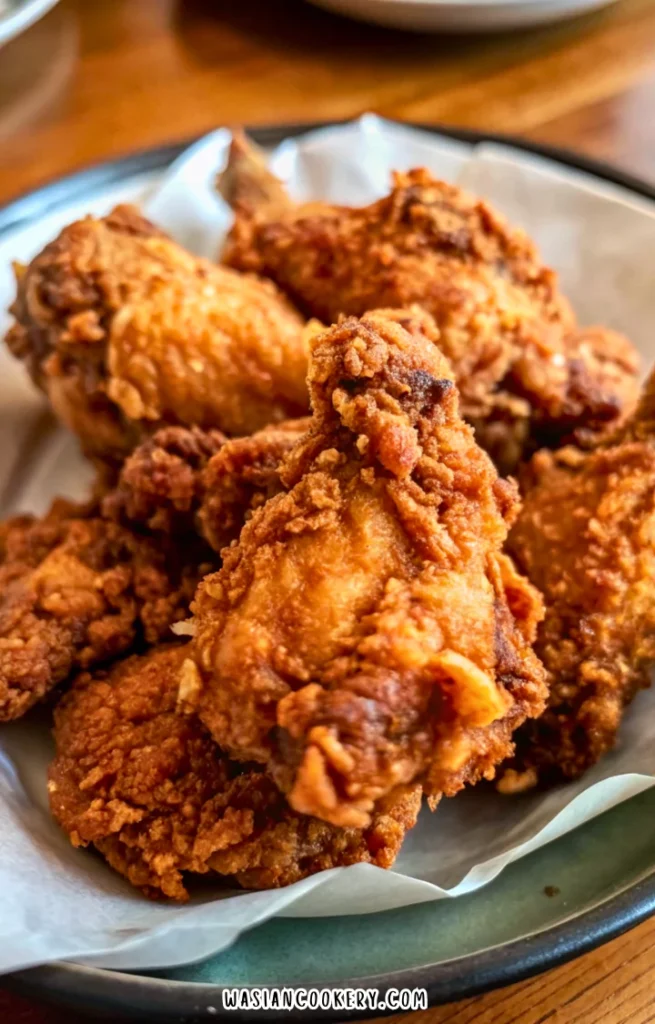
I love a piece of fried chicken with a crisp, peppery coating and juicy meat inside. This homemade Gus’s-inspired fried chicken uses a cornstarch-rich batter, sweet paprika, and cayenne for a spicy Southern-style dinner.
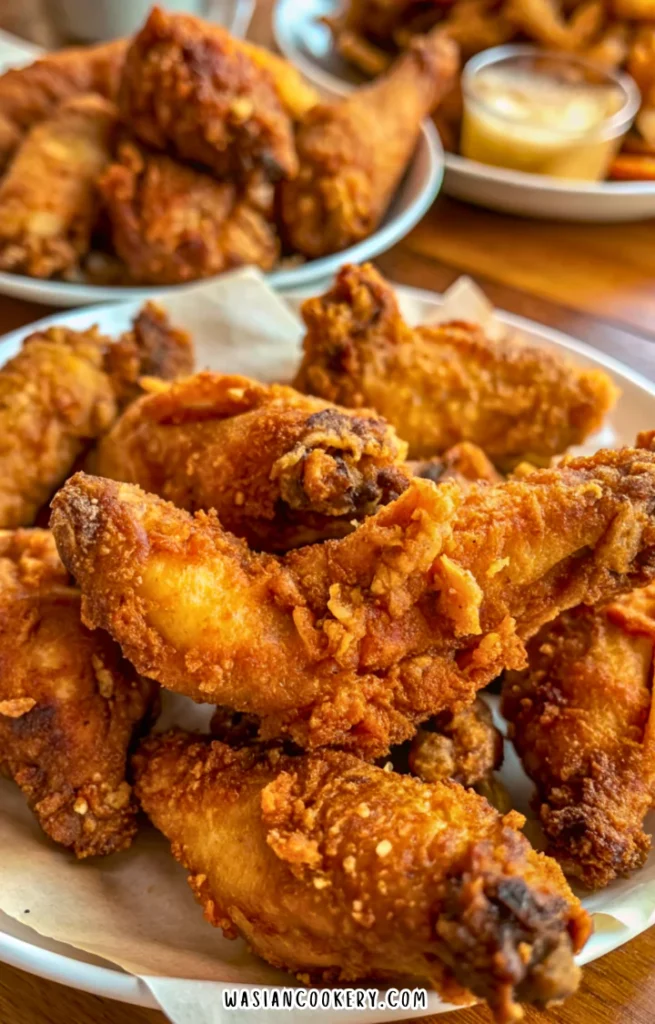
When I first shared this recipe, I wanted to add another fried chicken option to the blog. I made it with a whole chicken cut into pieces and a simple seasoned batter. You can reduce the cayenne if you prefer gentler heat.
The coating comes together with pantry ingredients and water. Have your sides ready, give the chicken room in the pot, and use thermometers for both the oil and the meat so each batch cooks safely.
Why This Dish Is Great
- The cornstarch-heavy coating gives the chicken a light, crisp outer layer with only a small amount of all-purpose flour.
- Sweet paprika brings color and a mild pepper flavor, while black pepper and cayenne provide most of the heat.
- One cut-up chicken offers a mixture of breasts, thighs, drumsticks, and wings for people with different preferences.
- The basic batter uses water, so no eggs or milk are needed in the main recipe.
- You can prepare the side dishes before heating the oil and focus on frying when it is time to eat.
- The original cayenne amount is adjustable. Keep the other measured ingredients steady while choosing a heat level that suits your table.
What Is the Best Chicken to Use?
Choose a fully thawed, cut-up whole chicken with bone-in pieces of reasonably similar size. Very large breast pieces take longer than small wings. A butcher can divide especially large pieces for you; avoid trying to make a huge breast and a tiny wing finish at the same moment.
Keep the chicken refrigerated until you are ready to prepare it. Pat away surface moisture with paper towels and discard the towels immediately. Do not rinse raw chicken, since splashing can spread raw juices around the sink. Wash your hands and clean any surfaces that touched it before handling cooked food or side dishes.
Ingredients
- 1 whole chicken, cut into pieces
- 1 cup cornstarch
- 1/4 cup all-purpose flour
- 1 tablespoon ground black pepper
- 1 tablespoon sweet paprika
- 1 tablespoon cayenne pepper (adjust to taste for spiciness)
- 1 teaspoon Kosher salt
- 1 cup water
- Vegetable oil, for frying
The tablespoon of cayenne makes a distinctly hot coating; the original ingredient list already allows you to adjust it to taste. Measure the cornstarch and flour into level cups. Whisk the dry ingredients thoroughly so no piece gets a pocket of cayenne or salt. Use a neutral vegetable oil suitable for deep frying.
Kitchen Equipment You Will Need
As an Amazon Associate I earn from qualifying purchases.
- Deep heavy pot with metal lid
- Mixing bowl
- Whisk
- Measuring cups
- Measuring spoons
- Knife
- Cutting board
- Deep-fry thermometer
- Instant-read food thermometer
- Stainless steel tongs
- Paper towels
- Oven-safe wire rack
- Rimmed baking sheet
- Oven mitts
- Shallow storage containers
- Serving platter
How To Make Gus’s-Inspired Fried Chicken
- Prepare the chicken: Use one fully thawed whole chicken already cut into pieces. Pat it dry with paper towels; do not wash or rinse it. Discard the towels, wash your hands, and keep raw chicken separate from ready-to-eat foods. Set an oven-safe wire rack over a rimmed baking sheet for the cooked pieces.
- Mix the dry ingredients: In a mixing bowl, whisk together 1 cup cornstarch, 1/4 cup all-purpose flour, 1 tablespoon ground black pepper, 1 tablespoon sweet paprika, 1 tablespoon cayenne pepper (or less to taste), and 1 teaspoon kosher salt until evenly combined.
- Make the batter: Gradually whisk the measured 1 cup water into the dry mixture until smooth. The batter should coat the chicken while excess drips away. Stir again between batches because the cornstarch can settle. Keep this bowl well away from the hot oil.
- Heat the oil: Put vegetable oil about 2–3 inches deep in a stable, deep heavy pot, keeping the pot no more than half full and leaving at least 2 inches of empty space above the oil. Use a larger pot if needed to meet both limits. Heat to 350°F (175°C), monitoring with a deep-fry thermometer. Keep utensils dry, and never leave the oil unattended.
- Coat the chicken: Dip only the pieces for the next small batch into the batter and let excess drip off. Using dry metal tongs, lower them carefully into the oil away from you. Leave space between pieces and room for the oil to bubble without approaching the rim. Keep the remaining raw chicken refrigerated between batches.
- Fry and check: Adjust the burner to keep the oil around 325–350°F after adding chicken. Turn the pieces carefully as needed. Begin checking smaller pieces around 12–15 minutes; larger pieces can take 20 minutes or longer. Lift each piece out of the oil and check the thickest meat, away from bone, with a clean instant-read thermometer. Every piece must reach at least 165°F (74°C); color and elapsed time alone do not establish doneness. Continue frying any underdone pieces. Let the oil return to 350°F before the next batch.
- Drain and serve: Transfer fully cooked chicken with clean, dry tongs to the prepared rack, keeping it separate from raw-chicken utensils. Let the final batch rest about 5 minutes before serving. For earlier batches, keep the rack in a 200°F oven and verify the chicken stays at least 140°F until service. Plan about 20 minutes preparation, 60 minutes batch frying, and 5 minutes final rest, approximately 85 minutes total; larger pieces or smaller batches may need longer. Turn off the heat and leave the oil undisturbed until completely cool.
Notes
- Keep the frying area clear of water and wet dishes. Water splashed into hot oil can cause violent spattering; never add water to cool the oil.
- Use two sets of tongs, or wash and dry them thoroughly before moving cooked chicken. A clean serving platter also prevents contact with raw juices.
- Watch the oil thermometer after every addition. If the temperature drops sharply, cook fewer pieces in the next batch rather than turning the burner to maximum.
- If the coating darkens quickly, lower the heat slightly within the frying range and keep checking the meat temperature. A darker crust does not mean the center is ready.
- Rest the chicken on a rack rather than stacking it. Air around each piece helps the coating stay crisp instead of trapping steam underneath.
- Discard batter that has touched raw chicken. Do not use it as a dip or keep it for another meal.
- If oil begins smoking, turn off the heat. Do not move a pot of hot oil or pour water into it; keep children and pets away from the stove.
Ingredients You Can Add
These optional ideas change the flavor around the original batter. Add dry seasonings sparingly, and serve wet condiments alongside the cooked chicken so the crust stays crisp.
- Garlic powder can add a savory note to the dry batter mixture.
- Onion powder gives a gentle onion flavor without adding wet chopped onion to the coating.
- A little smoked paprika can replace part of the sweet paprika for a smoky variation.
- Hot sauce can be offered at the table for people who want more heat.
- A small pinch of extra salt may be added just after frying if a cooked piece tastes underseasoned.
- Lemon wedges on the serving platter let everyone add a little brightness to their own chicken.
What To Serve With It
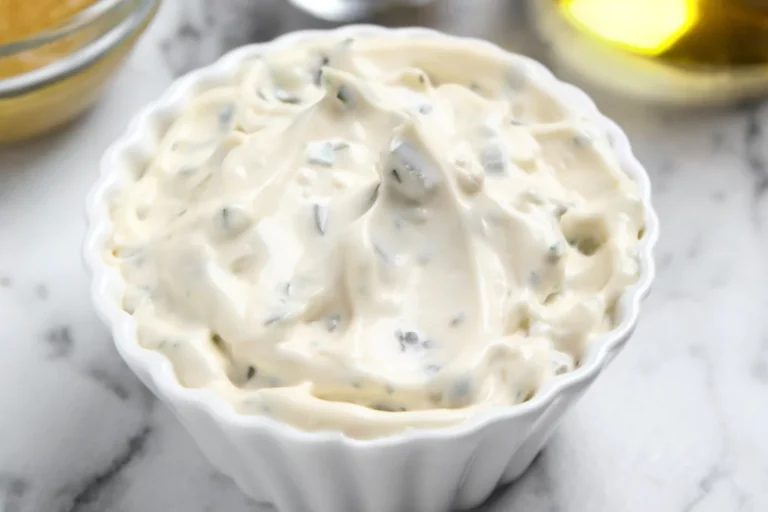
My favorite side dish for this fried chicken is Bonefish Grill Coleslaw for its refreshing crunch and tangy flavor. Prepare it before you begin frying and keep it refrigerated until dinner.
Texas Roadhouse Mashed Potatoes with a little gravy make a comforting addition. Cornbread, cheesy macaroni, green beans, and collard greens are other familiar choices; choose a couple of sides rather than trying to cook everything during the frying.
For dipping, Hooters Daytona Beach Sauce and Luby’s Tartar Sauce offer different flavors. Chicago Mild Sauce is another option when you want a sweeter sauce alongside the peppery coating.
Variations and Swaps
- Less heat: reduce the cayenne within the original to-taste allowance. Sweet paprika can remain at its listed amount.
- Dark-meat pieces: use bone-in thighs or drumsticks in place of a mixed cut-up chicken, checking every piece for the same 165°F minimum.
- Boneless pieces: chicken breasts or thighs can be used, but they need their own temperature checks and may finish sooner. Do not follow a fixed bone-in cooking time.
- Neutral oil choice: refined canola, corn, or another vegetable frying oil can be used. Follow its label and keep it below the smoking point.
- Smoky seasoning: replace some sweet paprika with smoked paprika instead of adding an extra tablespoon of dry seasoning.
- Sauce on the side: offer a sweet dip with the spicy chicken while keeping the coating dry until it reaches the plate.
- Extra heat at the table: keep the batch moderate and let individuals add their preferred hot sauce after serving.
- Optional marinade: the original buttermilk-and-hot-sauce suggestion can be used before battering. Cover the chicken in a suitable container and refrigerate 2–12 hours at 40°F or below, then drain well and pat away excess moisture. Discard the marinade. This adds 2–12 hours to the basic 85-minute schedule and uses extra ingredients beyond the base list.
Storage
Refrigerate leftovers in shallow containers within two hours after cooking or leaving hot holding, or within one hour when the surrounding temperature is above 90°F. Do not leave a large pile of chicken on the counter until completely cold. Store at 40°F or below and use within three days. Keep sauce separate so it does not soak into the crust.
Reheat the chicken on an oven-safe rack over a baking sheet at 350°F until every piece reaches 165°F inside. Timing varies with piece size and starting temperature, so check the thickest meat with a thermometer. The oven helps dry the surface again; a microwave tends to soften the coating. Reheat only what you plan to eat and use oven mitts when handling the hot pan.

FAQ
Is this the restaurant’s exact recipe?
This is a homemade Gus’s-inspired version using the formula on this page. It offers a spicy, crisp coating without claiming to be the restaurant’s proprietary recipe.
Why did the batter slide off?
Excess surface moisture and a very heavy layer of batter can both make coating harder to manage. Pat the chicken dry, stir the batter, and let the excess drip off before lowering each piece carefully into the oil.
Can I skip the cornstarch?
Cornstarch is the largest dry ingredient here and contributes to the coating’s texture. Replacing it entirely with flour changes the formula substantially, so keep the listed balance for this recipe.
Can I bake this wet-battered chicken instead?
This method is designed for frying. A wet batter behaves differently in the oven, so there is no reliable direct baking-time conversion provided for this formula.
How do I know the chicken is safely cooked?
Lift it out of the oil and measure the thickest meat without touching bone. Each piece needs at least 165°F. Check breasts, thighs, and drumsticks individually rather than assuming one cooked piece proves the whole batch is ready.
Do I have to marinate overnight?
No. The base recipe starts with plain chicken and has no required marinating time. If you choose the optional buttermilk marinade, keep it refrigerated and add its 2–12 hours to your plan. The frying and temperature checks remain the same.
Short Description
A homemade Gus’s-inspired fried chicken with a spicy cornstarch-and-flour batter. Fry in small, temperature-monitored batches, check every piece for 165°F, and rest briefly on a rack before serving with your favorite sides.
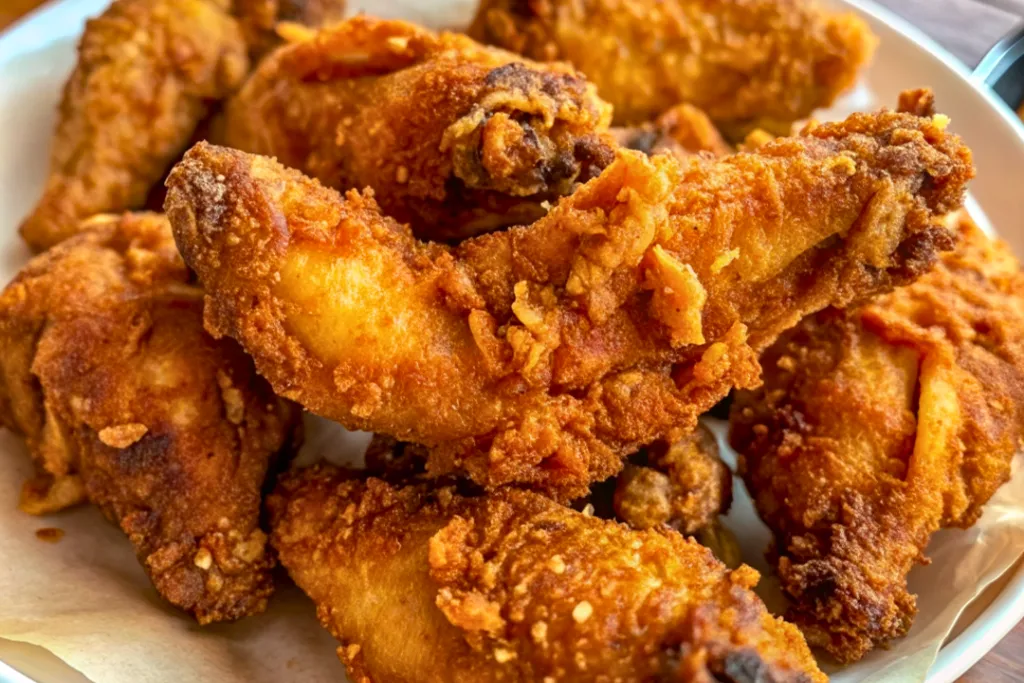
Gus’s Fried Chicken Recipe
Course: MainCuisine: AmericanDifficulty: Easy4
servings20
minutes1
hour1
hour25
minutesHomemade Gus’s-inspired fried chicken with a spicy, crisp cornstarch batter and safely cooked, juicy chicken.
Ingredients
1 whole chicken, cut into pieces
1 cup cornstarch
1/4 cup all-purpose flour
1 tablespoon ground black pepper
1 tablespoon sweet paprika
1 tablespoon cayenne pepper (adjust to taste for spiciness)
1 teaspoon Kosher salt
1 cup water
Vegetable oil, for frying
Directions
- Prepare the chicken: Use one fully thawed whole chicken already cut into pieces. Pat it dry with paper towels; do not wash or rinse it. Discard the towels, wash your hands, and keep raw chicken separate from ready-to-eat foods. Set an oven-safe wire rack over a rimmed baking sheet for the cooked pieces.
- Mix the dry ingredients: In a mixing bowl, whisk together 1 cup cornstarch, 1/4 cup all-purpose flour, 1 tablespoon ground black pepper, 1 tablespoon sweet paprika, 1 tablespoon cayenne pepper (or less to taste), and 1 teaspoon kosher salt until evenly combined.
- Make the batter: Gradually whisk the measured 1 cup water into the dry mixture until smooth. The batter should coat the chicken while excess drips away. Stir again between batches because the cornstarch can settle. Keep this bowl well away from the hot oil.
- Heat the oil: Put vegetable oil about 2–3 inches deep in a stable, deep heavy pot, keeping the pot no more than half full and leaving at least 2 inches of empty space above the oil. Use a larger pot if needed to meet both limits. Heat to 350°F (175°C), monitoring with a deep-fry thermometer. Keep utensils dry, and never leave the oil unattended.
- Coat the chicken: Dip only the pieces for the next small batch into the batter and let excess drip off. Using dry metal tongs, lower them carefully into the oil away from you. Leave space between pieces and room for the oil to bubble without approaching the rim. Keep the remaining raw chicken refrigerated between batches.
- Fry and check: Adjust the burner to keep the oil around 325–350°F after adding chicken. Turn the pieces carefully as needed. Begin checking smaller pieces around 12–15 minutes; larger pieces can take 20 minutes or longer. Lift each piece out of the oil and check the thickest meat, away from bone, with a clean instant-read thermometer. Every piece must reach at least 165°F (74°C); color and elapsed time alone do not establish doneness. Continue frying any underdone pieces. Let the oil return to 350°F before the next batch.
- Drain and serve: Transfer fully cooked chicken with clean, dry tongs to the prepared rack, keeping it separate from raw-chicken utensils. Let the final batch rest about 5 minutes before serving. For earlier batches, keep the rack in a 200°F oven and verify the chicken stays at least 140°F until service. Plan about 20 minutes preparation, 60 minutes batch frying, and 5 minutes final rest, approximately 85 minutes total; larger pieces or smaller batches may need longer. Turn off the heat and leave the oil undisturbed until completely cool.
Notes
- Base timing is about 85 minutes: 20 minutes preparation, 60 minutes batch frying, and 5 minutes final rest. Extra batches or large pieces may take longer.
- The optional buttermilk and hot sauce marinade adds 2–12 hours in the refrigerator; it is not part of the base ingredient list or 85-minute timing. Drain and pat away excess before battering.
- Keep a deep pot no more than half full, with at least 2 inches headroom. Use dry utensils, small batches, and monitored oil temperature. Check every piece for 165°F away from bone.
- Refrigerate promptly in shallow containers within 2 hours, or 1 hour above 90°F. Use within 3 days and reheat to 165°F.