Flame Broiler Magic Sauce Recipe
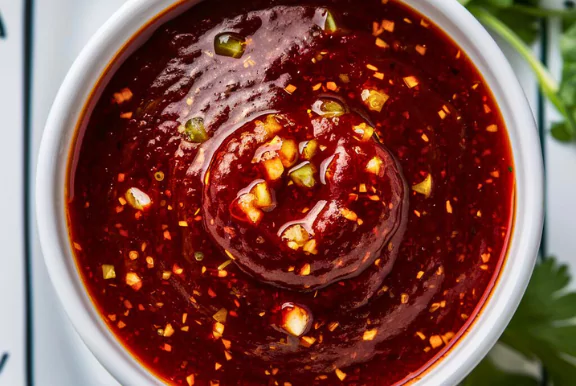
My favorite way to use this Flame Broiler-inspired Magic Sauce is to add a little to a bowl of rice, vegetables, and grilled chicken. Soy sauce, brown sugar, pineapple juice, garlic, and ginger make a bold combination, with a savory base and just enough sweetness to round out each spoonful.
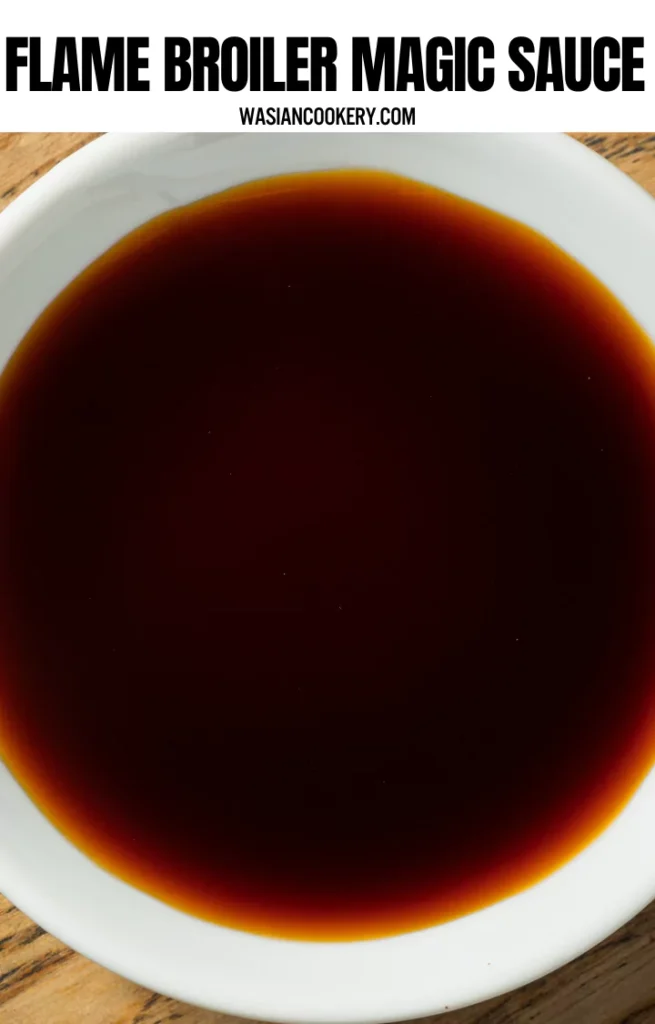
This homemade version simmers whole aromatics in the sauce, then removes them for a smooth finish. The original formula uses plenty of soy sauce, so the reduced sauce is concentrated. Start with a small drizzle on food, taste, and add more only when the meal needs it.
I like having the method laid out before turning on the stove, especially the optional cornstarch step. Plan on about an hour for preparation, cooking, and a short cooling rest. This is a restaurant-inspired home recipe; the final volume depends on the pan and reduction, so the card describes one batch rather than a fixed cup yield.
Why This Sauce Is Great
- The soy sauce gives a deep savory flavor, making even a small spoonful useful on a plain bowl of rice or steamed vegetables.
- Brown sugar and pineapple juice soften the sharp edges of the soy sauce and give the sauce its sweet, tangy character.
- Whole green onions, carrot, garlic, and ginger flavor the liquid without needing to become part of the finished texture.
- The brown sugar range already lets you choose a less-sweet or sweeter batch without guessing at a completely different formula.
- Cornstarch is optional, so you can keep the sauce loose for drizzling or give it a little more body for dipping.
- One batch can flavor several meals when portioned carefully and refrigerated promptly, or frozen in small amounts for later.
What Is the Best Soy Sauce to Use?
Use a regular, pourable all-purpose soy sauce with a flavor you enjoy. A thick, sweet specialty soy sauce behaves differently and can make this already sweet recipe heavier. Read the label for sodium and allergens, because brands vary. Most regular soy sauces contain wheat as well as soy, so this version should not automatically be described as gluten-free.
There is no separate salt in the ingredient list. Reducing the sauce concentrates the salt already present, which is why I use it as a condiment. Try a cooled drop on a spoonful of plain rice before deciding how much to put on a whole plate. A sip directly from the pan will taste much stronger than a little sauce spread through dinner.
Ingredients
- 2 cups soy sauce
- 1/2 to 3/4 cup brown sugar
- 2 green onions (whole)
- 1 carrot, cut in half
- 3 cloves of garlic
- 1 small piece of peeled ginger
- 1/3 cup pineapple juice
- a splash of Ajit Mirin (optional)
- 1 teaspoon cornstarch (optional)
Wash the green onions and carrot, peel the garlic, and use a clean, peeled piece of ginger. Keep the carrot in its two large pieces so it is easy to remove later. The ginger amount is intentionally described as a small piece in the original formula; its strength will vary with the piece you choose. The optional mirin remains an optional splash, so check its label if alcohol or other ingredients matter to you.
Kitchen Equipment You Will Need
As an Amazon Associate I earn from qualifying purchases.
- Medium saucepan
- Measuring cups
- Measuring spoons
- Chef knife
- Cutting board
- Vegetable peeler
- Wooden spoon
- Small mixing bowl
- Whisk
- Kitchen tongs
- Fine-mesh strainer
- Heatproof bowl
- Shallow storage containers
- Pastry brush
How to Make Flame Broiler Magic Sauce
- Prepare and combine. Measure the full 1/3 cup pineapple juice. If using the optional cornstarch, reserve 1 tablespoon of that measured juice in a small bowl and keep it cool. Add the remaining juice, soy sauce, your chosen amount of brown sugar within the listed range, whole green onions, halved carrot, peeled garlic, peeled ginger, and optional splash of mirin to a medium saucepan. Leave out the cornstarch for now.
- Dissolve the sugar. Warm over medium heat, stirring along the bottom until the sugar dissolves and the liquid begins to simmer, about 5 minutes. Stay nearby and lower the heat if it bubbles rapidly or catches around the edge.
- Reduce gently. Turn the heat to low and simmer uncovered until the liquid has reduced to roughly half its starting volume, usually about 20–30 minutes, though pan width and heat can change this. Stir occasionally and keep the bubbles gentle. This creates a concentrated sauce; do not keep reducing it to force a thick syrup.
- Remove the aromatics. Lift out the green onions, carrot, garlic, and ginger with tongs. For a smoother sauce, carefully strain it through a fine-mesh strainer into a heatproof bowl, then return the liquid to the saucepan. Avoid splashes from the hot sauce.
- Thicken only if desired. If using cornstarch, whisk the listed 1 teaspoon into the reserved cool pineapple juice until smooth. Stir the slurry into the hot sauce, bring it to a full boil while stirring, and boil for 1 minute. Remove from the heat. Expect a lightly thickened sauce, not a heavy gel; it will gain a little more body as it cools.
- Cool briefly and serve or store. Let the sauce stand for about 10 minutes before serving warm. For storage, divide it into shallow heat-safe containers and refrigerate promptly, within 2 hours of cooking, or 1 hour above 90°F. Do not wait for it to cool completely on the counter. Keep at 40°F or below and use within 3–4 days.
The recipe card budgets 10 minutes of preparation, up to 40 minutes for heating, reducing, straining, and the optional one-minute boil, plus 10 minutes to cool slightly. The total is an estimate of 60 minutes to warm serving temperature. A wider pan may reduce faster, while a narrow pan may need longer. Fully chilled sauce needs additional refrigerator time.
Notes
- Choose the sugar amount before cooking. The lower end of the existing range is less sweet; the upper end gives a rounder, sweeter finish.
- Reserve the pineapple juice before it goes into the pan. That gives the optional starch a cool liquid without adding extra juice to the formula.
- Keep the simmer gentle. A rolling boil evaporates water quickly and makes this soy-heavy sauce harder to control.
- Stir along the bottom occasionally while reducing. Sugar can collect near the hot base even when the surface looks fine.
- Cool a small sample on a clean spoon before tasting. Hot sugary sauce can burn your mouth, and a cooled taste is easier to judge.
- Remove the aromatics before the starch step. Straining is simpler while the sauce is still loose and the vegetables are easy to lift out.
- Measure the finished sauce only after cooking if you need a cup amount for planning. Evaporation and liquid held by the vegetables make an exact yield unreliable.
Ingredients You Can Add
The base sauce is already strong, so I would try any extras in a small serving first. These optional finishing ideas are separate from the measured recipe and are easiest to tailor to the meal in front of you.
- Red pepper flakes give a gentle heat when sprinkled into a warm serving.
- A dash of hot sauce makes a sharper, tangier dip, although it may add more salt.
- A little chili paste creates a bolder spicy sauce; read its label because sweetness and sodium vary.
- Toasted sesame seeds add texture when scattered over the sauced food just before eating.
- Fresh sliced green onion adds a bright finish to the bowl without changing the simmered base.
- A little citrus zest brings a fresh aroma to a serving of sauce and works well with grilled vegetables.
What to Serve With Flame Broiler Magic Sauce
This sauce makes a flavorful dip for spicy noodle spring rolls. Pour a little into a small bowl, keeping the main storage container clean. Dip lightly at first because the filling and sauce may both already be seasoned.
For a rice dinner, serve a small amount alongside subgum fried rice or a plain rice bowl with vegetables. I prefer letting everyone add their own spoonful so the rice does not become too salty or wet. A little goes a long way.
A light brush on a cooked Barefoot Contessa turkey burger adds a sweet-savory finish. It also works with grilled chicken, beef, or pork. Keep sauce for serving separate from any portion used with raw meat, and apply sweet glazes near the end of cooking so they are less likely to scorch.

Variations and Swaps
- For a less-sweet batch, choose 1/2 cup brown sugar from the original range.
- For a sweeter batch, choose 3/4 cup brown sugar from the same range.
- For a loose drizzle, omit the optional cornstarch and let reduction provide the body.
- For a slightly thicker dip, use the optional starch and cook it through as directed.
- For the smoothest finish, strain after removing the large pieces of vegetables.
- For a spicy serving, stir in one of the optional chili additions a little at a time.
- For a fresh bowl topping, finish the plated food with green onion or sesame seeds.
- For a glaze, brush a small clean portion over nearly cooked food and watch closely until the food reaches its safe cooking temperature.
Storage
Treat this homemade sauce as a cooked perishable food. Refrigerate it promptly in shallow, covered containers at 40°F or below and use it within 3–4 days. Do not assume that the salt or sugar makes it safe for two weeks or suitable for storage in the cupboard. Use a clean spoon each time, and keep sauce that has touched raw meat out of the storage container.
Freeze small portions for up to 2 months for best quality, leaving room for expansion. Sauce without cornstarch generally keeps a smoother texture after freezing; a starch-thickened batch may separate or become thinner when thawed. Thaw in the refrigerator and stir well. Reheat the portion you need in a saucepan to a full rolling boil while stirring, then let it cool to a comfortable serving temperature.
FAQ
Is this the restaurant’s official Magic Sauce?
No. This is a homemade sauce inspired by that sweet-savory style. It uses the ingredient list given here and should not be treated as the restaurant’s disclosed formula or as verified restaurant nutrition information.
Is the homemade sauce vegan?
It can be when all the packaged ingredients you choose are suitable for a vegan diet. Soybeans and wheat are plant ingredients; soy sauce is not automatically non-vegan. Check the soy sauce, brown sugar, and optional mirin labels or manufacturer information for your requirements.
Is this sauce gluten-free?
Not with a typical wheat-containing soy sauce. Check every label if you need to avoid gluten. The ingredient list itself does not establish that the finished sauce is gluten-free, and soy remains an allergen.
Why is my sauce very salty?
The formula starts with 2 cups soy sauce and reduces the liquid, so saltiness is expected. Use a small amount on plain food rather than pouring it on heavily. If the pan has reduced well past half its starting liquid, stop cooking; further reduction only concentrates it more.
Why did the cornstarch form lumps?
Cornstarch needs to be mixed smoothly with cool liquid first. Stir it again just before adding because it settles. Whisk while adding the slurry, then boil for the stated minute; adding dry starch straight to the hot pan can create clumps.
Can I use this sauce as a marinade?
Yes, using a separate cooled portion and keeping the meat in the refrigerator. Discard sauce that has touched raw meat. Cook poultry to 165°F, ground beef or pork to 160°F, and whole beef or pork steaks and chops to 145°F followed by at least a 3-minute rest.
Short Description
A concentrated homemade soy, brown sugar, pineapple, garlic, and ginger sauce for drizzling, dipping, or glazing, with optional mirin and cornstarch.
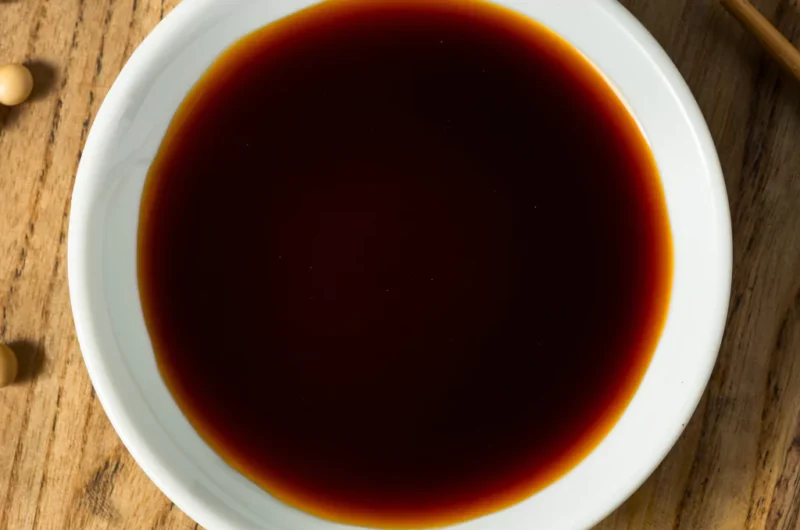
Flame Broiler Magic Sauce
Course: SauceCuisine: AsianDifficulty: Easy1
batch10
minutes40
minutes1
hourA concentrated homemade soy, brown sugar, pineapple, garlic, and ginger sauce for drizzling, dipping, or glazing, with optional mirin and cornstarch.
Ingredients
2 cups soy sauce
1/2 to 3/4 cup brown sugar
2 green onions (whole)
1 carrot, cut in half
3 cloves of garlic
1 small piece of peeled ginger
1/3 cup pineapple juice
a splash of Ajit Mirin (optional)
1 teaspoon cornstarch (optional)
Directions
- Prepare and combine. Measure the full 1/3 cup pineapple juice. If using the optional cornstarch, reserve 1 tablespoon of that measured juice in a small bowl and keep it cool. Add the remaining juice, soy sauce, your chosen amount of brown sugar within the listed range, whole green onions, halved carrot, peeled garlic, peeled ginger, and optional splash of mirin to a medium saucepan. Leave out the cornstarch for now.
- Dissolve the sugar. Warm over medium heat, stirring along the bottom until the sugar dissolves and the liquid begins to simmer, about 5 minutes. Stay nearby and lower the heat if it bubbles rapidly or catches around the edge.
- Reduce gently. Turn the heat to low and simmer uncovered until the liquid has reduced to roughly half its starting volume, usually about 20–30 minutes, though pan width and heat can change this. Stir occasionally and keep the bubbles gentle. This creates a concentrated sauce; do not keep reducing it to force a thick syrup.
- Remove the aromatics. Lift out the green onions, carrot, garlic, and ginger with tongs. For a smoother sauce, carefully strain it through a fine-mesh strainer into a heatproof bowl, then return the liquid to the saucepan. Avoid splashes from the hot sauce.
- Thicken only if desired. If using cornstarch, whisk the listed 1 teaspoon into the reserved cool pineapple juice until smooth. Stir the slurry into the hot sauce, bring it to a full boil while stirring, and boil for 1 minute. Remove from the heat. Expect a lightly thickened sauce, not a heavy gel; it will gain a little more body as it cools.
- Cool briefly and serve or store. Let the sauce stand for about 10 minutes before serving warm. For storage, divide it into shallow heat-safe containers and refrigerate promptly, within 2 hours of cooking, or 1 hour above 90°F. Do not wait for it to cool completely on the counter. Keep at 40°F or below and use within 3–4 days.
Notes
- Makes one batch; final cup volume varies with evaporation and liquid retained by the vegetables. This is a concentrated condiment, so start with a small amount on food.
- If using cornstarch, reserve 1 tablespoon from the measured pineapple juice for the slurry; the total juice remains 1/3 cup.
- Estimated total includes 10 minutes of cooling to warm serving temperature. Refrigerate promptly and use within 3–4 days.