Vanilla Bean Frappuccino Recipe
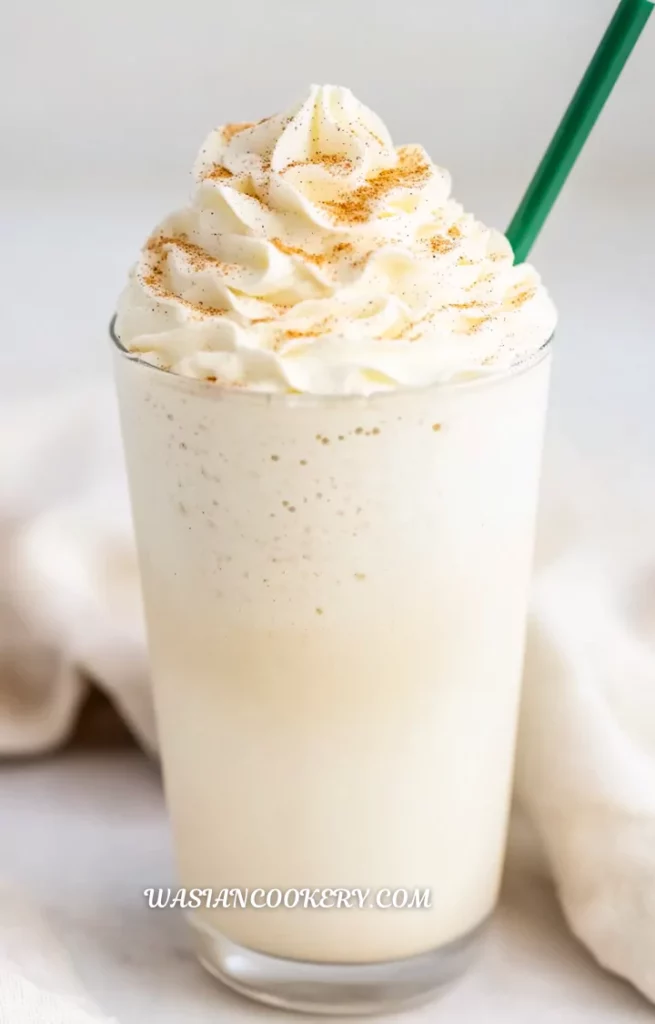
My kids love vanilla bean frappuccino, and it’s one of their favorite drinks, especially on warm days. It’s smooth, creamy, and packed with vanilla flavor, making it a refreshing treat. I make this recipe at home because it’s quick, easy, and saves a trip to the coffee shop.
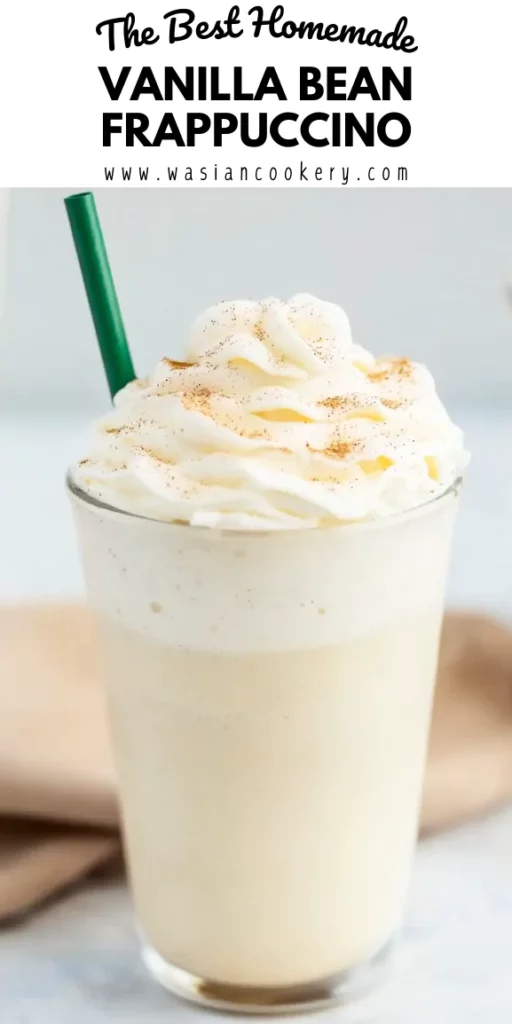
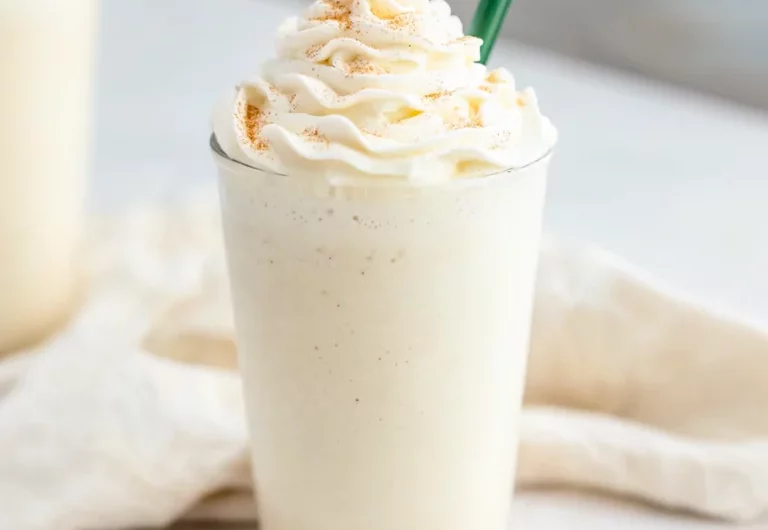
The milk, vanilla bean ice cream, and finely blended ice give it a cold, spoonable texture. There is no coffee in the base recipe. A little whipped cream goes into the blender, with extra available for the top if you want a soft, fluffy finish.
Plan on two small dessert servings and about five minutes from measuring to pouring. Scoop sizes vary, so this recipe does not promise an exact café cup size. Have the glasses ready before blending; that first cold, creamy sip is the best reason to make it fresh.
Why This Drink Is Great
- The base has a clear vanilla flavor without needing brewed coffee, flavored coffee creamer, or a cooked syrup.
- Only a few ingredients are needed, and most of the work is measuring and blending.
- Ice cream supplies sweetness and body, while the ice gives the drink its refreshing frozen texture.
- The optional sugar or honey lets you decide whether the sweetness already in your ice cream is enough.
- Two small portions work well as an afternoon treat or a simple dessert after dinner.
What Is the Best Vanilla to Use?
Vanilla bean paste gives visible vanilla specks and a rounded flavor. This recipe uses 1 tablespoon of paste, or 1 teaspoon of vanilla extract as its alternative. These amounts are specific to this drink; they are not a general rule for substituting every brand of paste. Check the label because some products are sweetened or concentrated.
Choose vanilla bean ice cream with a flavor you already enjoy. Keep it firm enough to scoop, rather than letting it melt into a puddle. Whole milk makes a richer drink; almond, oat, or coconut beverage gives its own flavor and a different thickness. Plant milk alone does not make the finished recipe dairy-free, because the ice cream and whipped cream also matter.
Ingredients
- 1 cup milk (whole, almond, oat, or coconut)
- 1 cup ice cubes
- 2 scoops vanilla bean ice cream
- 1 tablespoon vanilla bean paste (or 1 teaspoon vanilla extract)
- 2 tablespoons whipped cream (plus extra for topping)
- 1 tablespoon sugar or honey (optional, for extra sweetness)
Measure the ice loosely in the cup without packing in crushed ice. Use the same scoop for both portions of ice cream so the two scoops are reasonably consistent. The whipped cream amount above goes into the base; any additional topping is separate. Keep the optional sweetener optional, especially if your ice cream or milk is already quite sweet.
Kitchen Equipment You Will Need
As an Amazon Associate I earn from qualifying purchases.
- Ice-capable blender
- Measuring cups
- Measuring spoons
- Ice cream scoop
- Silicone spatula
- Small serving glasses
- Long-handled spoons
- Wide reusable straws
- Airtight storage container
- Paring knife
- Cutting board
- Small plates
How To Make Vanilla Bean Frappuccino
Step 1
Keep the milk and whipped cream refrigerated and the ice cream frozen until needed. Measure the milk, ice, ice cream, vanilla bean paste or extract, and the 2 tablespoons whipped cream. If using the optional tablespoon of sugar or honey, stir it into the milk first. Have two small serving glasses ready.
Step 2
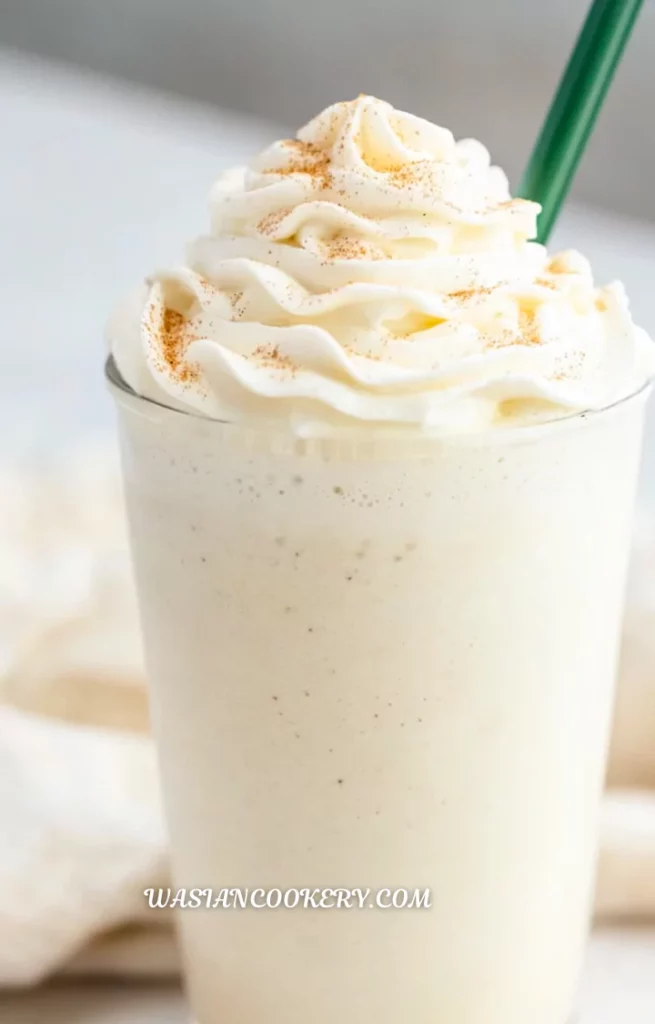
Following your blender’s loading instructions, add the milk mixture, vanilla, measured whipped cream, ice cream, and ice. Secure the lid. Start on low, then increase the speed and blend just until the ice is finely crushed and the mixture moves smoothly, usually 20–40 seconds in an ice-capable blender. Stop sooner if smooth; do not keep blending until warm.
Step 3
Switch off the blender before checking the texture. It should pour slowly, with no large ice pieces. If a pocket forms around the blades, stop and unplug the blender before using a silicone spatula to redistribute the mixture; replace the lid before blending briefly again. Never put a utensil into running blades.
Step 4
Divide the mixture between the two glasses, leaving room for extra whipped cream if desired. Serve immediately with a spoon or wide straw. These are two small dessert servings; the finished volume varies with the size of the ice cream scoops, ice cubes, and blending. The drink will gradually soften and separate as it stands.
Notes
- Start cold: Use milk straight from the refrigerator and scoop the ice cream last. Warm ingredients quickly soften the frozen texture.
- Check your blender: It must be suitable for crushing ice. Follow its fill limits and operating instructions rather than forcing a struggling motor.
- Blend briefly: Watch for a smooth circulating mixture. More blending after the ice is crushed introduces heat and can make the drink thinner.
- Understand sweetness: Ice cream, sweetened plant milk, and some vanilla pastes all contribute sugar before the optional sweetener is added.
- Keep toppings light: A little whipped cream gives a nice contrast. A heavy pile of toppings can hide the vanilla flavor and overflow a small glass.
- Divide evenly: Pour a little into each glass in turn, then finish filling both. This helps share any thicker mixture at the bottom.
- Make one batch at a time: For a group, repeat the recipe and serve promptly. A full pitcher waiting on the counter loses its texture.
Ingredients You Can Add
- A light dusting of cinnamon adds warmth without changing the vanilla base.
- Crushed vanilla wafers add crunch when sprinkled on just before serving.
- A little caramel drizzle gives a buttery finish; the drink is already sweet.
- Chocolate shavings make a simple topping that stays distinct from the blended base.
- Fresh sliced strawberries add color alongside the glass or over the whipped cream.
- Colorful sprinkles turn the same recipe into a playful dessert for a celebration.
What To Serve With It
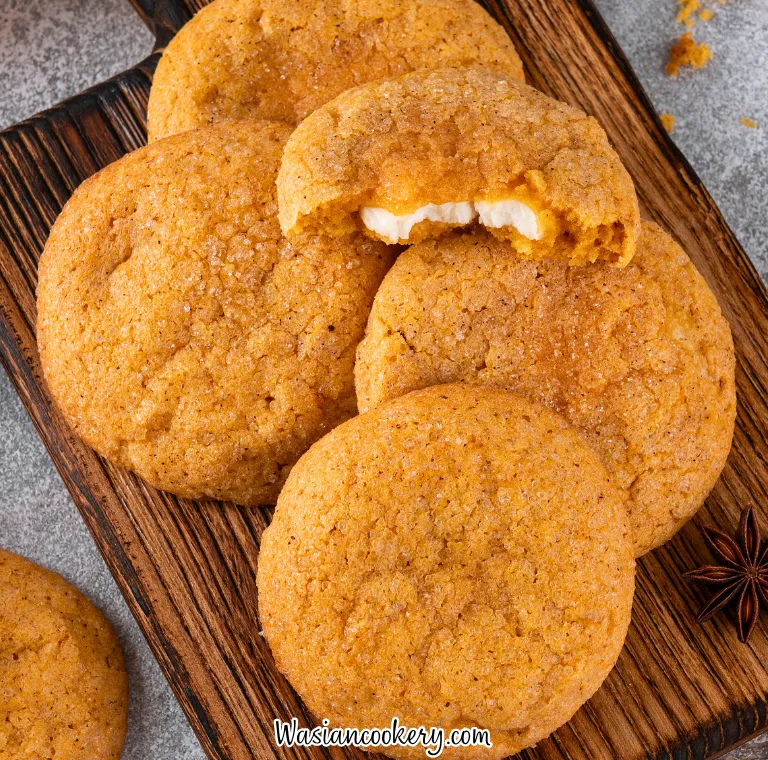
For a familiar bakery pairing, serve the small glasses with chocolate chip cookies. Let hot cookies cool a little before handling them. The warm cookie and cold vanilla drink make a satisfying dessert without needing a large portion of either.
If you enjoy softer, warmly spiced cookies, oatmeal raisin cookies are another option. Put them on a separate plate so crumbs do not fall into the drink unless you deliberately want a crunchy topping.
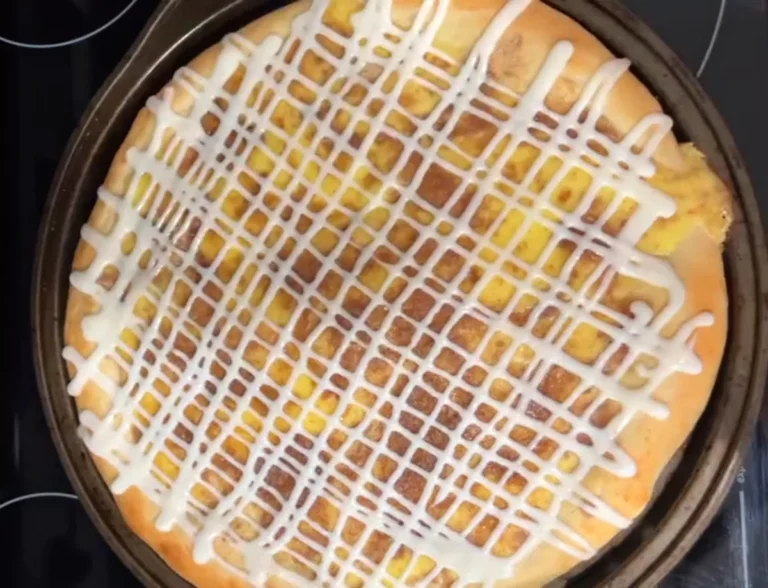
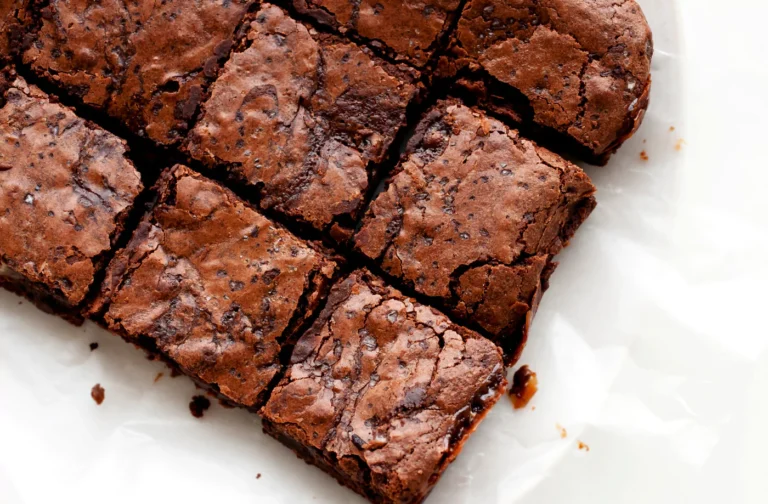
For a richer dessert spread, cut honey bun brownies into small pieces. The vanilla drink is sweet enough to count as dessert on its own, so an accompanying bake can be a small taste rather than a full second serving.
Variations and Swaps
- Almond milk: Use the listed milk option for a lighter, nutty flavor. Check labels when serving anyone with a nut allergy.
- Oat milk: This listed option has a mild cereal sweetness; an unsweetened version lets the vanilla come through clearly.
- Coconut milk beverage: Choose the pourable drinking kind for the milk option. Thick canned coconut milk changes the richness considerably.
- Vanilla extract: Use the listed teaspoon alternative. The drink will have vanilla flavor without the visible bean specks.
- Honey: The listed tablespoon can replace the optional sugar. Stir it into the milk so it does not cling to a cold scoop.
- Less sweet: Leave out the optional sweetener. The measured ice cream remains in the recipe and supplies sweetness of its own.
- Dairy-free: Use suitable dairy-free vanilla ice cream and whipped topping along with plant milk. Check all labels; thickness varies by brand.
- Toppings on the side: Serve the base plain and let each person add their topping. This keeps cookies crisp and lets the vanilla remain the main flavor.
Storage
This drink is best enjoyed immediately. If you need to save some, transfer it promptly to a covered container and refrigerate at 40°F or below for up to one day. Expect the ice to melt and the mixture to separate. Stirring or briefly blending makes it uniform again, but does not restore the original frozen thickness.
Do not leave the dairy mixture out for more than two hours, or one hour when the temperature is above 90°F. Discard a drink that exceeds those limits. For an easier fresh batch later, keep the ingredients separately in their usual refrigerator or freezer storage and blend only when you are ready to serve.
FAQ
Does this drink contain coffee?
No. The basic recipe is made with milk, ice cream, ice, vanilla, and whipped cream. Coffee-flavored toppings would change that, so read their labels if avoiding coffee.
Why is my drink thin?
The milk or ice cream may have been warm, the scoops may have been small, or the blender may have run too long. Start with cold ingredients and stop as soon as smooth.
Why are there large ice pieces?
The blender may need another short pulse or the mixture may have stopped circulating. Stop the machine before redistributing it, and use only equipment designed to crush ice.
Can I leave out the ice cream?
Ice cream is an important part of this formula, supplying body and sweetness. Leaving it out makes a different, much icier drink, so it is better to choose a separate ice-cream-free recipe.
Does this fill two large coffee-shop cups?
That is not promised. The yield is two small dessert portions. Scoop size, the amount of air in the ice cream, and melting all affect the final volume.
Is this an official coffee-shop recipe?
No. This is a homemade vanilla drink using the ingredients listed here. It is intended for an easy cold treat at home, without a claim of matching a particular brand exactly.
Short Description
A creamy homemade vanilla bean drink blended with milk, ice cream, and ice. Makes two small dessert servings; serve immediately.
Vanilla Bean Frappuccino
Course: Beverage, DessertCuisine: AmericanDifficulty: Easy2
servings5
minutes5
minutesA creamy homemade vanilla bean drink blended with milk, ice cream, and ice. Makes two small dessert servings; serve immediately.
Ingredients
1 cup milk (whole, almond, oat, or coconut)
1 cup ice cubes
2 scoops vanilla bean ice cream
1 tablespoon vanilla bean paste (or 1 teaspoon vanilla extract)
2 tablespoons whipped cream (plus extra for topping)
1 tablespoon sugar or honey (optional, for extra sweetness)
Directions
- Keep the milk and whipped cream refrigerated and the ice cream frozen until needed. Measure the milk, ice, ice cream, vanilla bean paste or extract, and the 2 tablespoons whipped cream. If using the optional tablespoon of sugar or honey, stir it into the milk first. Have two small serving glasses ready.
- Following your blender’s loading instructions, add the milk mixture, vanilla, measured whipped cream, ice cream, and ice. Secure the lid. Start on low, then increase the speed and blend just until the ice is finely crushed and the mixture moves smoothly, usually 20–40 seconds in an ice-capable blender. Stop sooner if smooth; do not keep blending until warm.
- Switch off the blender before checking the texture. It should pour slowly, with no large ice pieces. If a pocket forms around the blades, stop and unplug the blender before using a silicone spatula to redistribute the mixture; replace the lid before blending briefly again. Never put a utensil into running blades.
- Divide the mixture between the two glasses, leaving room for extra whipped cream if desired. Serve immediately with a spoon or wide straw. These are two small dessert servings; the finished volume varies with the size of the ice cream scoops, ice cubes, and blending. The drink will gradually soften and separate as it stands.
Notes
- Makes two small dessert servings, not a measured café cup size. Scoop sizes and finished volume vary.
- Blend the measured 2 tablespoons whipped cream into the base; extra topping is optional.
- Prep and total time are about 5 minutes with cold ingredients ready. No cooking is needed.