The best Panocha recipe
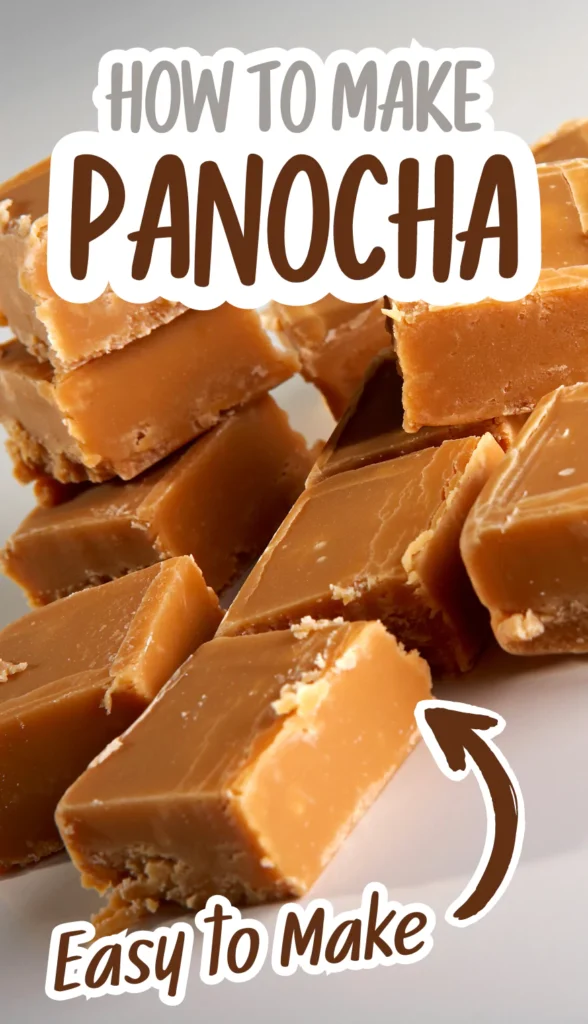
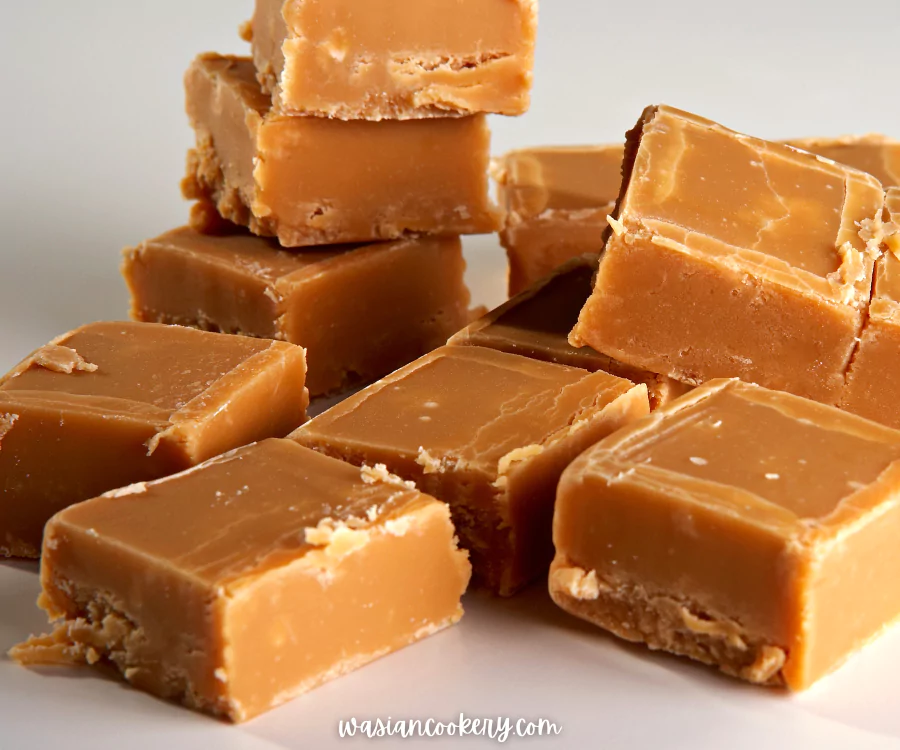
I love the combination of brown sugar, milk, butter, cinnamon, and vanilla in this panocha candy recipe. The flavor is rich and caramel-like, with a firm, fudge-style texture when the candy is cooked and cooled correctly.
The ingredient list is short, but the temperature matters. A candy thermometer helps you reach the right stage without guessing from the color or thickness.
Allow about 4 hours from preparation to cutting, including cooling and setting. Most of that time is hands-off; the syrup and finished candy need time to cool.
About This Panocha Recipe
This version is a brown-sugar, fudge-style sweet. The steps below explain how to cook the syrup, cool it without stirring, and then beat it so it can set into squares. The method follows established candy-making techniques; timing can change with your pan, stove, and room temperature.
Kitchen Equipment You Will Need
As an Amazon Associate I earn from qualifying purchases.
Preparation Tips
Use a Candy thermometer to check the cooking and cooling stages, a Heavy saucepan with room for bubbling, and an 8-inch pan lined with parchment. A Wooden spoon is useful for beating the candy.
Panocha Ingredients
- 2 cups of brown sugar
- 1 cup of milk
- 1/2 teaspoon of ground cinnamon
- 1 teaspoon of vanilla extract
- 2 tablespoons of butter
- Optional: chopped nuts, chocolate chips, or coconut flakes for extra flavor
Measure the brown sugar by packing it into the cup and leveling the top. Have the butter and vanilla ready before cooking. Keep all ingredient amounts as listed; extra liquid or changes to the sugar can affect how the candy sets.
Get Ready for Each Stage
Break up firm brown-sugar lumps before measuring so you can pack the cup evenly. Large lumps are awkward to dissolve once the mixture is warming. Have a clear view of the saucepan while you work; the milk and brown sugar are already colored, so a darker appearance alone will not tell you how far the syrup has cooked.
Fit the parchment into the corners of the square pan and fold the overhang outward. The bottom should sit as flat as possible. Keep the prepared pan beside the area where you will beat the cooled candy, rather than across the kitchen. Once the texture changes, having the pan close makes the transfer much easier.
Read the thermometer instructions before clipping it onto the saucepan, including how deeply the sensing area should sit in the mixture. Angle the display so you can read it without moving the pan. Keep the thermometer in a position where it measures the syrup rather than resting on the metal base.
Watch the Texture During Beating
At the start of beating, the cooled mixture can still look quite shiny and fluid. As you work, the spoon begins to leave a more noticeable path and the candy falls back into the pan in thicker folds. Watch that change across the whole mixture, rather than judging from a small patch clinging to the spoon.
The useful stopping point is when the mixture has lost much of its shine and briefly holds a soft mound, while still spreading under the spoon. Have the lined pan ready before you reach that point. Continuing until the candy is stiff in the saucepan makes it much harder to spread into an even layer.
Work from the center toward the corners when spreading. Small ridges on top are fine; repeated smoothing can pull at candy that is already beginning to firm. If the batch has a rough surface, leave it alone to set rather than adding milk to make it look smoother.
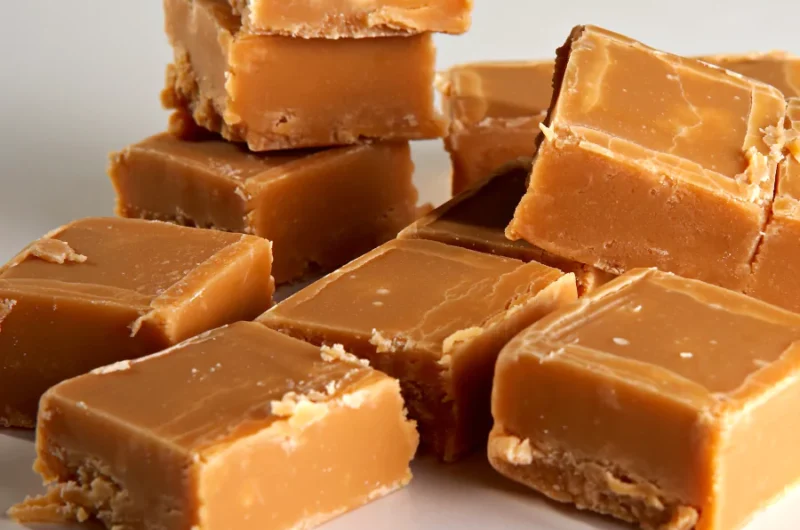
Once fully set, use the parchment overhang to lift the slab onto a cutting board. Mark evenly spaced cuts along two edges before cutting the grid, and wipe the knife between cuts if candy builds up on it. Smaller squares suit the rich brown-sugar flavor and make a tidy addition to a dessert plate.
How to Make Panocha
Step 1
Line an 8-inch square pan with parchment paper, leaving an overhang. Set out a heavy 3-quart saucepan, a candy thermometer, and a sturdy heat-safe spoon before you start.
Step 2
Put the 2 cups of brown sugar, 1 cup of milk, and 1/2 teaspoon of cinnamon in the saucepan. Heat over medium-low heat, stirring gently until the sugar dissolves. Keep the 2 tablespoons of butter and 1 teaspoon of vanilla aside for later.
Step 3
Bring the mixture to a steady boil. Clip the thermometer to the pan with its tip in the syrup but clear of the bottom. Once boiling, stop stirring and lower the heat as needed to prevent scorching or boiling over. Never leave the pan unattended.
Step 4
Cook to 238°F (114°C), the soft-ball stage at sea level. At higher elevations, lower this finish temperature by about 2°F for each 1,000 feet. A cooled drop in cold water should form a soft ball that flattens when removed. Use temperature and texture rather than a fixed cooking time.
Step 5
Remove the pan from the heat and place it on a heat-safe surface. Add the 2 tablespoons of butter without stirring. Leave the mixture undisturbed until it cools to about 110°F (43°C); allow roughly 45 to 60 minutes, but follow the thermometer.
Step 6
Add the 1 teaspoon of vanilla. Beat with the sturdy spoon until the candy becomes thicker, lighter, and less glossy. This can take 10 to 20 minutes. Stop when it begins to hold its shape and is still spreadable.
Step 7
If using the optional chopped nuts or coconut flakes, fold them in quickly near the end of beating. Add optional chocolate chips at this point for a partly melted swirl, or scatter them over the candy after spreading.
Step 8
Immediately spread the thick candy in the lined pan. Avoid scraping hardened sugar crystals from the saucepan sides into it. Smooth the top with the spoon or a heat-safe spatula.
Step 9
Leave until completely cool and firm enough to cut, allowing about 2 hours after spreading. Setting time varies with room temperature and candy thickness; do not cut while the center is still soft.
Step 10
Lift the cooled candy from the pan and cut it into small squares. Serve small pieces, and store the remainder covered in the refrigerator once cool.
Tips for a Smooth Set
Stir at the right time: Stir to dissolve the sugar before boiling, then leave the syrup alone during boiling and cooling. Start beating only when it has cooled to about 110°F. Early stirring can make larger crystals and a grainy texture.
Check your elevation: The 238°F target is for sea level. At higher elevations, adjust the candy temperature for your elevation. Check your thermometer before starting.
Handle hot syrup carefully: It can cause serious burns. Use a stable pan, keep children away from the stove, and never touch or taste the hot mixture. Let a cold-water test sample cool fully before handling it.
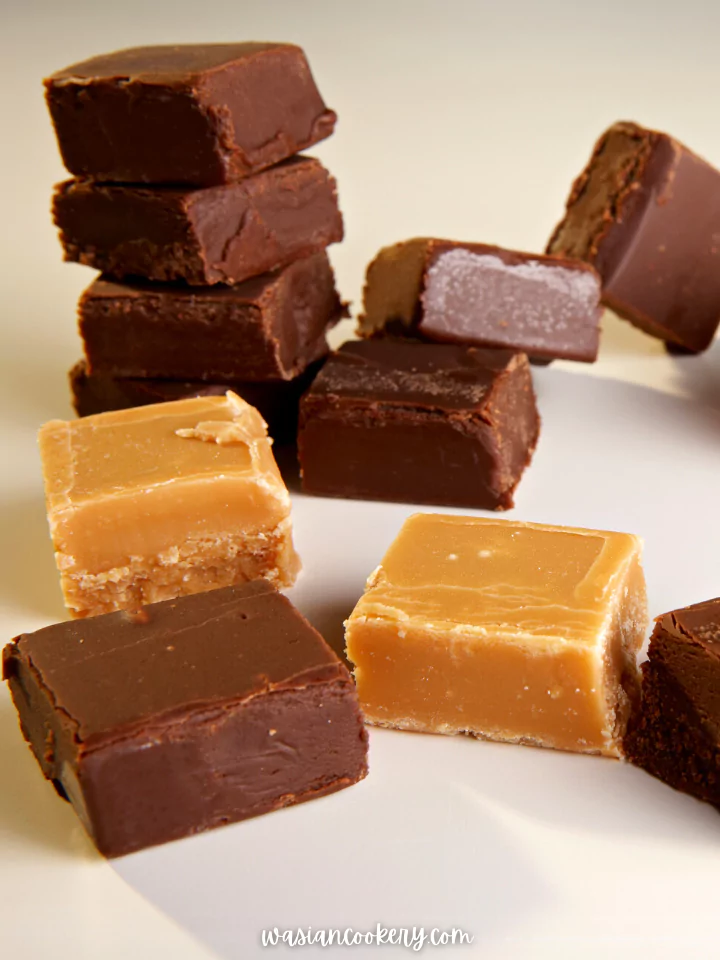
Optional Add-Ins and Serving Ideas
Use the optional nuts, chocolate chips, or coconut listed above for a different finish. Fold small additions into the thickened candy quickly so it does not become too stiff to spread. Large additions or extra liquid can change the set.
For a mixed dessert tray, pair small panocha pieces with Maple Cookies. If you prefer a chocolate sweet, try Christmas Fudge or Chocolate Covered Strawberries.
Storage
Once cool, keep the pieces covered in the refrigerator, with parchment between layers to prevent sticking. This recipe has no validated room-temperature shelf life; use within 3 to 4 days as a cautious home-storage limit. Freeze well-wrapped portions for longer storage and thaw them in the refrigerator.
FAQ
Why is the candy still soft?
The syrup may not have reached the correct temperature, the mixture may need more beating after cooling, or it may need longer to set. Check those stages before changing ingredients. Adding extra milk or butter will not reliably fix a soft batch.
Why did it turn grainy?
Stirring during cooling or mixing dried crystals from the pan sides into the candy can make it grainy. Dissolve the sugar before boiling, leave the cooling syrup undisturbed, and avoid scraping crusty sugar into the pan.
Can I use white sugar?
Brown sugar supplies the flavor this recipe is built around. White sugar will change the taste and the way the candy behaves, so use the listed brown sugar for this version.
Do I need a candy thermometer?
It is the most useful tool here because you need both a cooking temperature and a cooling temperature. The cold-water test helps check the syrup stage, but color alone cannot tell you when the candy is ready.
Panocha recipe
Course: DessertCuisine: MexicanDifficulty: Easy4
servings15
minutes30
minutes4
hoursThis dessert is absolutely scrumptious and surprisingly simple to make.
Ingredients
2 cups of brown sugar
1 cup of milk
1/2 teaspoon of ground cinnamon
1 teaspoon of vanilla extract
2 tablespoons of butter
Optional: chopped nuts, chocolate chips, or coconut flakes for extra flavor
Directions
- Line an 8-inch square pan with parchment paper, leaving an overhang. Set out a heavy 3-quart saucepan, a candy thermometer, and a sturdy heat-safe spoon before you start.
- Put the 2 cups of brown sugar, 1 cup of milk, and 1/2 teaspoon of cinnamon in the saucepan. Heat over medium-low heat, stirring gently until the sugar dissolves. Keep the 2 tablespoons of butter and 1 teaspoon of vanilla aside for later.
- Bring the mixture to a steady boil. Clip the thermometer to the pan with its tip in the syrup but clear of the bottom. Once boiling, stop stirring and lower the heat as needed to prevent scorching or boiling over. Never leave the pan unattended.
- Cook to 238°F (114°C), the soft-ball stage at sea level. At higher elevations, lower this finish temperature by about 2°F for each 1,000 feet. A cooled drop in cold water should form a soft ball that flattens when removed. Use temperature and texture rather than a fixed cooking time.
- Remove the pan from the heat and place it on a heat-safe surface. Add the 2 tablespoons of butter without stirring. Leave the mixture undisturbed until it cools to about 110°F (43°C); allow roughly 45 to 60 minutes, but follow the thermometer.
- Add the 1 teaspoon of vanilla. Beat with the sturdy spoon until the candy becomes thicker, lighter, and less glossy. This can take 10 to 20 minutes. Stop when it begins to hold its shape and is still spreadable.
- If using the optional chopped nuts or coconut flakes, fold them in quickly near the end of beating. Add optional chocolate chips at this point for a partly melted swirl, or scatter them over the candy after spreading.
- Immediately spread the thick candy in the lined pan. Avoid scraping hardened sugar crystals from the saucepan sides into it. Smooth the top with the spoon or a heat-safe spatula.
- Leave until completely cool and firm enough to cut, allowing about 2 hours after spreading. Setting time varies with room temperature and candy thickness; do not cut while the center is still soft.
- Lift the cooled candy from the pan and cut it into small squares. Serve small pieces, and store the remainder covered in the refrigerator once cool.
Notes
- Stir at the right time: Stir while dissolving the sugar before boiling. Leave the boiling syrup and the cooling mixture undisturbed, then beat after it cools to about 110°F (43°C).