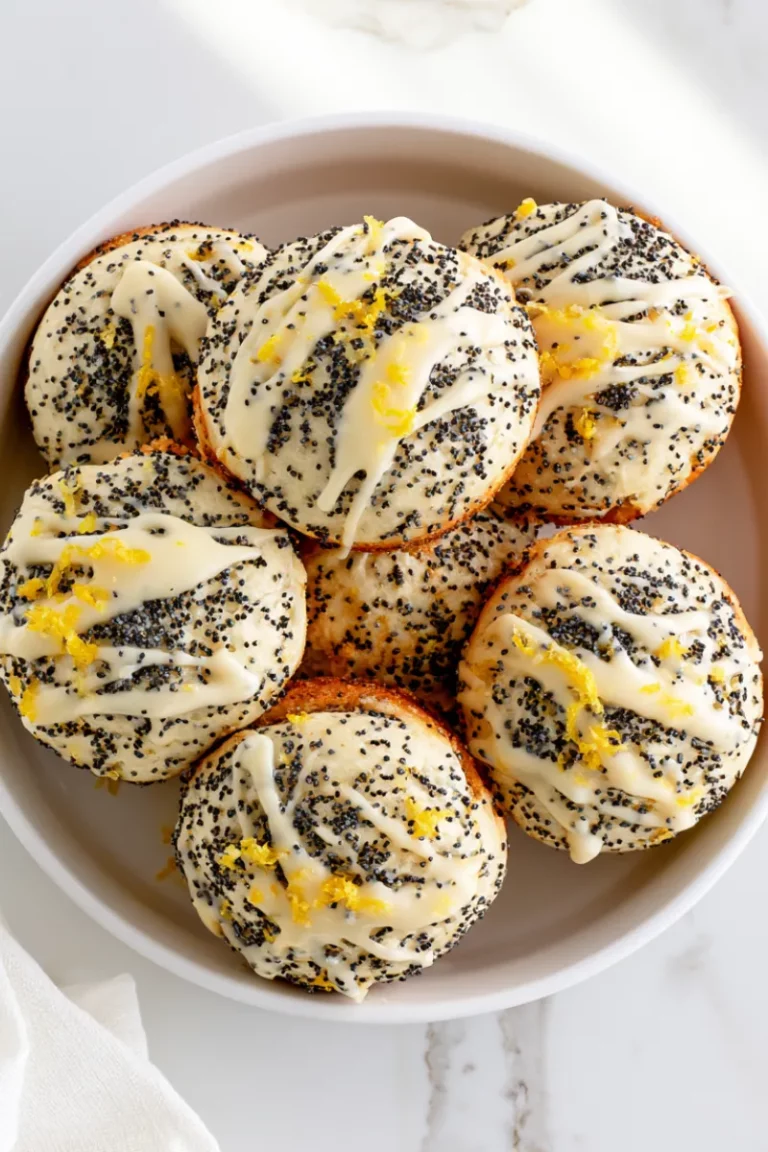
13 3 and 4-Ingredient No-Bake Desserts
Some days, the oven is just not invited to the party. Maybe it is a hot summer afternoon and the kitchen already feels like a sauna, maybe it is the busiest week of the year and dessert still has to happen, or maybe guests just called to say they are on their way. On days like those, I open my little notebook of no-bake desserts — the ones that need only 3 or 4 ingredients and not one minute of baking.
What I love most about these desserts is how honest and simple they are. With so few ingredients, every single one has to shine: good chocolate, real peanut butter, ripe bananas, sweet strawberries. There is nowhere for a so-so ingredient to hide, and nothing complicated to go wrong. Most of the work is just stirring, spreading, and letting the fridge or freezer do the rest while you get on with your day.
This list has my 13 favorite 3 and 4-ingredient no-bake desserts, from fudgy Oreo truffles to a sunny lemon icebox pie. They are perfect for kids to help with, because there is no hot oven to worry about, and they are wonderful for making ahead — most of them taste even better the next day. So clear a little space in the fridge, grab a bowl and a spoon, and let’s make dessert the easy way.
3-Ingredient Oreo Truffles
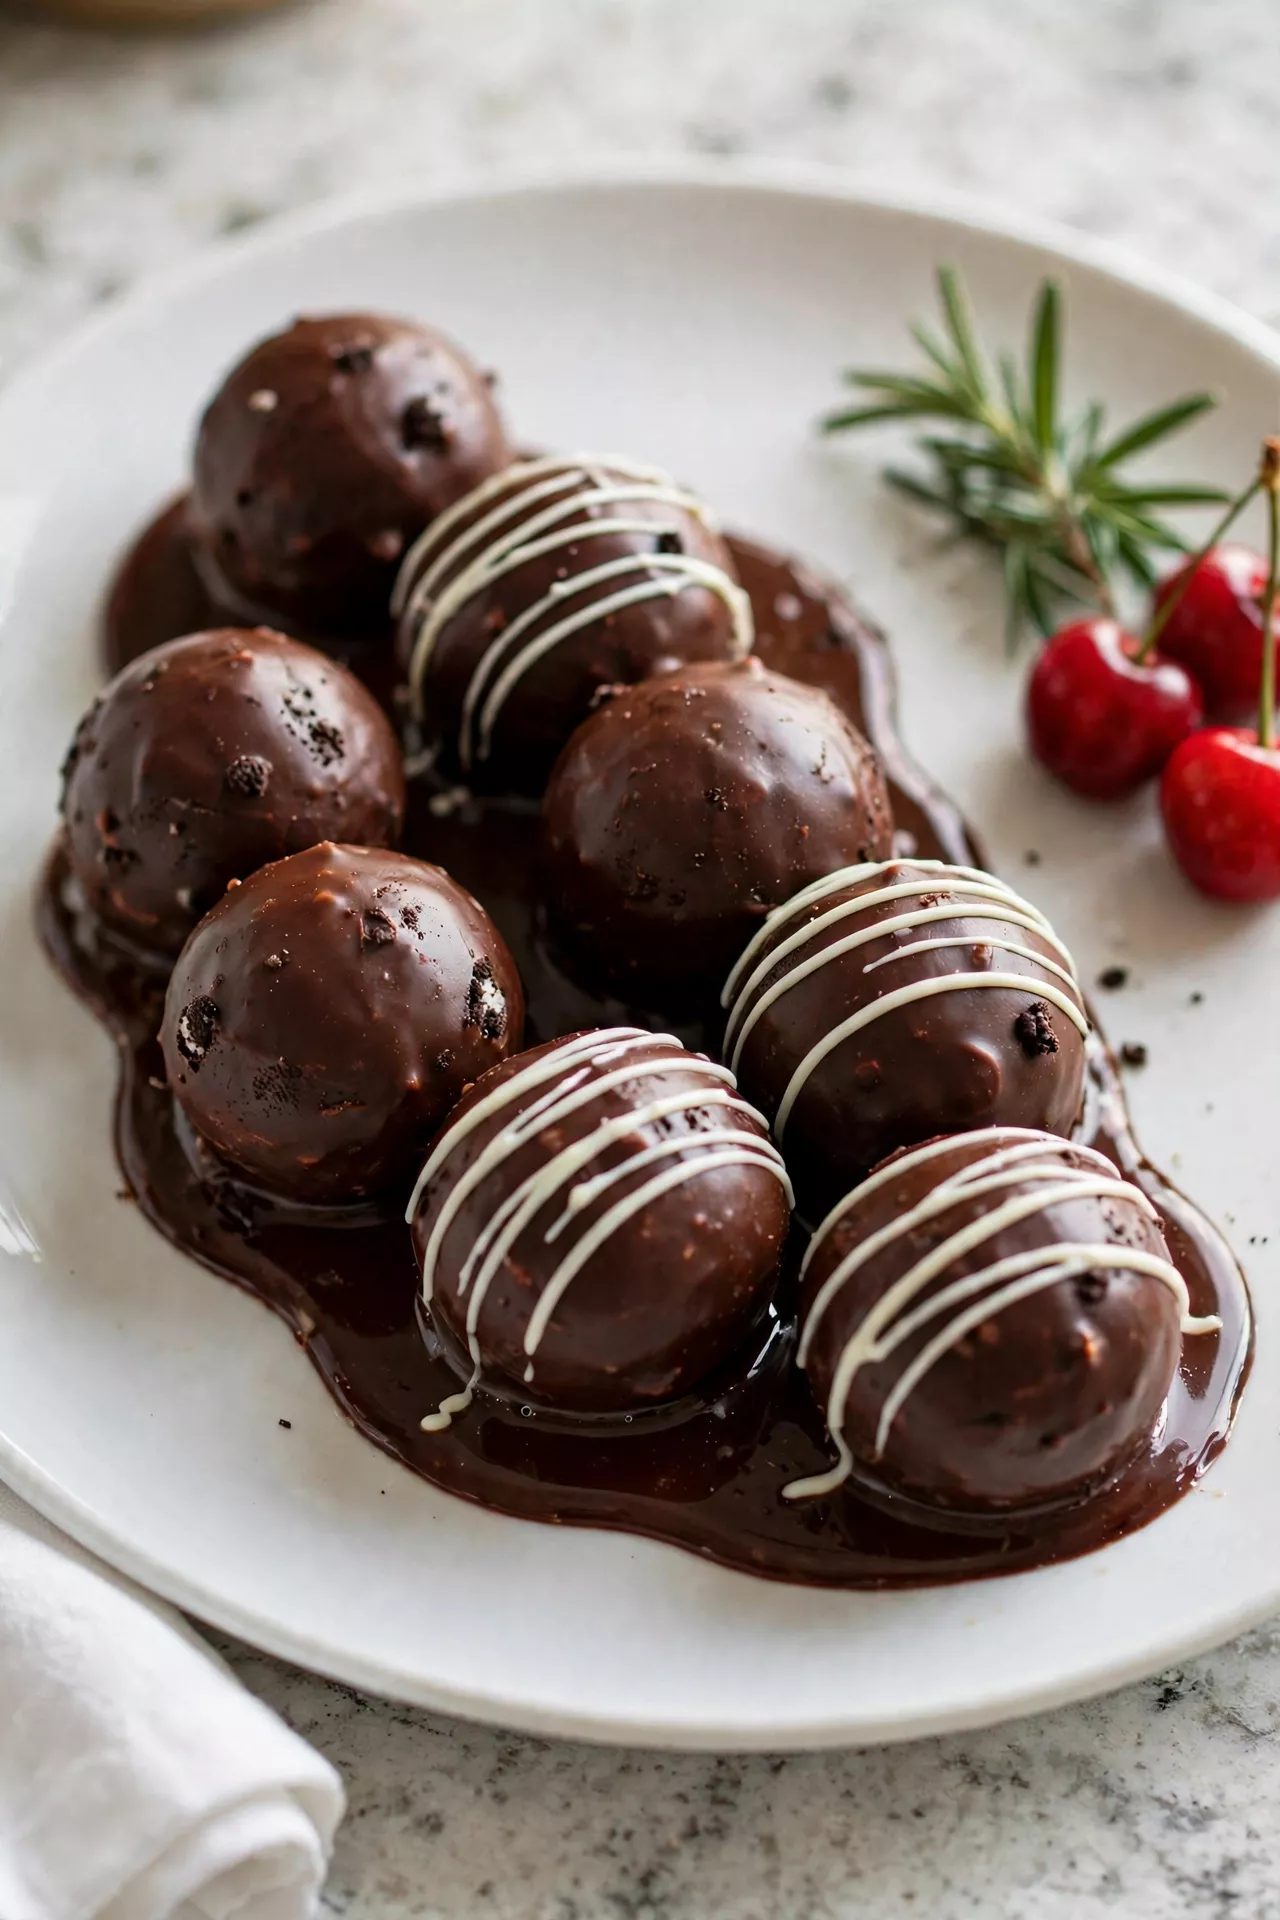
These little truffles taste like they came from a fancy candy shop, but they are a true 3-ingredient dessert — just Oreos, cream cheese, and chocolate. The crushed cookies and cream cheese roll into a soft, fudgy center, and a quick dip in melted chocolate gives them a shiny shell. They disappear faster than any dessert I make, so I always hide a few in the back of the fridge for myself.
Prep Time: 25 minutes | Cook Time: 0 minutes | Servings: 24
Ingredients
- 36 Oreo cookies (one standard package)
- 8 ounces cream cheese, softened
- 12 ounces semisweet or white chocolate, chopped, for coating
Instructions
- Crush the Oreos by putting them in a food processor and pulsing until they are fine crumbs, filling and all. If you do not have a food processor, seal them in a zip-top bag and roll over them with a rolling pin until no big pieces are left.
- Mix in the cream cheese and process or stir until the crumbs and cream cheese come together into one soft, dark dough. It should look like thick fudge and hold together easily when you pinch it.
- Roll the balls by scooping about 1 tablespoon of the mixture at a time and rolling it smooth between your palms. Place the balls on a parchment-lined baking sheet as you go.
- Chill until firm in the freezer for about 15 minutes, or in the fridge for 30 minutes. Cold balls are much easier to dip and will not fall apart in the warm chocolate.
- Melt the chocolate in a microwave-safe bowl in 30-second bursts, stirring between each one, until it is smooth and glossy. Be patient here — overheated chocolate turns thick and dull.
- Dip the truffles one at a time using a fork, letting the extra chocolate drip back into the bowl before setting each one back on the parchment. A little swirl on top with the fork makes them look like they came from a candy shop.
- Set and chill the dipped truffles in the fridge for at least 30 minutes, until the chocolate shell is firm and shiny. Store them in a sealed container in the fridge for up to a week — if they last that long.
3-Ingredient Peanut Butter Fudge
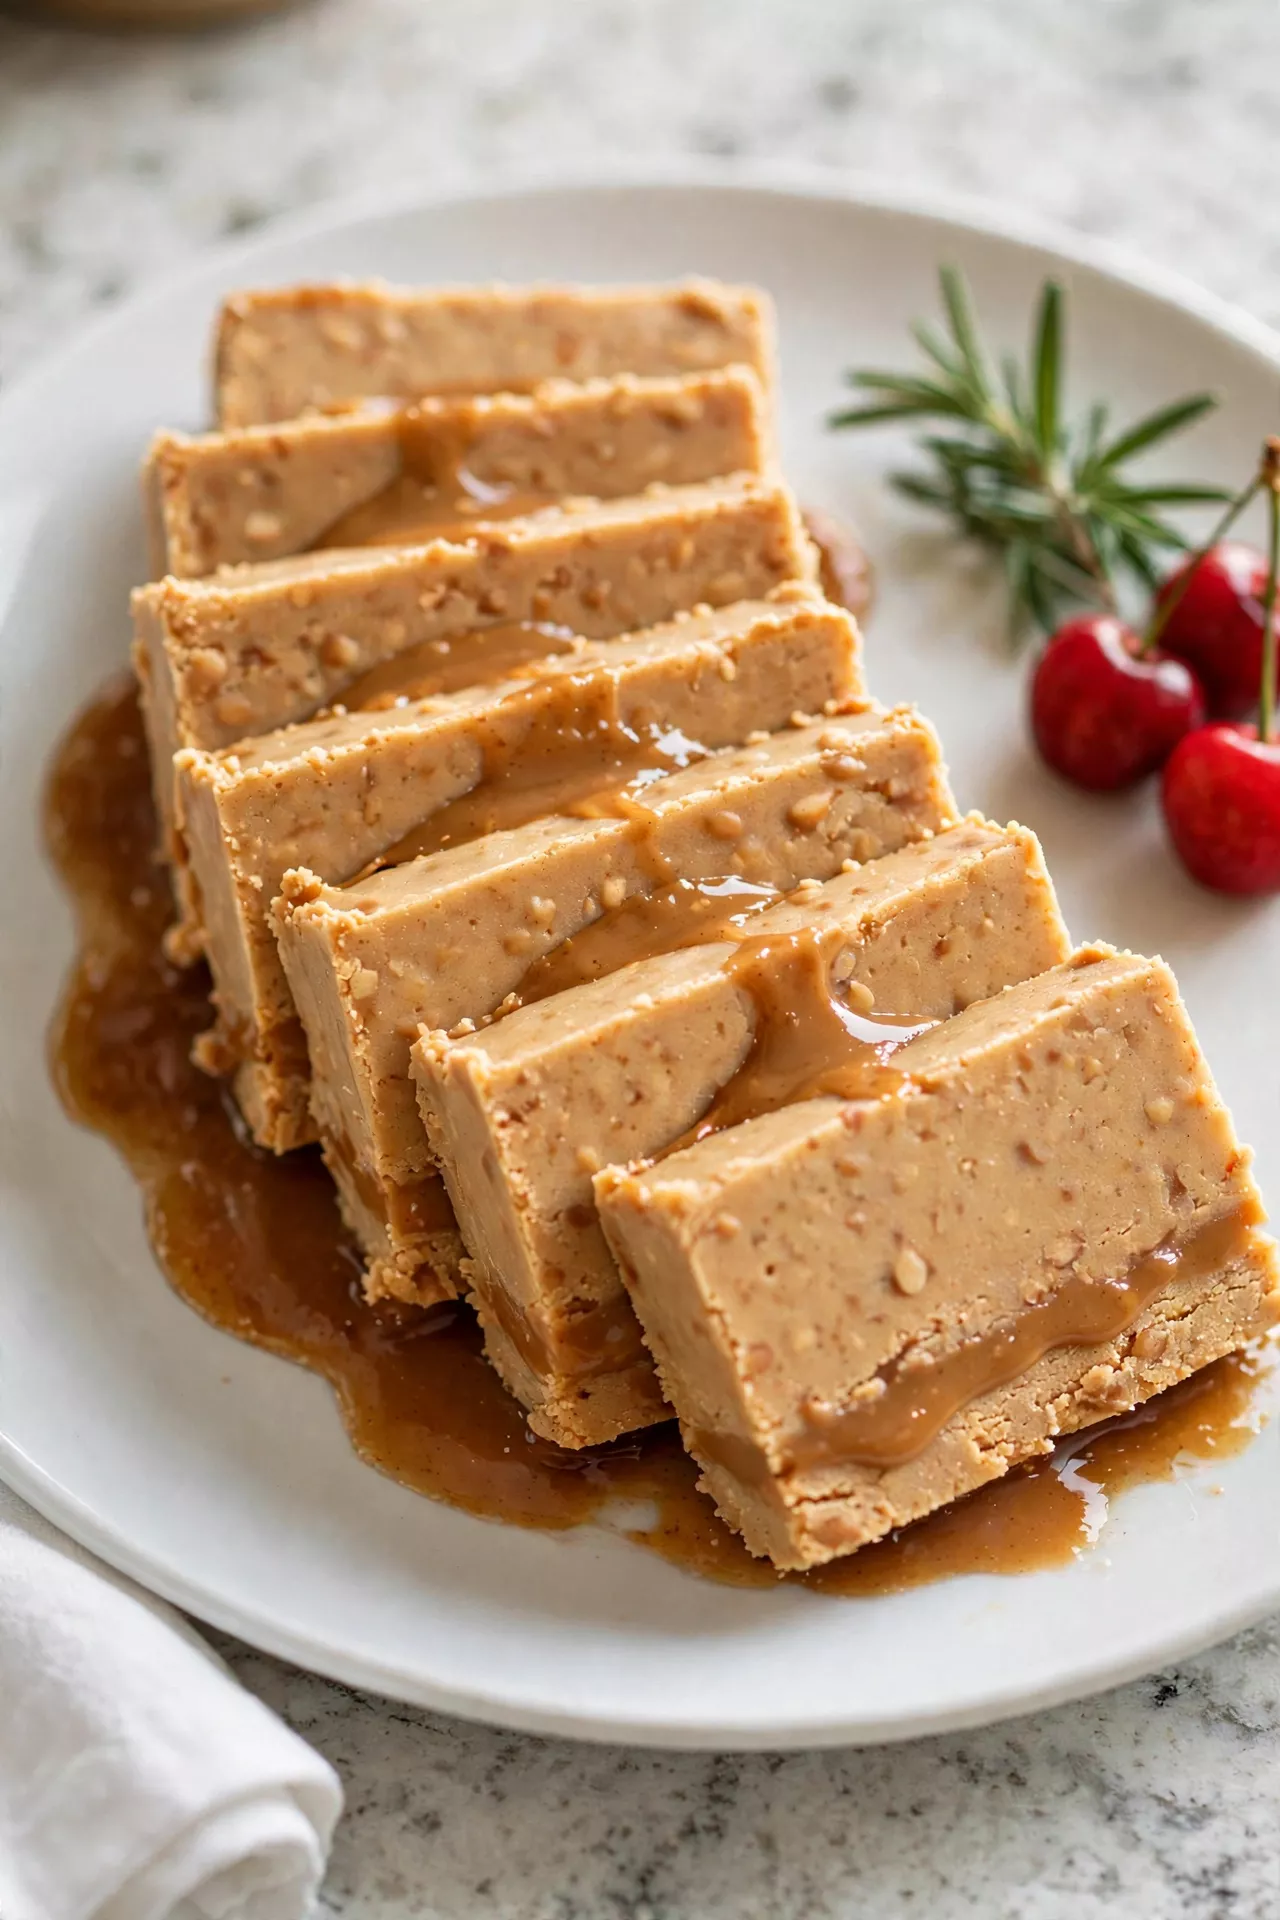
This is the fudge recipe I teach everyone who tells me they cannot make candy, because it is a simple 3-ingredient dessert that never fails. Peanut butter, butter, and powdered sugar melt together into the creamiest, richest fudge you have ever tasted, with no thermometer and no fuss. Cut it into little squares, because a small piece of this sweet, salty fudge goes a long way.
Prep Time: 10 minutes | Cook Time: 0 minutes | Servings: 36
Ingredients
- 1 cup unsalted butter
- 1 cup creamy peanut butter
- 3 1/2 cups powdered sugar, sifted
Instructions
- Prepare the pan by lining an 8×8-inch baking pan with parchment paper, leaving a little paper hanging over the sides. Those paper handles will lift the finished fudge right out for easy cutting.
- Melt the butter and peanut butter together in a large microwave-safe bowl for about 2 minutes, until fully melted and smooth. You can also do this in a saucepan over low heat on the stove, stirring the whole time.
- Stir in the powdered sugar a cup at a time, mixing well after each addition until a thick, smooth dough forms. It will look a little like soft cookie dough, and that is exactly right.
- Press the fudge into the prepared pan with the back of a spoon or a piece of parchment, pushing it into the corners and smoothing the top as flat as you can. Work fairly quickly, because it starts to set as it cools.
- Chill until firm in the fridge for at least 2 hours, or overnight if you can wait. The fudge should feel solid and slice cleanly with no soft spots.
- Cut and serve by lifting the fudge out with the parchment handles and cutting it into small squares with a sharp knife. Store the squares in a sealed container in the fridge for up to two weeks.
4-Ingredient Chocolate Mousse
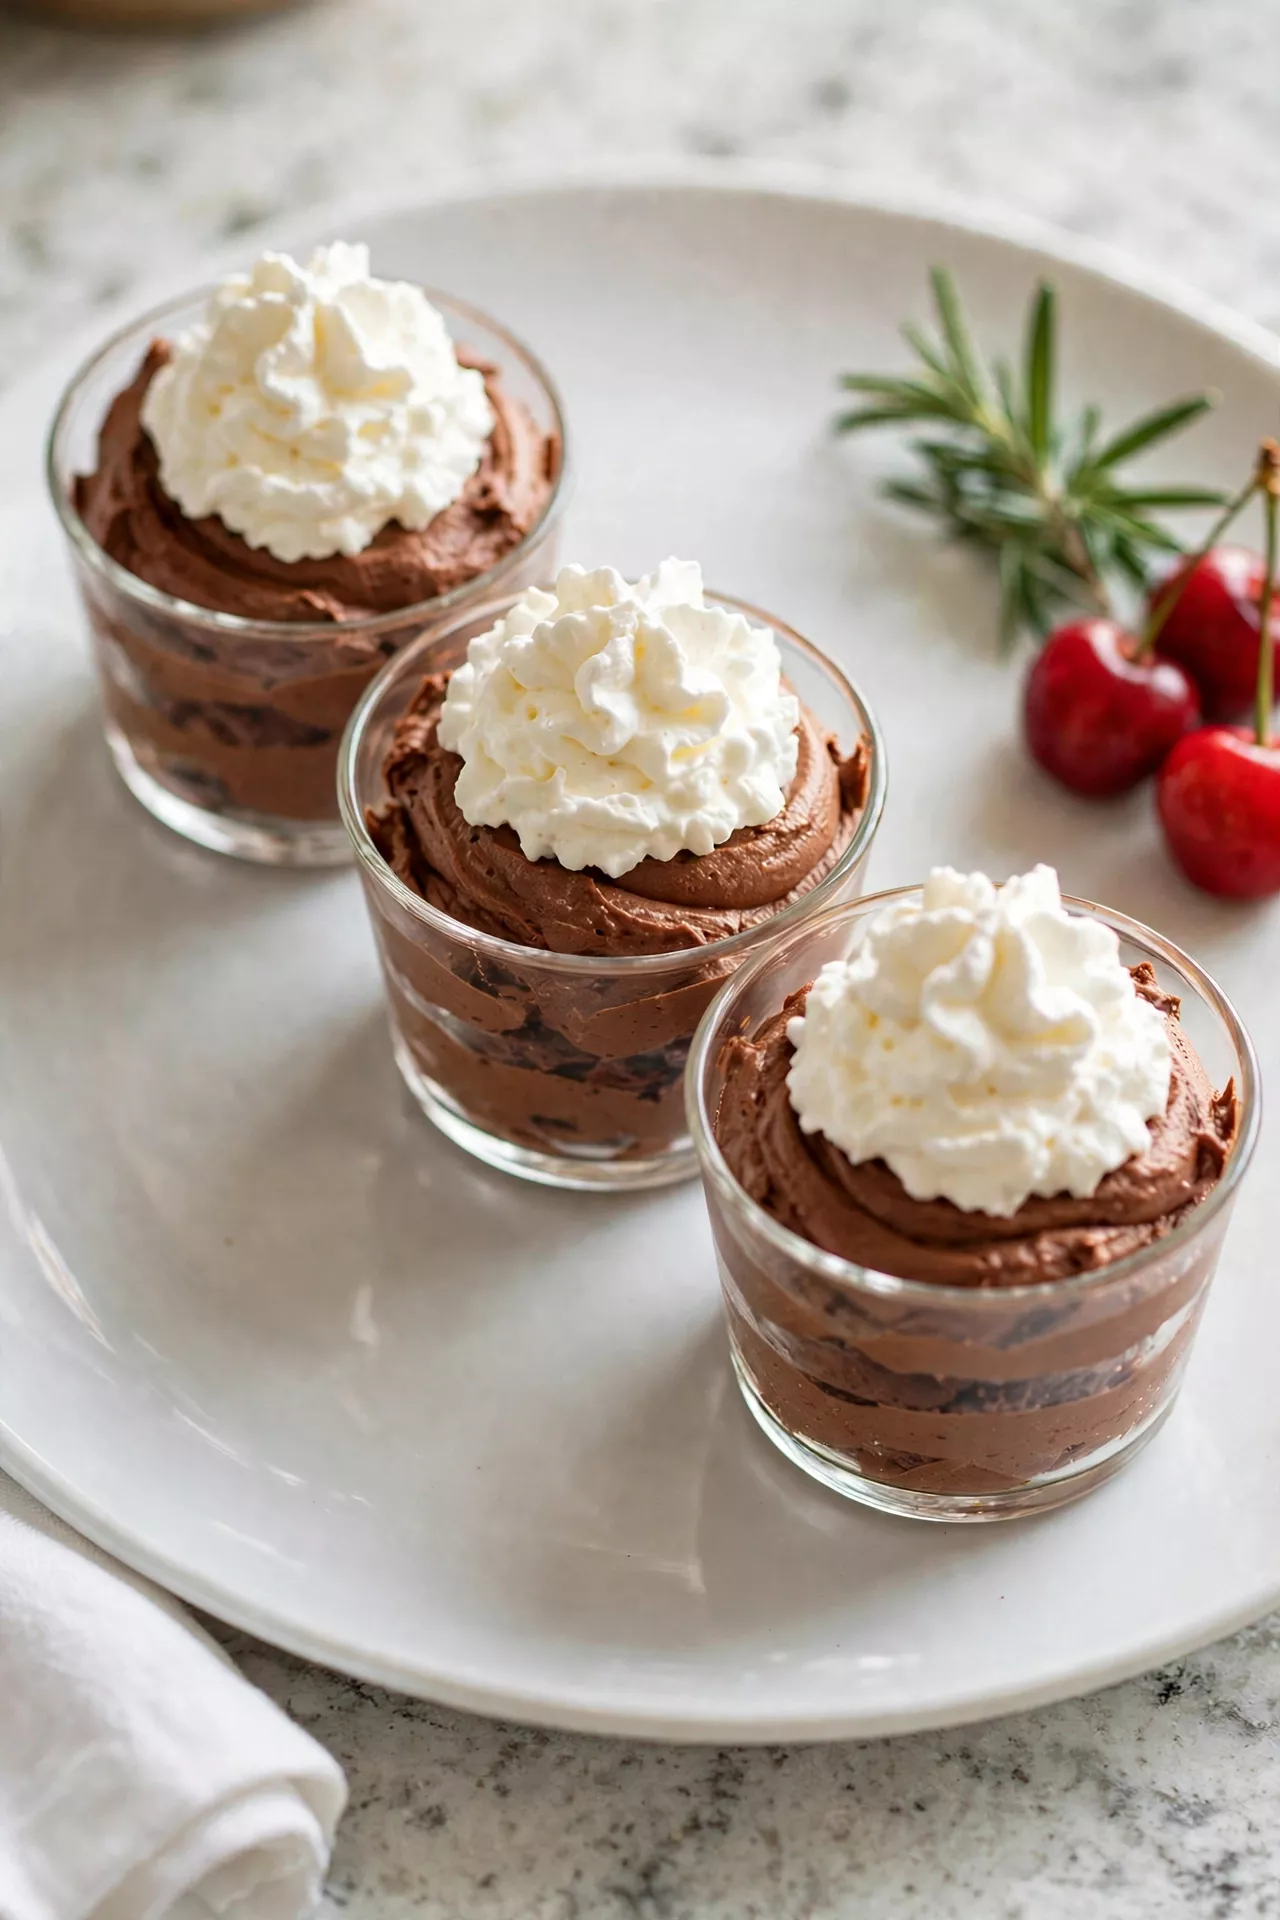
This mousse tastes like something from a French restaurant, yet it is a light and easy 4-ingredient dessert — dark chocolate, heavy cream, a little sugar, and vanilla. The secret is whipping the cream softly and folding gently, so the mousse stays full of tiny air bubbles. Spoon it into little glasses, chill it well, and you have the most elegant no-bake dessert on this whole list.
Prep Time: 15 minutes | Cook Time: 0 minutes | Servings: 6
Ingredients
- 6 ounces dark chocolate (60 to 70 percent), chopped
- 1 1/2 cups heavy cream, cold, divided
- 2 tablespoons granulated sugar
- 1 teaspoon vanilla extract
Instructions
- Melt the chocolate in a heatproof bowl set over a pan of barely simmering water, stirring until smooth and glossy. Take the bowl off the heat and let the chocolate cool for about 5 minutes — it should feel warm, not hot, when you touch it.
- Warm a little cream by stirring 1/2 cup of the heavy cream into the melted chocolate until it turns into a smooth, shiny ganache. This keeps the chocolate from seizing when it meets the cold whipped cream.
- Whip the remaining cream in a cold bowl with the sugar and vanilla until it holds soft peaks. The cream should stand up in gentle curls that flop over at the tip — stop there, because over-whipped cream makes mousse grainy.
- Fold the cream in in two additions, using a spatula and turning the bowl as you go, until no white streaks remain. Fold slowly and gently; stirring hard will knock out all the air you just whipped in.
- Spoon into glasses or small dessert cups, smoothing the tops or leaving pretty swirls. Little glasses make this simple dessert look very fancy with no extra work.
- Chill for at least 2 hours in the fridge, until the mousse is set and silky. It keeps well for up to 2 days, so this is a perfect make-ahead dessert for a dinner party.
4-Ingredient Mini No-Bake Cheesecakes
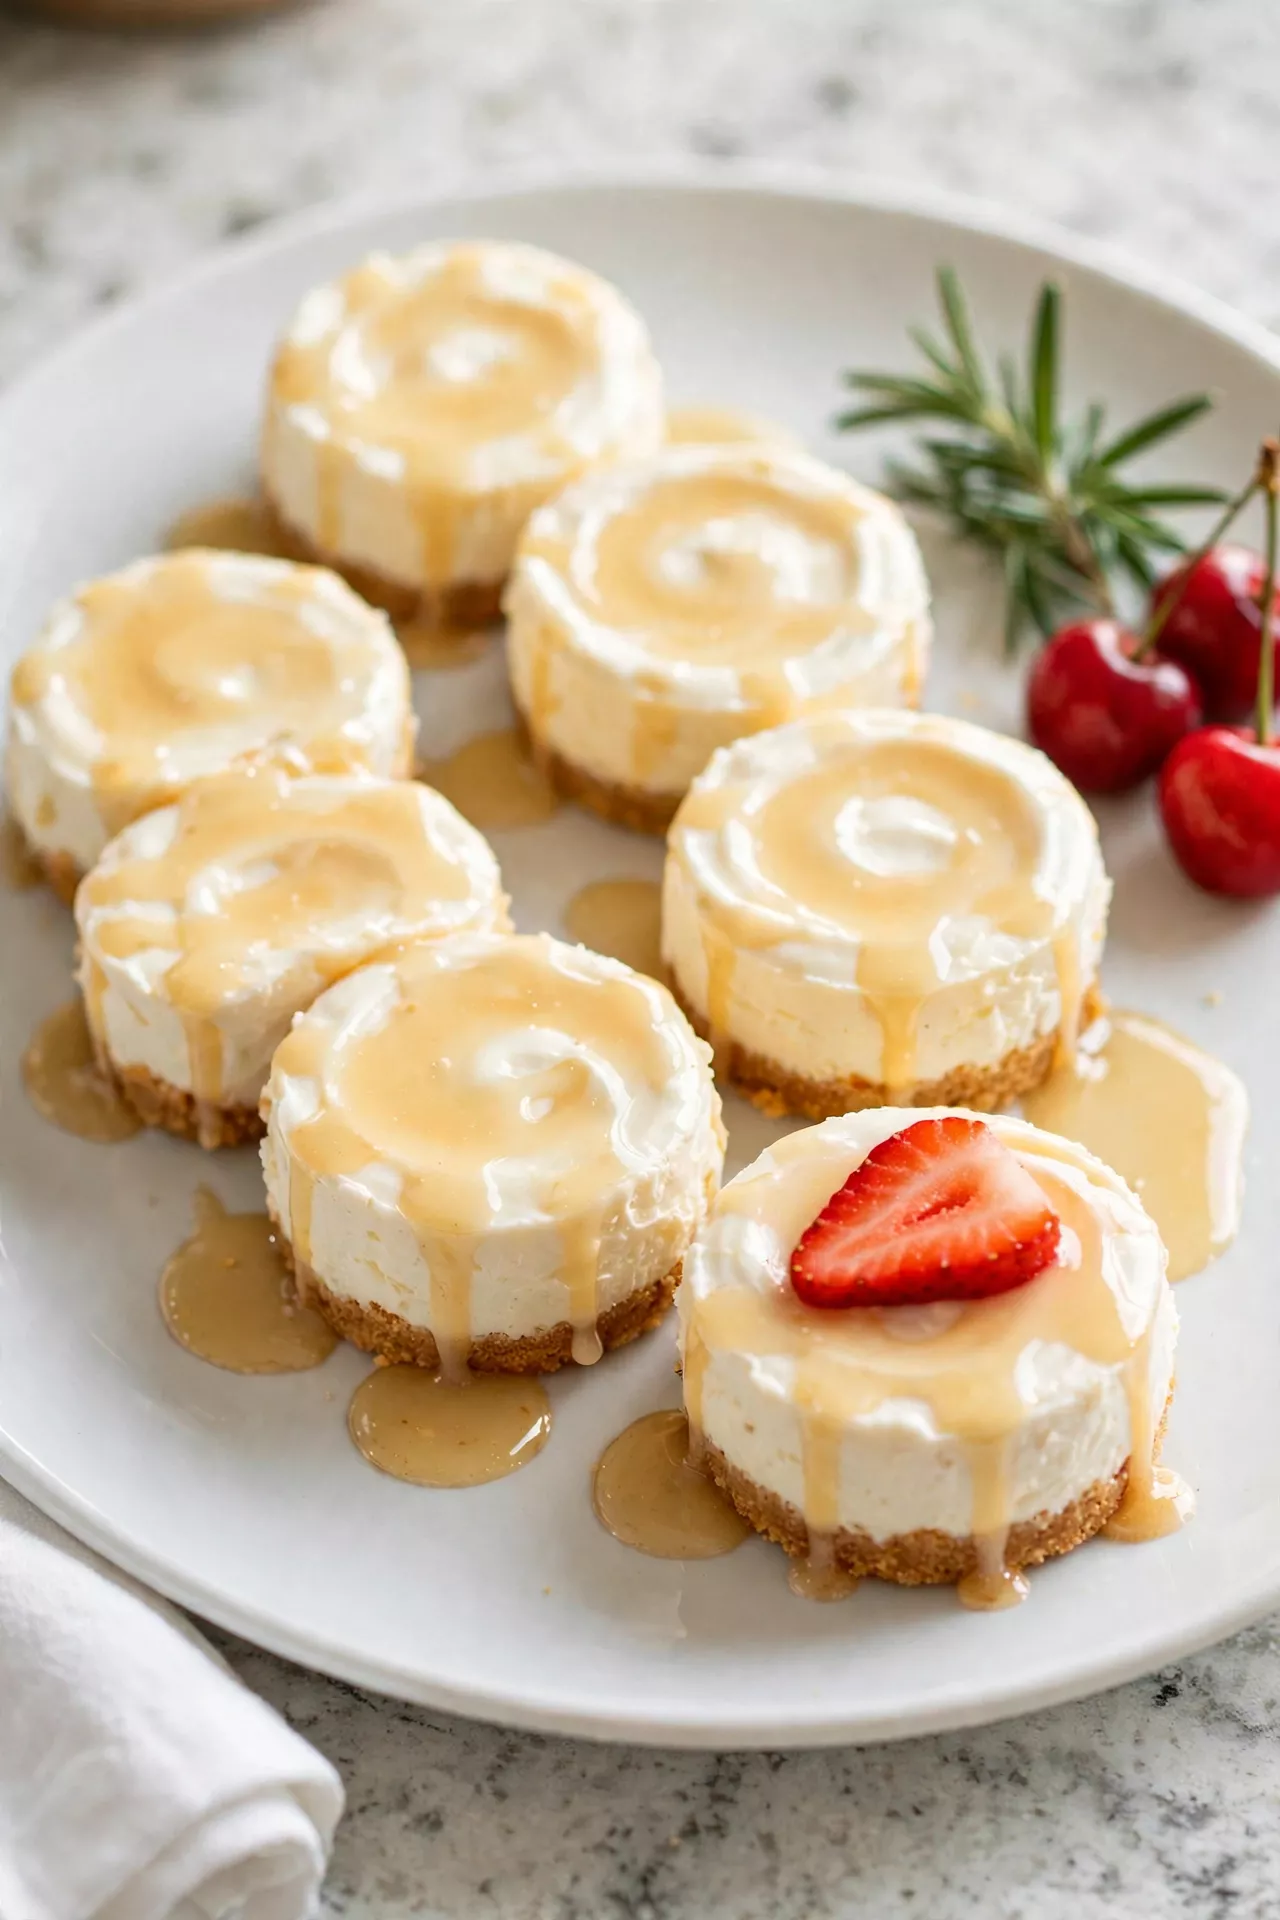
These sweet little cheesecakes are a 4-ingredient dessert that looks like you spent all afternoon in the kitchen. A buttery graham cracker crust goes into muffin cups, and the filling is just cream cheese and sweetened condensed milk, whipped until it is smooth as silk. They set in the fridge with no baking and no water bath, and everyone gets their own perfect little cheesecake.
Prep Time: 20 minutes | Cook Time: 0 minutes | Servings: 12
Ingredients
- 1 1/2 cups graham cracker crumbs
- 6 tablespoons unsalted butter, melted
- 16 ounces cream cheese, softened
- 1 (14-ounce) can sweetened condensed milk
Instructions
- Line the muffin pan with 12 paper cupcake liners. The liners make the little cheesecakes easy to lift out and serve, and they look pretty on a plate.
- Make the crust by stirring the graham cracker crumbs and melted butter together until the crumbs look like wet sand. Every crumb should be moistened, or the crust will be crumbly later.
- Press the crusts by spooning about 2 tablespoons of the crumb mixture into each liner and pressing it down firmly with the bottom of a small glass. A tight, even crust is the secret to cheesecakes that hold together.
- Beat the filling by whipping the softened cream cheese in a large bowl until completely smooth, then slowly pouring in the sweetened condensed milk and beating until the mixture is thick, glossy, and free of lumps.
- Fill the cups by dividing the filling evenly over the crusts and smoothing the tops with the back of a spoon. Tap the pan gently on the counter to pop any air bubbles.
- Chill for at least 4 hours, or overnight for the firmest set, until the cheesecakes feel solid when you jiggle the pan. Overnight is best — the flavor gets better as they rest.
- Serve cold straight from the fridge, peeling off the liners or leaving them on for a party. They keep in a sealed container in the fridge for up to 4 days.
3-Ingredient Rice Krispie Treats
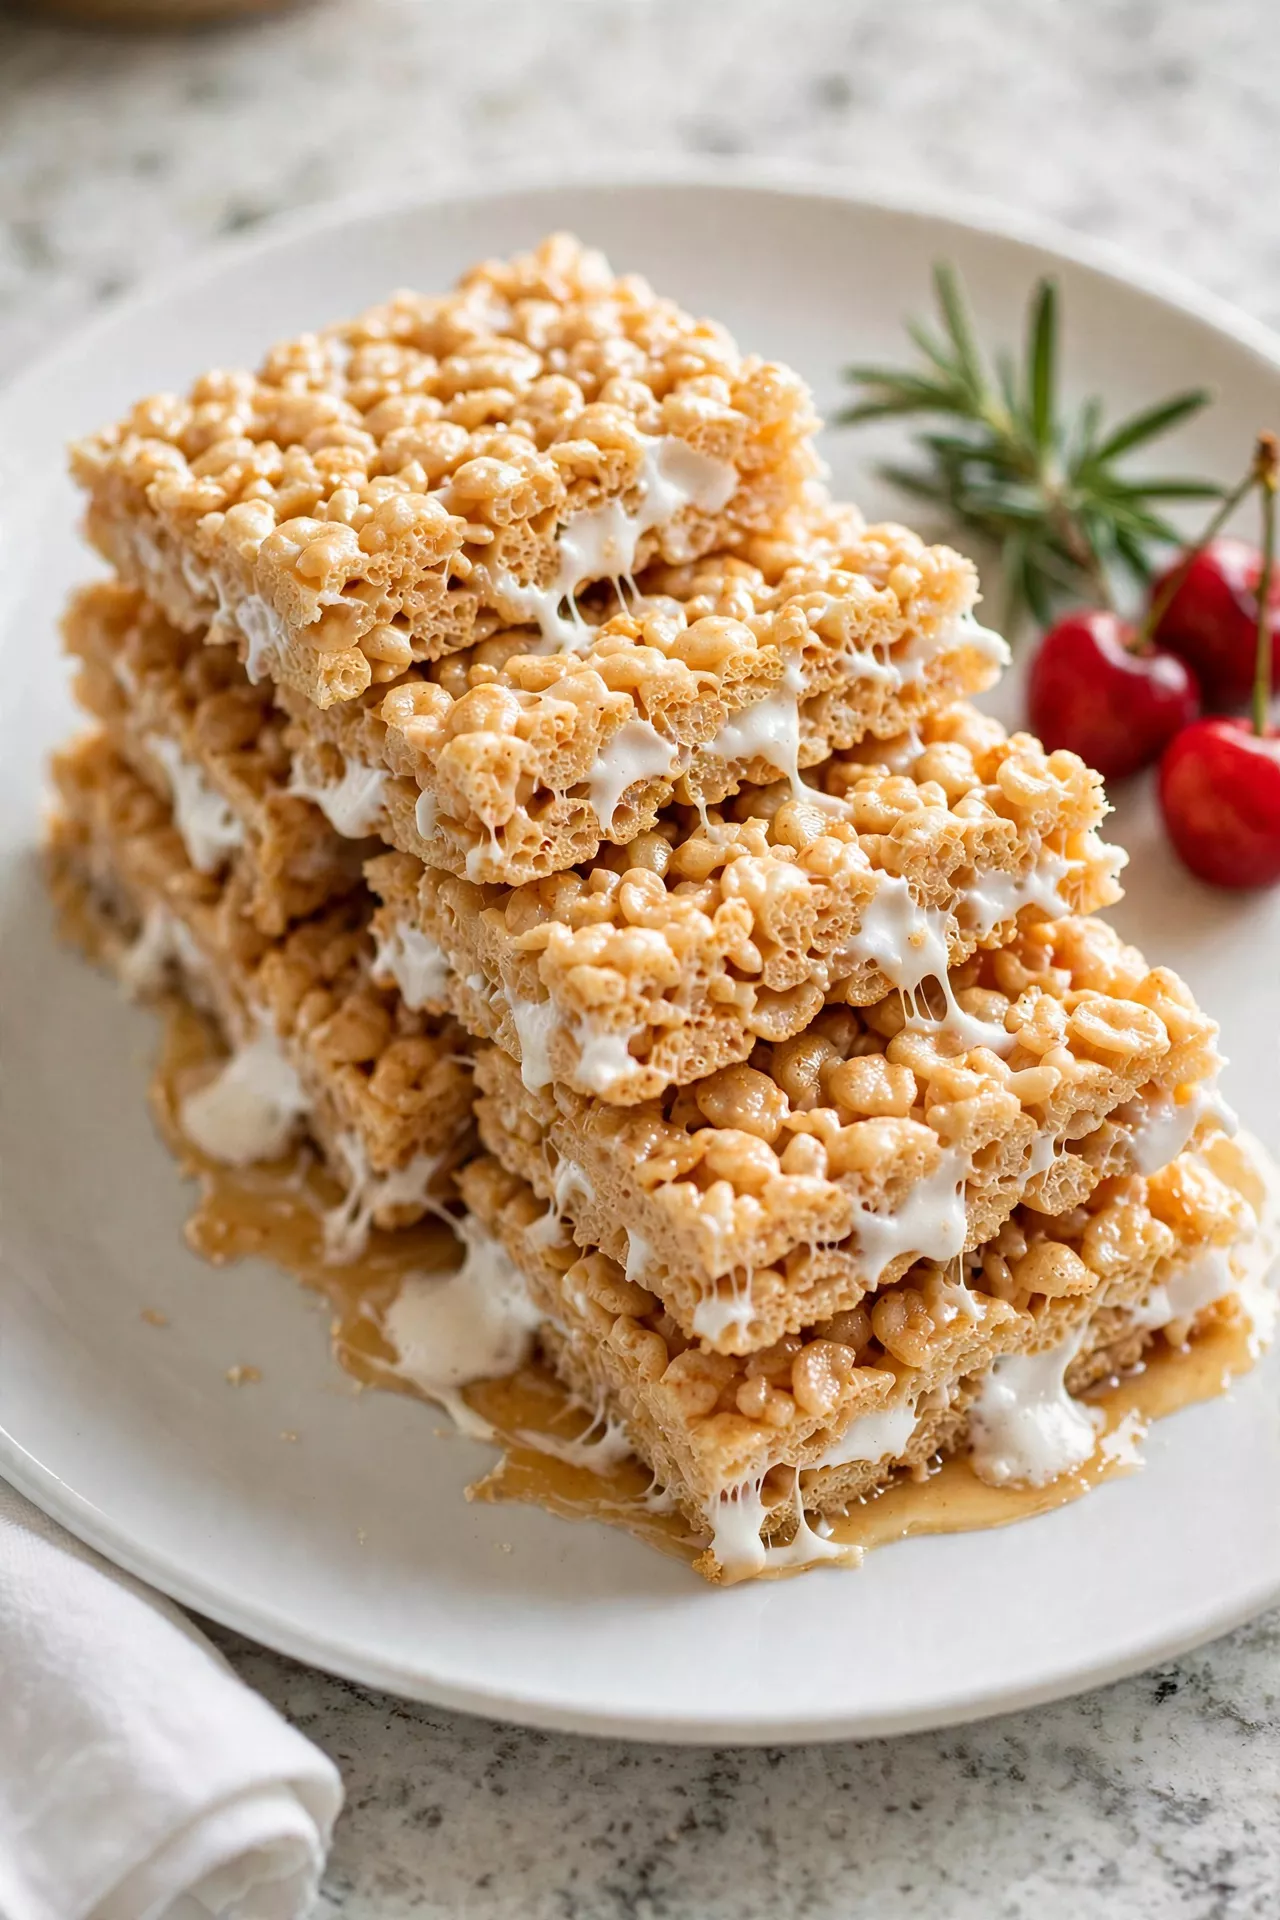
Everybody knows and loves these, and they are the classic 3-ingredient dessert — butter, marshmallows, and crisp rice cereal. The trick to soft, chewy treats instead of hard bricks is low heat and a gentle hand when you press them into the pan. They take ten minutes to make, and in my house they are lucky to last ten minutes more.
Prep Time: 10 minutes | Cook Time: 0 minutes | Servings: 12
Ingredients
- 6 tablespoons unsalted butter
- 10 ounces marshmallows (about 40 regular or 6 cups mini)
- 6 cups crisp rice cereal
Instructions
- Prepare the pan by greasing a 9×13-inch pan or lining it with parchment paper. Do this first, because once the marshmallow melts, everything moves fast.
- Melt the butter in a large pot over low heat. Low and slow is the whole secret here — hot marshmallow makes hard treats, but gently melted marshmallow makes soft, chewy ones.
- Melt the marshmallows in the butter, stirring constantly, until they are just melted and smooth. Take the pot off the heat the moment the last lump disappears, because even one extra minute of heat toughens them.
- Stir in the cereal all at once and fold gently until every piece is coated in the marshmallow mixture. Work quickly but softly so you do not crush the cereal.
- Press into the pan with a buttered spatula or a piece of parchment, pressing gently — just enough to even them out. Pressing too hard packs them into bricks, so use a light touch.
- Cool and cut at room temperature for about 30 minutes, until set, then cut into squares with a buttered knife. They are best the same day, soft and chewy, stored in a sealed container.
3-Ingredient Coconut Balls
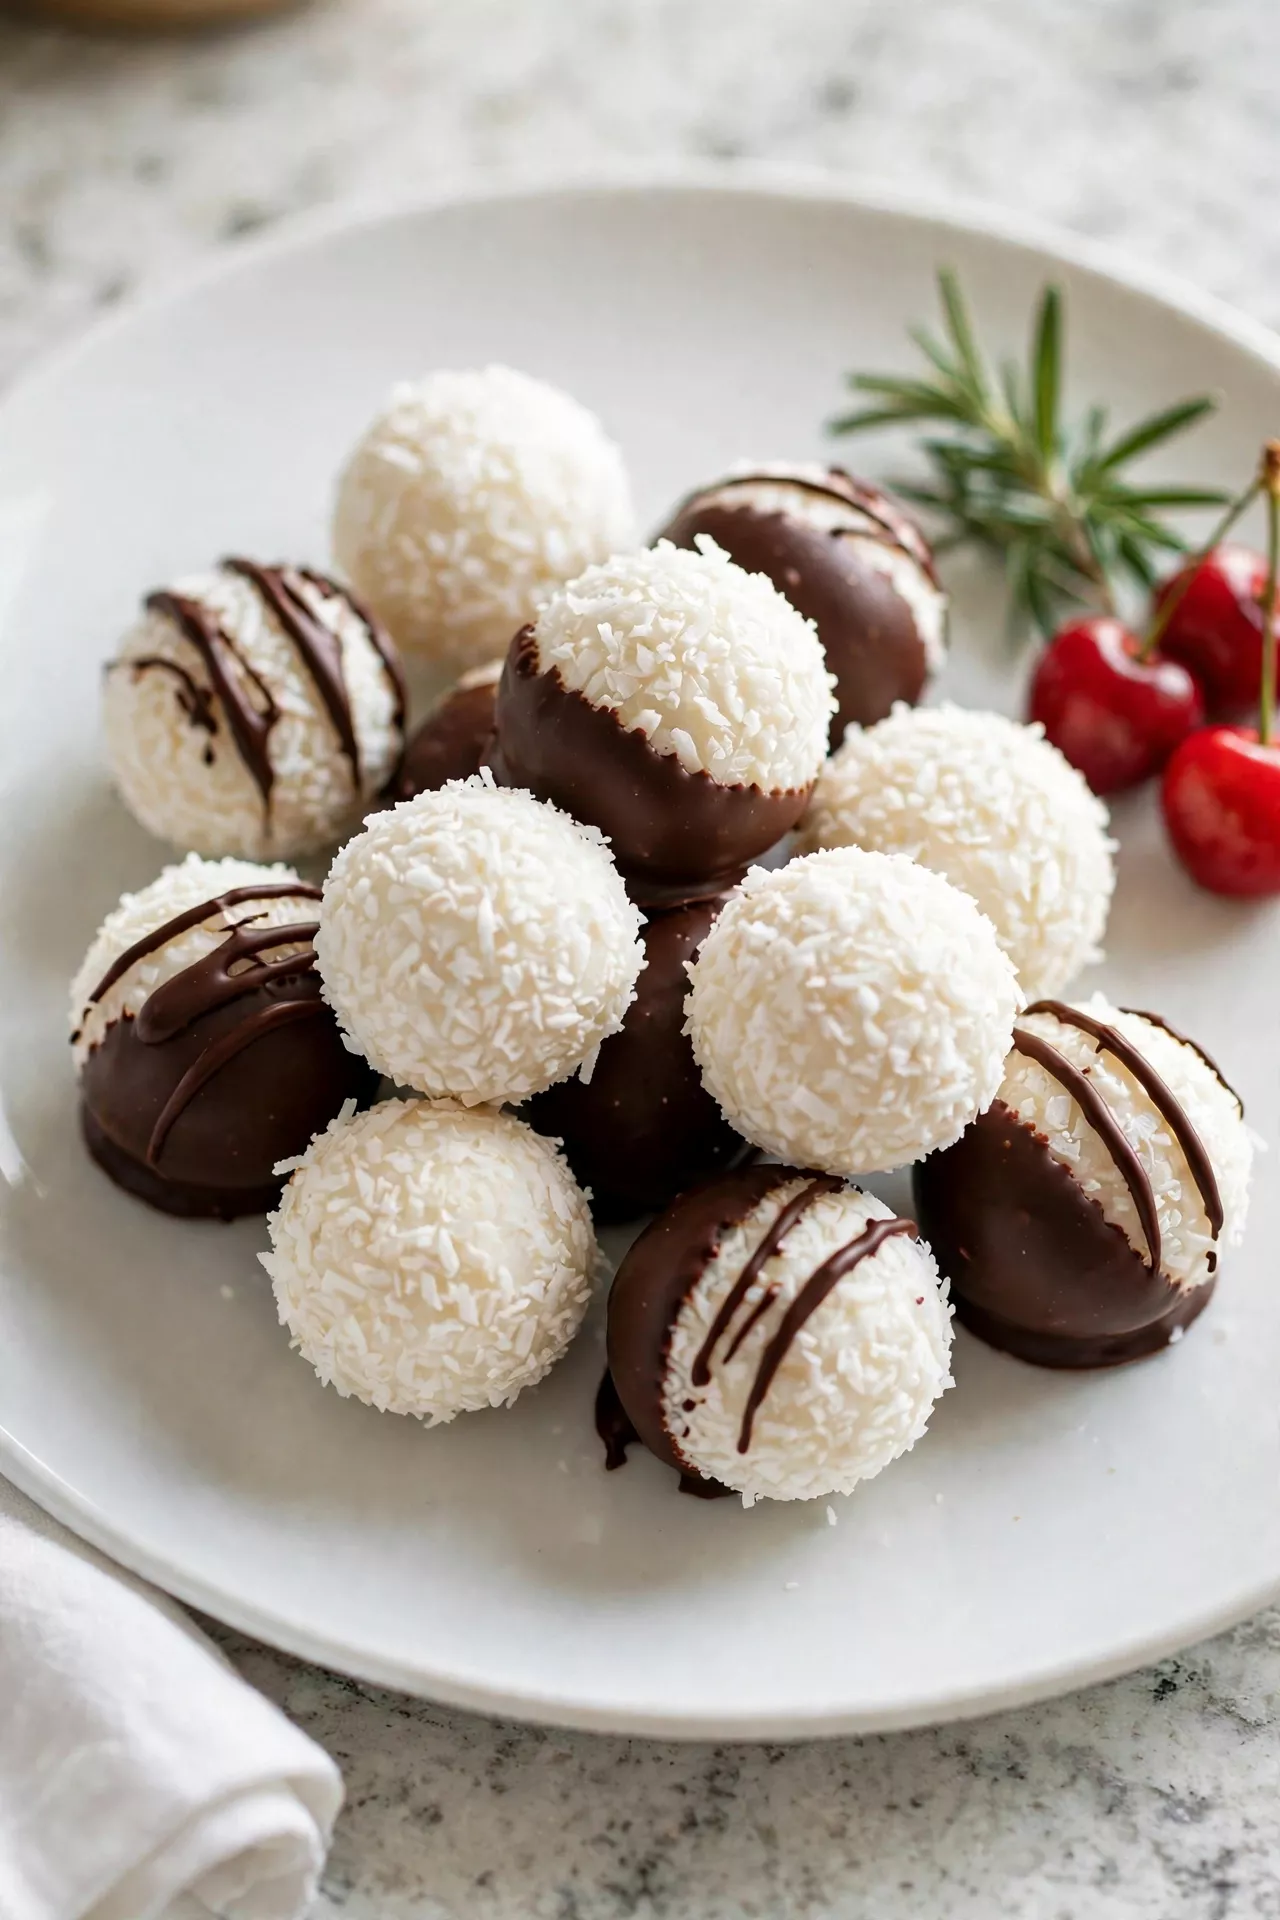
These pretty white snowballs are a 3-ingredient dessert that tastes like the inside of your favorite coconut candy bar. Sweet shredded coconut and condensed milk roll into soft little balls, and a dip in melted chocolate makes them look like truffles from a bakery window. They are a Christmas favorite at my house, but honestly, I make them all year long.
Prep Time: 20 minutes | Cook Time: 0 minutes | Servings: 24
Ingredients
- 3 cups sweetened shredded coconut
- 3/4 cup sweetened condensed milk
- 8 ounces semisweet chocolate, chopped, for coating
Instructions
- Mix the coconut base by stirring the shredded coconut and sweetened condensed milk together in a medium bowl until every strand of coconut is moistened. The mixture should be sticky and hold together when squeezed.
- Chill the mixture in the fridge for about 30 minutes. Cold mixture rolls into neat balls without sticking to your hands, so do not skip this little rest.
- Roll the balls by scooping about 1 tablespoon at a time and rolling into smooth balls between your palms. Place them on a parchment-lined baking sheet as you finish each one.
- Freeze until firm for about 20 minutes, until the balls feel solid. Firm balls dip cleanly and the chocolate sets almost right away on the cold surface.
- Melt the chocolate in a microwave-safe bowl in 30-second bursts, stirring between each, until smooth and glossy. Let it cool for a minute or two so it coats thickly instead of sliding off.
- Dip the balls one at a time with a fork, letting the extra chocolate drip off, and set them back on the parchment. If you like, leave a few undipped and snowy white for a pretty mix on the plate.
- Chill until set in the fridge for about 30 minutes, until the chocolate is firm. Store in a sealed container in the fridge for up to two weeks.
4-Ingredient Strawberry Icebox Cake
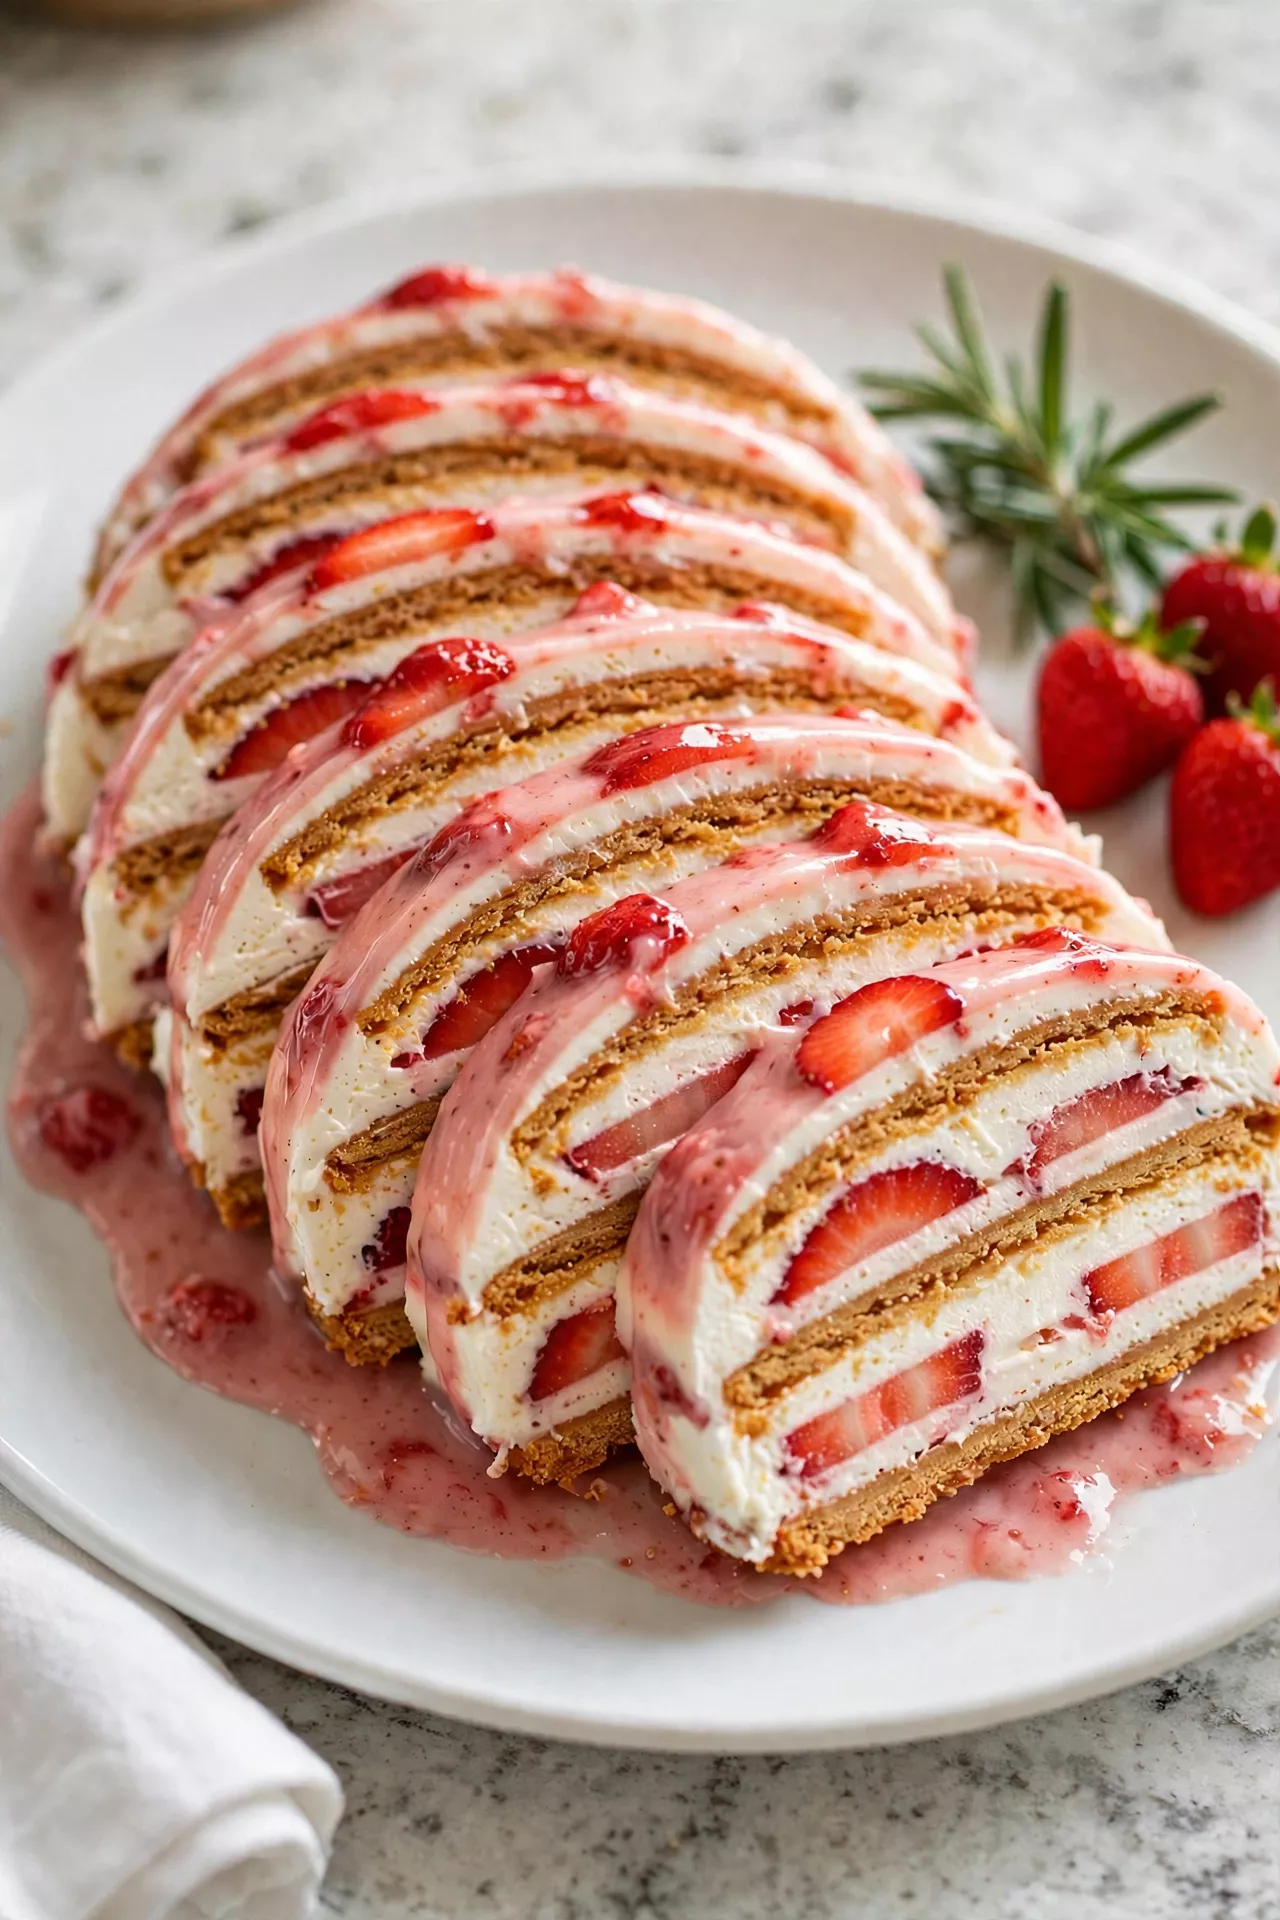
An icebox cake is pure summer magic, and this one is a fresh and pretty 4-ingredient dessert — graham crackers, whipped cream, a little powdered sugar, and lots of ripe strawberries. As the cake rests in the fridge, the crackers soften into tender cake-like layers between the cream and berries. Slice it cold and every piece shows beautiful pink and white stripes.
Prep Time: 25 minutes | Cook Time: 0 minutes | Servings: 10
Ingredients
- 2 pounds fresh strawberries, hulled and sliced
- 2 cups heavy cream, cold
- 1/2 cup powdered sugar
- About 24 graham cracker sheets (3 sleeves)
Instructions
- Prepare the strawberries by hulling and slicing them about 1/4 inch thick, then setting aside a handful of the prettiest slices for the top. Juicy, ripe berries make all the difference in this simple cake.
- Whip the cream with the powdered sugar in a cold bowl until it holds soft, billowy peaks. The cream should be thick enough to spread and hold its shape between the layers.
- Start the first layer by spreading a thin smear of whipped cream on the bottom of a 9×13-inch dish, then covering it with a single layer of graham crackers, breaking them to fit as needed.
- Build the layers by spreading about one third of the whipped cream over the crackers and covering it with one third of the sliced strawberries. Repeat the crackers, cream, and berries two more times, finishing with cream and the saved pretty berry slices on top.
- Chill overnight, covered, for at least 6 hours and up to 24. This long rest is the real recipe — the crackers drink in the cream and turn soft like cake layers.
- Slice and serve cold with a sharp knife, wiping the blade between cuts for clean, pretty slices. The cake keeps in the fridge for up to 2 days, and the layers get even more tender.
3-Ingredient Chocolate Bark
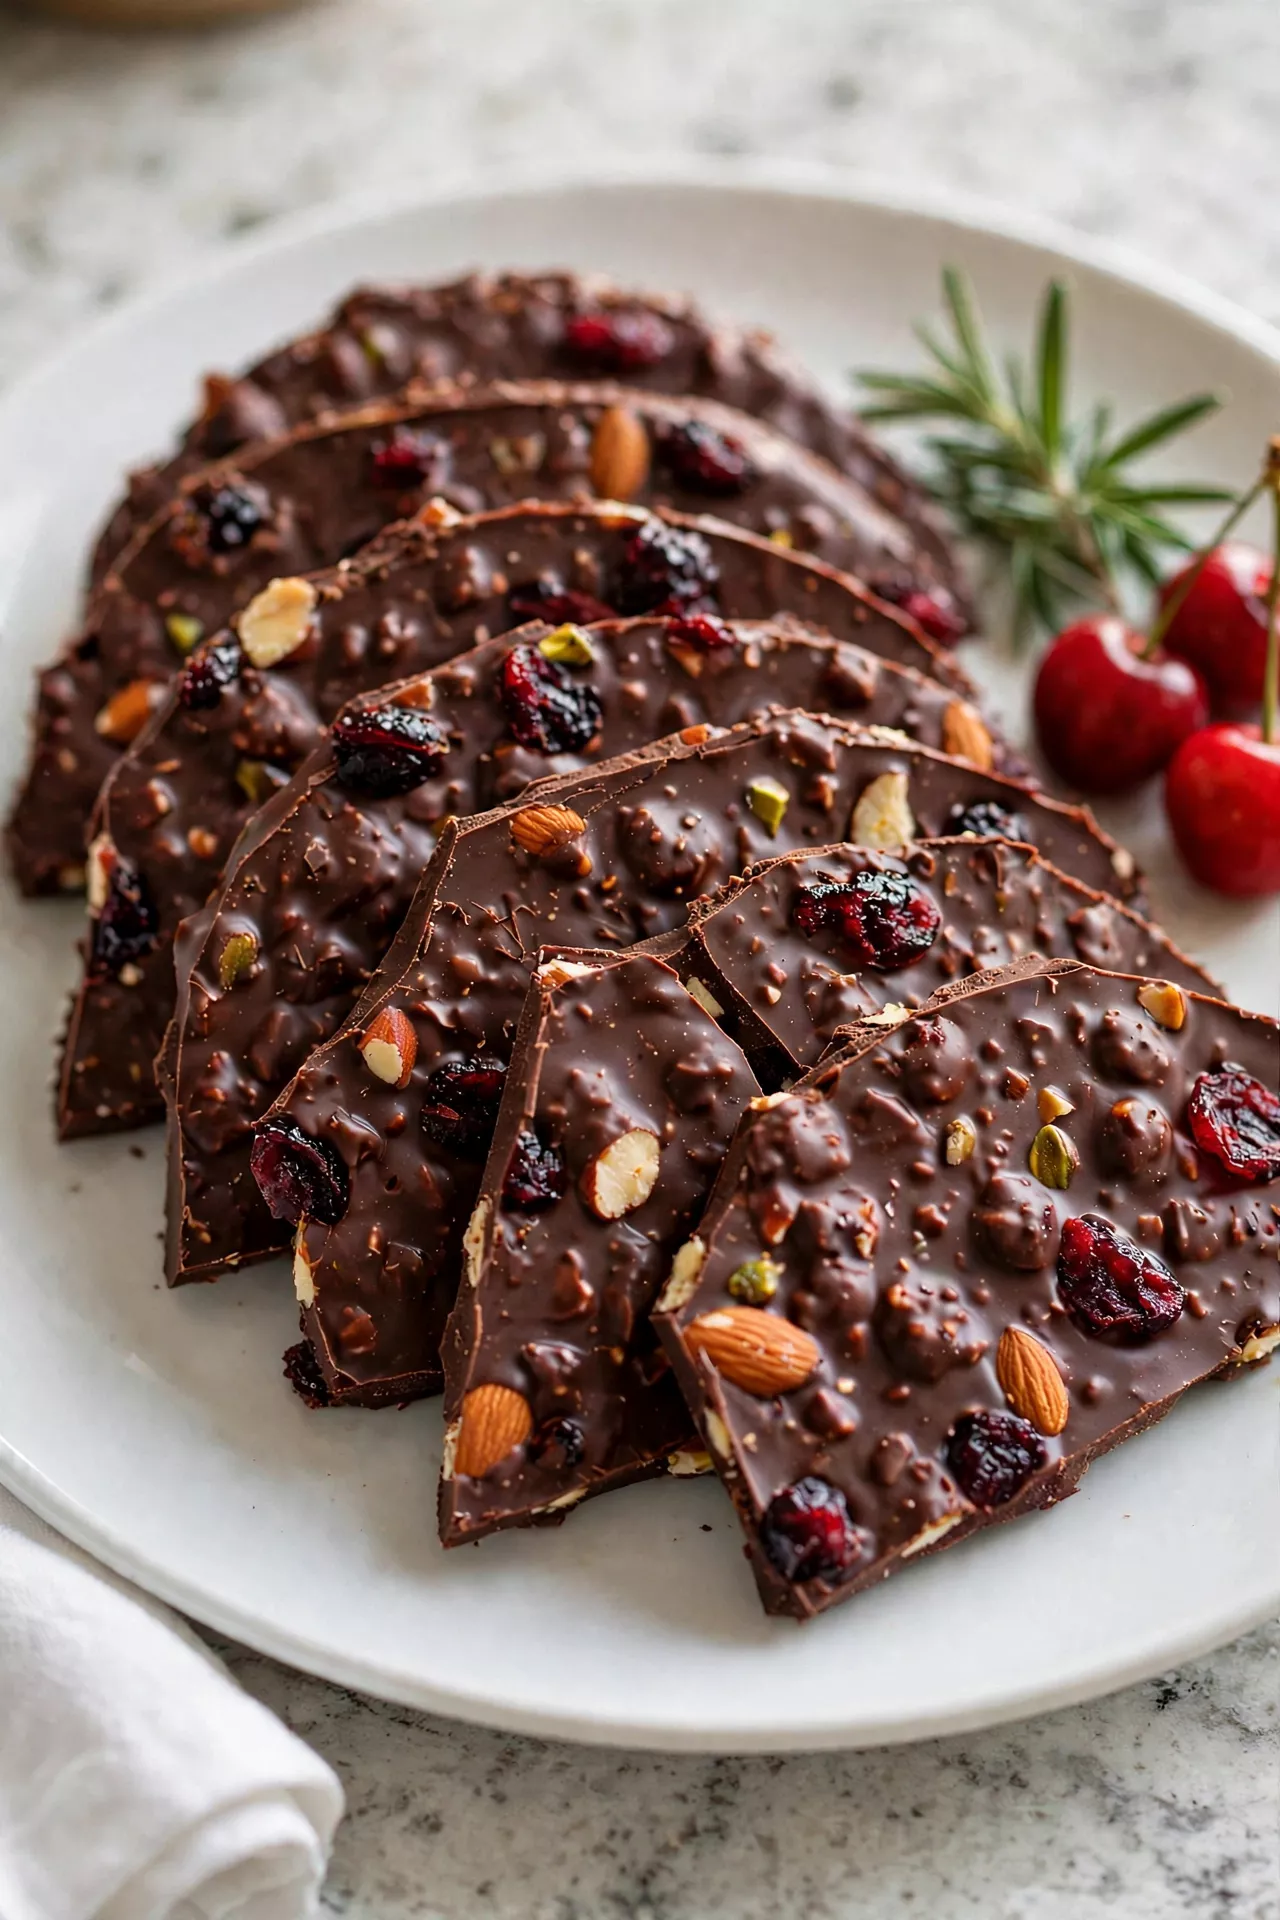
Chocolate bark is the fastest fancy dessert I know, and it is a crunchy, sweet-and-salty 3-ingredient dessert — good chocolate, mixed nuts, and chewy dried cranberries. You simply melt, spread, sprinkle, and chill, and in half an hour you have shards of homemade candy that look like they came from a gift shop. Broken into a tin or a little bag with a ribbon, it is my favorite easy holiday gift.
Prep Time: 10 minutes | Cook Time: 0 minutes | Servings: 16
Ingredients
- 12 ounces dark or semisweet chocolate, chopped
- 1 cup mixed nuts (almonds, pistachios, and pecans), roughly chopped
- 1/2 cup dried cranberries
Instructions
- Prepare the pan by lining a baking sheet with parchment paper. The parchment keeps the bark from sticking and makes it easy to lift off in one piece.
- Melt the chocolate in a microwave-safe bowl in 30-second bursts, stirring between each one, until it is smooth and pourable. Stop while a few small lumps remain and stir until they melt — this keeps the chocolate shiny.
- Spread the chocolate onto the parchment with a spatula, spreading it into a rectangle about 1/4 inch thick. Do not spread it too thin, or the bark will snap into crumbs instead of nice shards.
- Sprinkle the toppings evenly over the warm chocolate — the chopped nuts first, then the cranberries — and press them down very gently with your palm so they stick as the chocolate sets.
- Chill until hard in the fridge for about 30 minutes, until the bark is completely firm and snaps when you bend a corner. On a cool day you can also let it set at room temperature for about an hour.
- Break and store the bark into rustic pieces with your hands. Store it in a sealed container at cool room temperature for up to two weeks, or in the fridge if your kitchen is warm.
4-Ingredient Banana Pudding Cups
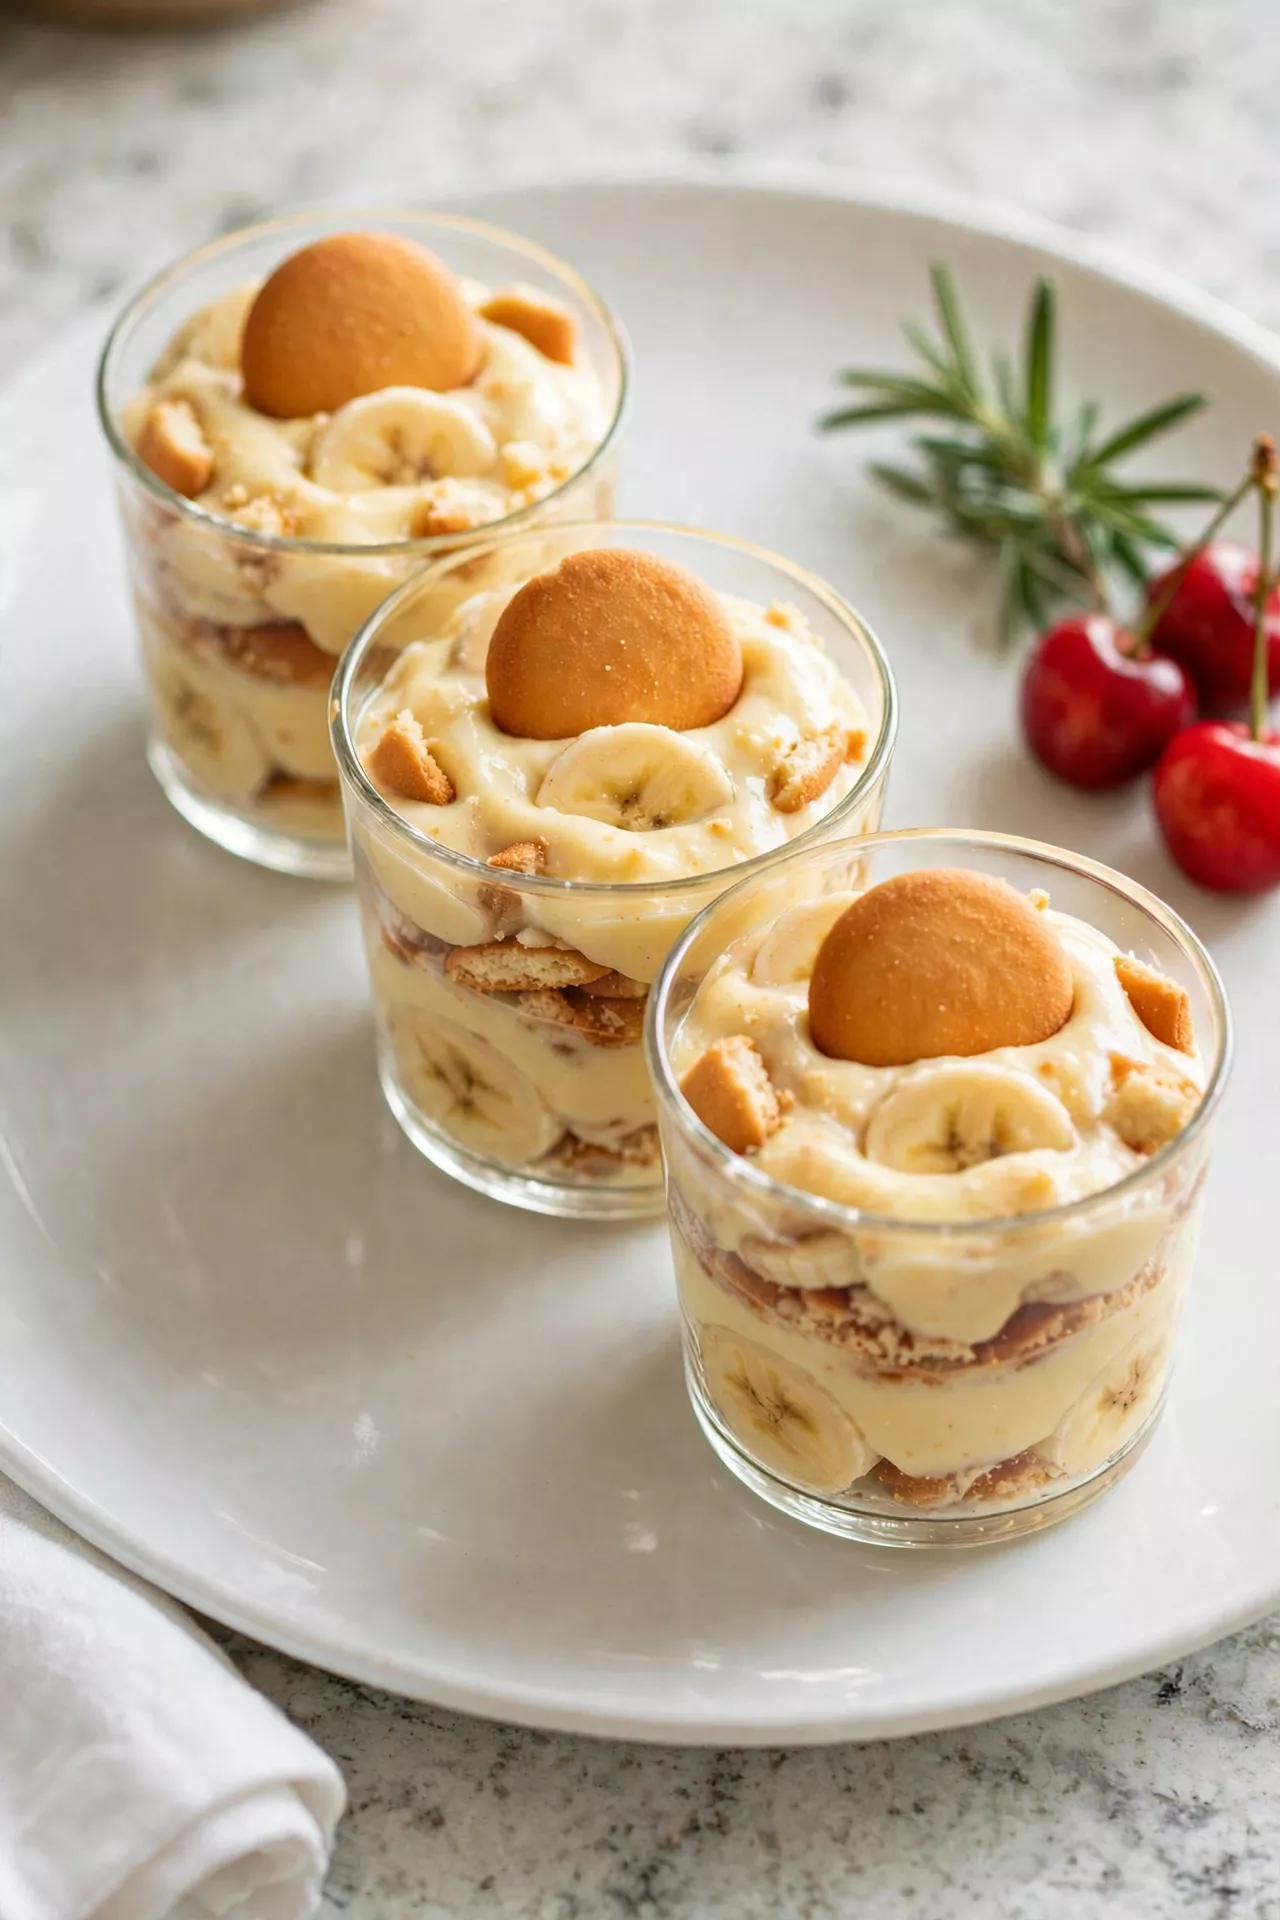
Banana pudding is a Southern treasure, and these little cups are an easy 4-ingredient dessert version — vanilla wafers, bananas, instant vanilla pudding mix, and milk. Layered in cups or small jars, they look sweet on a party table and need no cooking at all, since the pudding sets right in the bowl. Give them a few hours in the fridge and the wafers turn soft and cake-like, just like grandma’s.
Prep Time: 15 minutes | Cook Time: 0 minutes | Servings: 8
Ingredients
- 1 (5.1-ounce) box instant vanilla pudding mix
- 2 1/2 cups cold milk
- About 40 vanilla wafers
- 3 ripe bananas, sliced
Instructions
- Whisk the pudding by beating the pudding mix and cold milk together in a large bowl for about 2 minutes, until it starts to thicken. Use cold milk straight from the fridge so the pudding sets up nice and firm.
- Rest the pudding in the fridge for about 5 minutes while you prepare the cups. A short rest lets it thicken enough to hold pretty layers instead of running down the sides.
- Slice the bananas into rounds about 1/4 inch thick just before layering. Cutting them at the last minute keeps them pale and fresh-looking in the cups.
- Layer the cups by placing a few vanilla wafers in the bottom of each cup or jar, adding banana slices, and spooning pudding over the top. Repeat the layers once more, finishing with pudding.
- Top each cup with a whole vanilla wafer and a banana slice for a pretty finish. A crumbled wafer sprinkled over the top looks nice too.
- Chill for at least 2 hours, covered, until the wafers have softened into tender, cake-like layers. Serve the same day for the prettiest bananas, and keep any leftovers in the fridge for up to 2 days.
4-Ingredient Lemon Icebox Pie
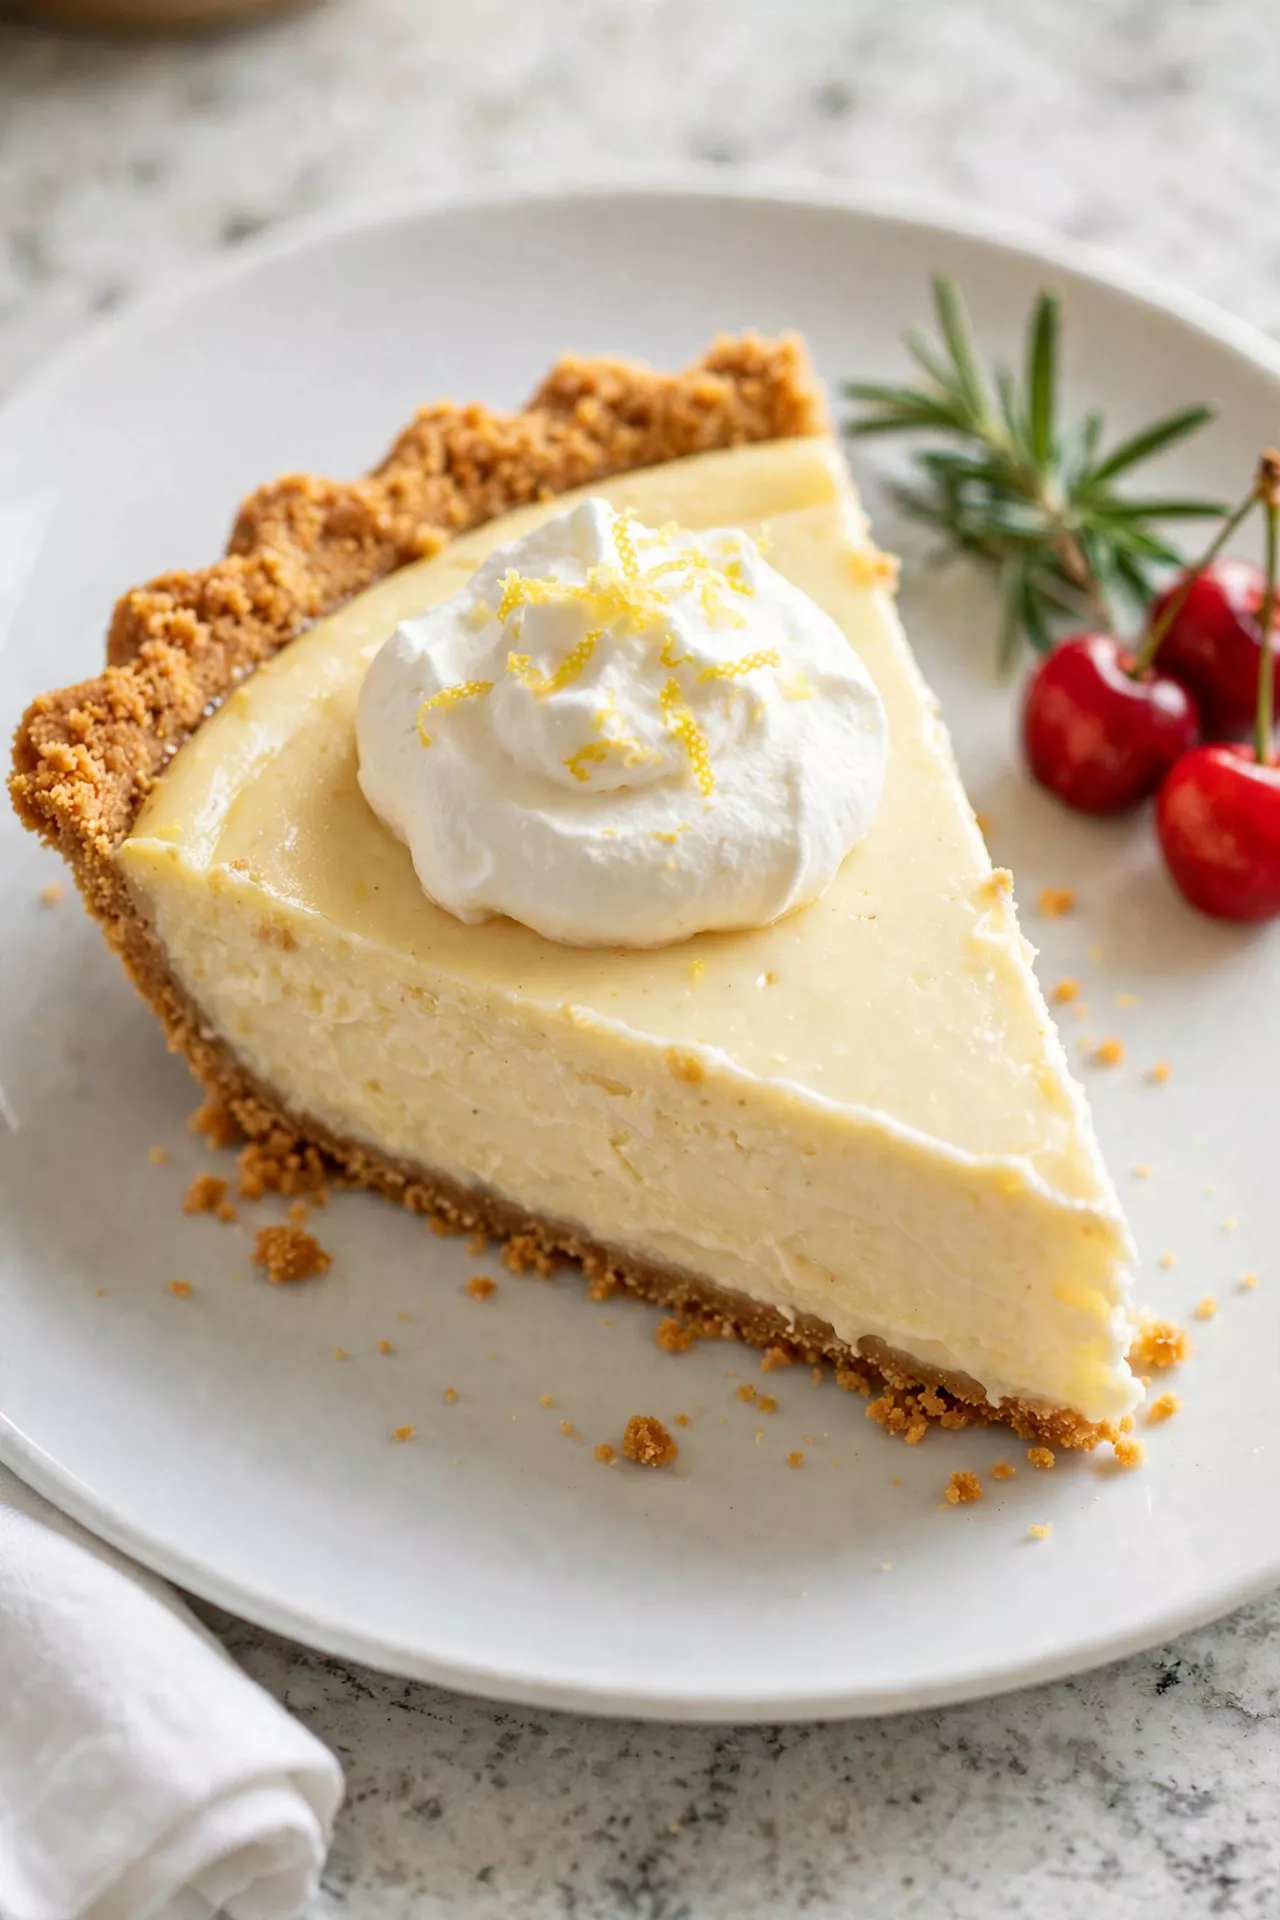
This sunny pie is a bright and tangy 4-ingredient dessert that tastes like a bite of spring. A store-bought graham cracker crust does the hard work, and the filling is just sweetened condensed milk, fresh lemon juice, and whipped topping, stirred together and chilled until sliceable. The lemon juice magically thickens the filling as it rests, so the pie cuts into clean, creamy wedges.
Prep Time: 10 minutes | Cook Time: 0 minutes | Servings: 8
Ingredients
- 1 (9-inch) store-bought graham cracker crust
- 1 (14-ounce) can sweetened condensed milk
- 1/2 cup fresh lemon juice (about 3 lemons)
- 2 cups whipped topping, thawed
Instructions
- Whisk the filling base by stirring the sweetened condensed milk and fresh lemon juice together in a medium bowl until smooth and slightly thickened. You will feel it firm up as you stir — that is the lemon juice doing its magic.
- Fold in the whipped topping gently with a spatula until the filling is pale yellow, fluffy, and free of streaks. Fold slowly so the filling stays light and airy instead of flat.
- Fill the crust by spooning the filling into the graham cracker crust and smoothing the top with the back of a spoon or a spatula. Pretty swirls on top make the simple pie look bakery-made.
- Chill for at least 4 hours, covered loosely, until the filling is firm enough to slice cleanly. Overnight is even better — the lemon flavor gets brighter and the texture turns silky.
- Check the set before serving by giving the pie plate a gentle jiggle — the filling should move as one soft, firm mass with no liquid wobble in the middle. If the center still looks loose, give it another hour in the fridge.
- Slice and serve cold with a sharp knife, wiping the blade between cuts. The pie keeps, covered, in the fridge for up to 3 days, and it also freezes beautifully for up to a month.
4-Ingredient No-Bake Peanut Butter Cornflake Cookies
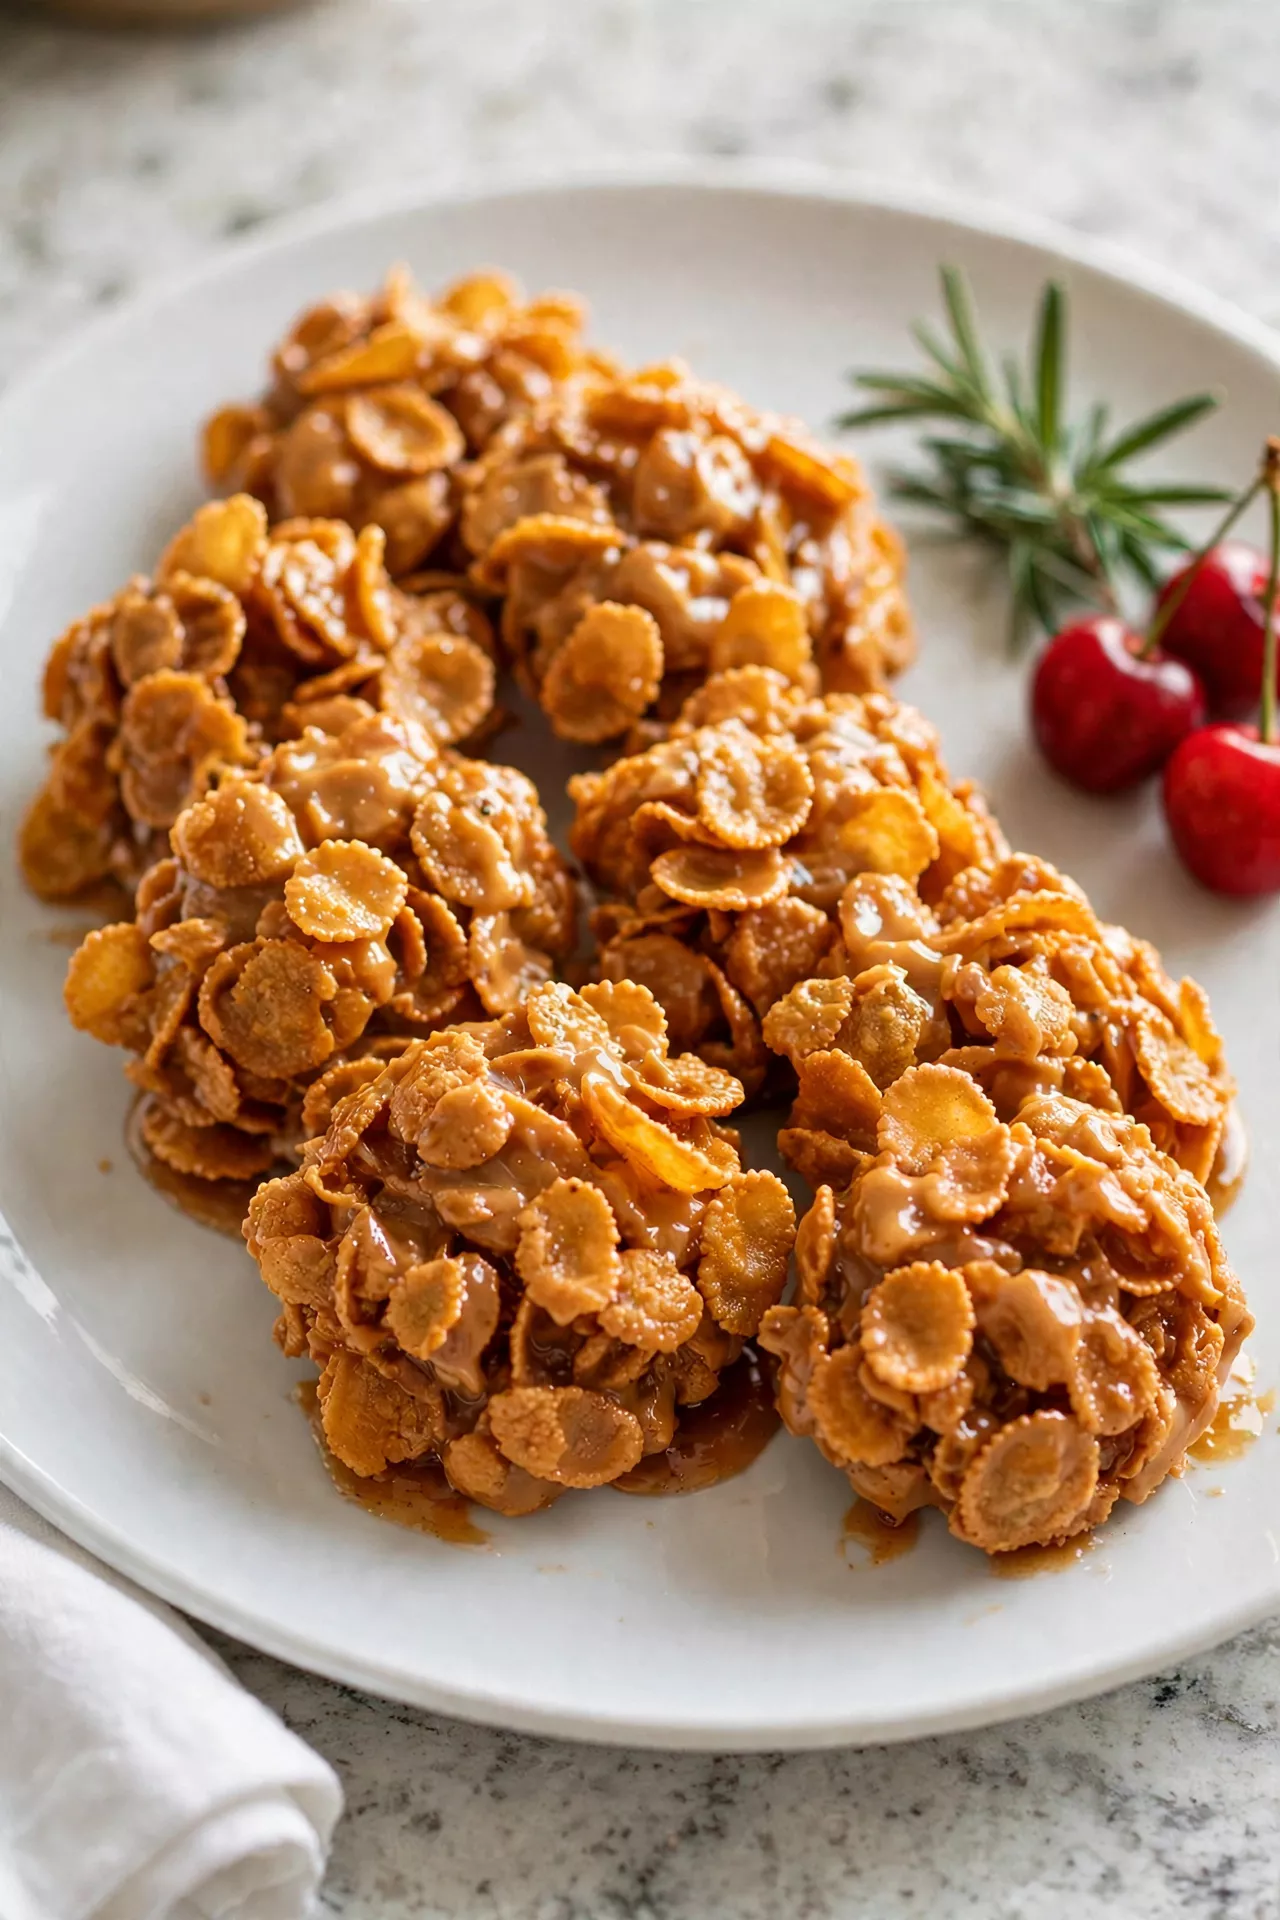
These crunchy little clusters were on every church cookbook page when I was growing up, and they are a sweet and chewy 4-ingredient dessert — cornflakes, peanut butter, sugar, and corn syrup. The syrup and sugar cook for just a minute on the stove (the one warm step in this recipe), then everything is stirred together and dropped into cookies that set at room temperature. They are sticky, crunchy, and completely irresistible.
Prep Time: 10 minutes | Cook Time: 0 minutes | Servings: 24
Ingredients
- 6 cups cornflakes cereal
- 1 cup creamy peanut butter
- 1 cup granulated sugar
- 1 cup light corn syrup
Instructions
- Prepare the pans by lining two baking sheets with parchment or wax paper, and measure the cornflakes into a large heatproof bowl. Once the syrup is hot, you will need to move fast, so have everything ready.
- Heat the sugar and corn syrup in a medium saucepan over medium heat, stirring constantly, until the sugar dissolves and the mixture just comes to a gentle boil. Take it off the heat right away — boiling it too long makes the cookies hard instead of chewy.
- Stir in the peanut butter until the mixture is smooth, glossy, and completely blended. It should look like shiny caramel and smell wonderful.
- Pour over the cornflakes and fold gently with a spatula until every flake is coated, turning the bowl as you go. Fold carefully so the flakes stay in big crunchy pieces instead of crumbs.
- Drop the cookies by heaping tablespoons onto the prepared sheets, working quickly before the mixture cools and stiffens. If it gets too sticky to handle, a spoon dipped in water helps.
- Set at room temperature for about 30 minutes, until the cookies are firm and no longer sticky to the touch. Store them in a sealed container at room temperature for up to a week.
4-Ingredient Rocky Road Clusters
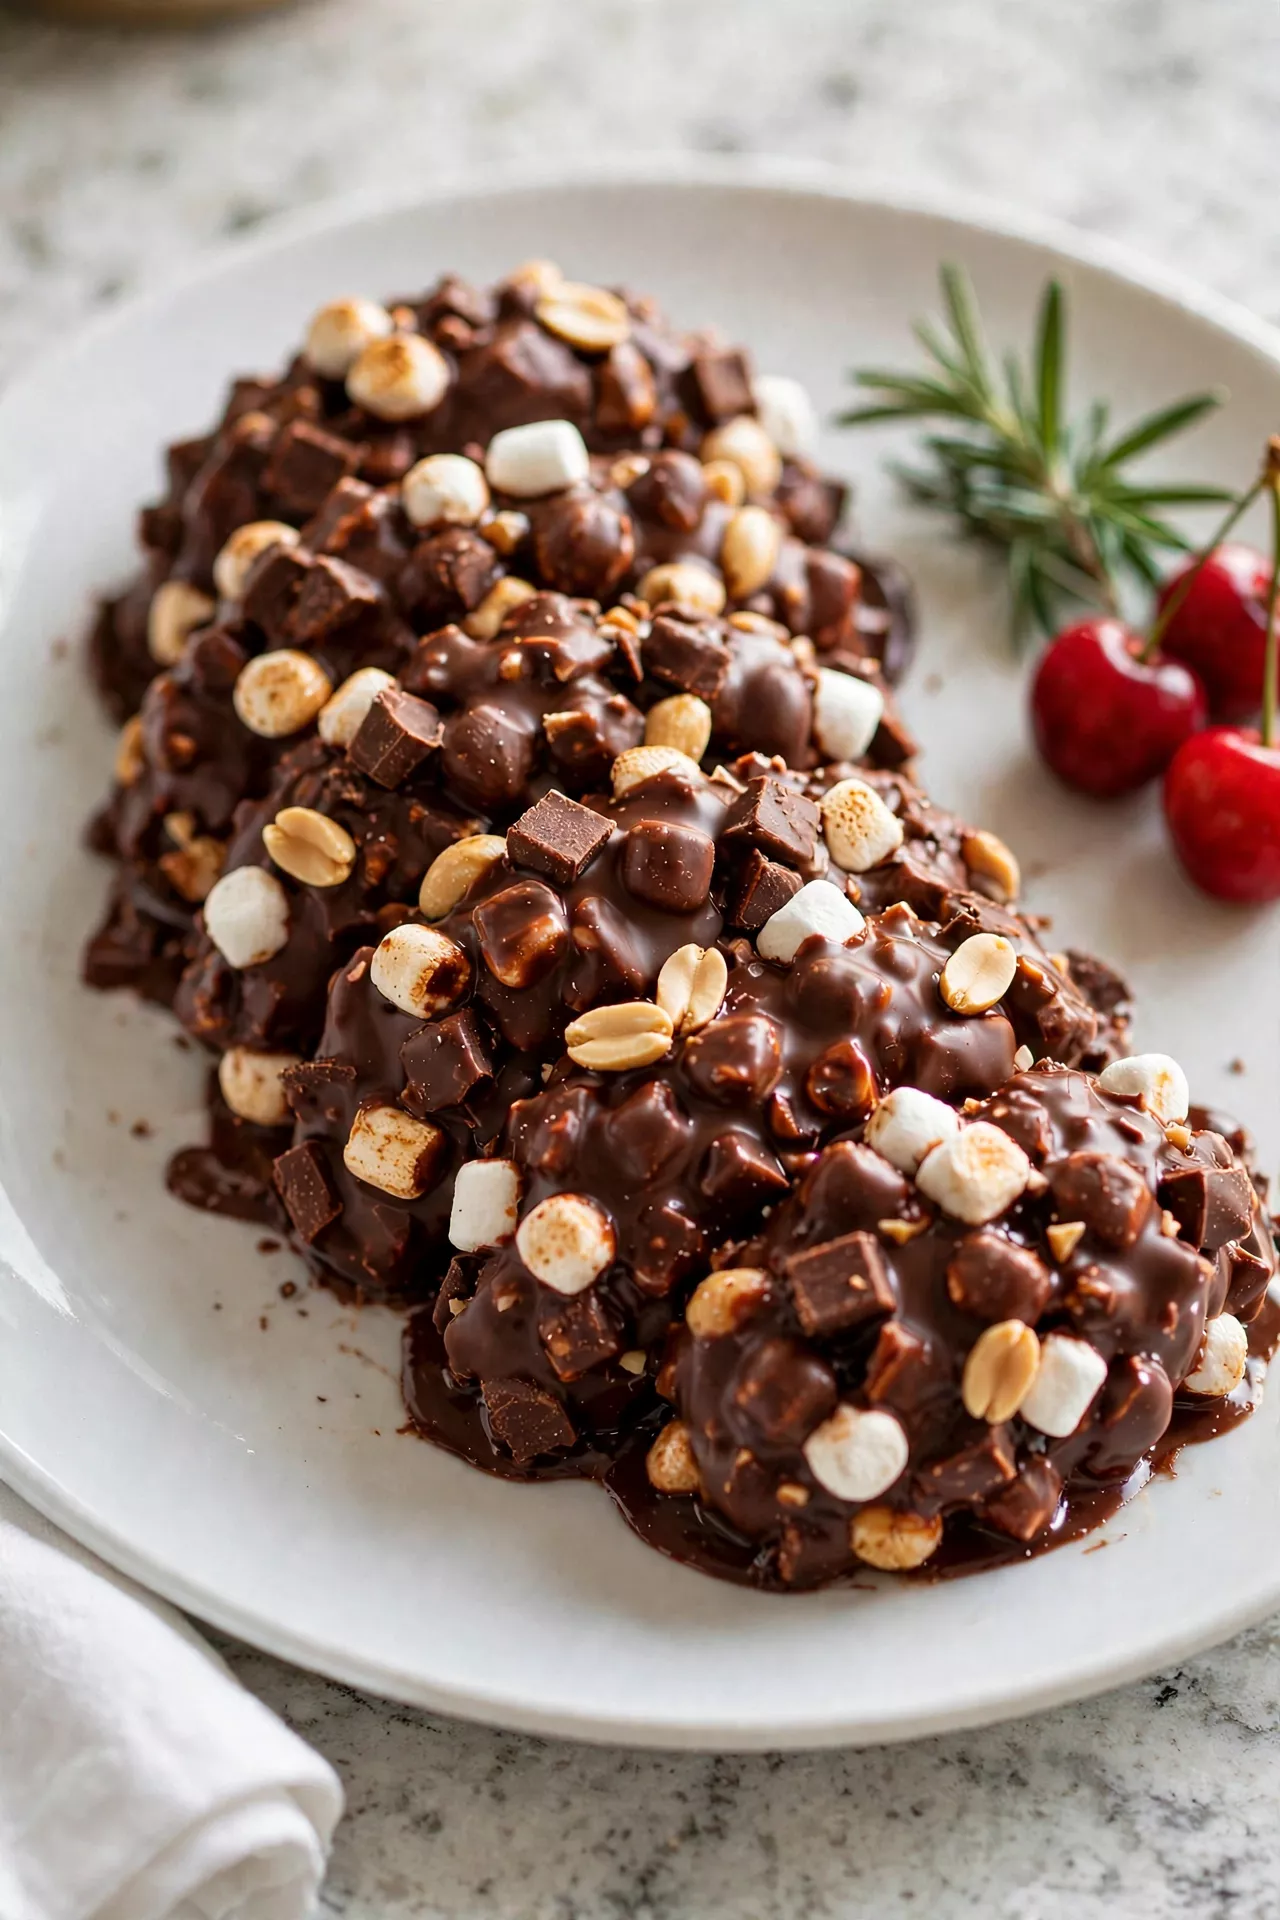
Rocky road is the candy I make when I want maximum chocolate with minimum effort, and these clusters are a chunky 4-ingredient dessert — chocolate chips, peanut butter, mini marshmallows, and peanuts. The peanut butter keeps the chocolate soft and fudgy, and every bite has something crunchy, something chewy, and plenty of chocolate. They set up fast in the fridge and travel well, so they are perfect for bake sales and care packages.
Prep Time: 10 minutes | Cook Time: 0 minutes | Servings: 24
Ingredients
- 2 cups semisweet chocolate chips
- 1/2 cup creamy peanut butter
- 2 cups mini marshmallows
- 1 cup salted peanuts, roughly chopped
Instructions
- Prepare the pan by lining a baking sheet with parchment or wax paper. The clusters will go straight onto it, so have it ready before you melt anything.
- Melt the chocolate and peanut butter together in a large microwave-safe bowl in 30-second bursts, stirring between each, until smooth and glossy. The peanut butter makes the chocolate extra creamy and keeps it from setting rock-hard.
- Cool slightly for about 2 minutes, stirring now and then, until the chocolate feels warm but not hot. This little wait matters — hot chocolate would melt the marshmallows into goo.
- Fold in the marshmallows and peanuts until everything is well coated and evenly mixed. Work quickly but gently so the marshmallows keep their shape and stay pillowy.
- Drop the clusters by heaping tablespoons onto the prepared sheet, making rough little mounds. A small cookie scoop makes this fast and gives you even clusters.
- Chill until firm in the fridge for about 30 minutes, until the chocolate is set and the clusters lift cleanly off the paper. Store them in a sealed container in the fridge for up to two weeks.
3-Ingredient Mango Nice Cream
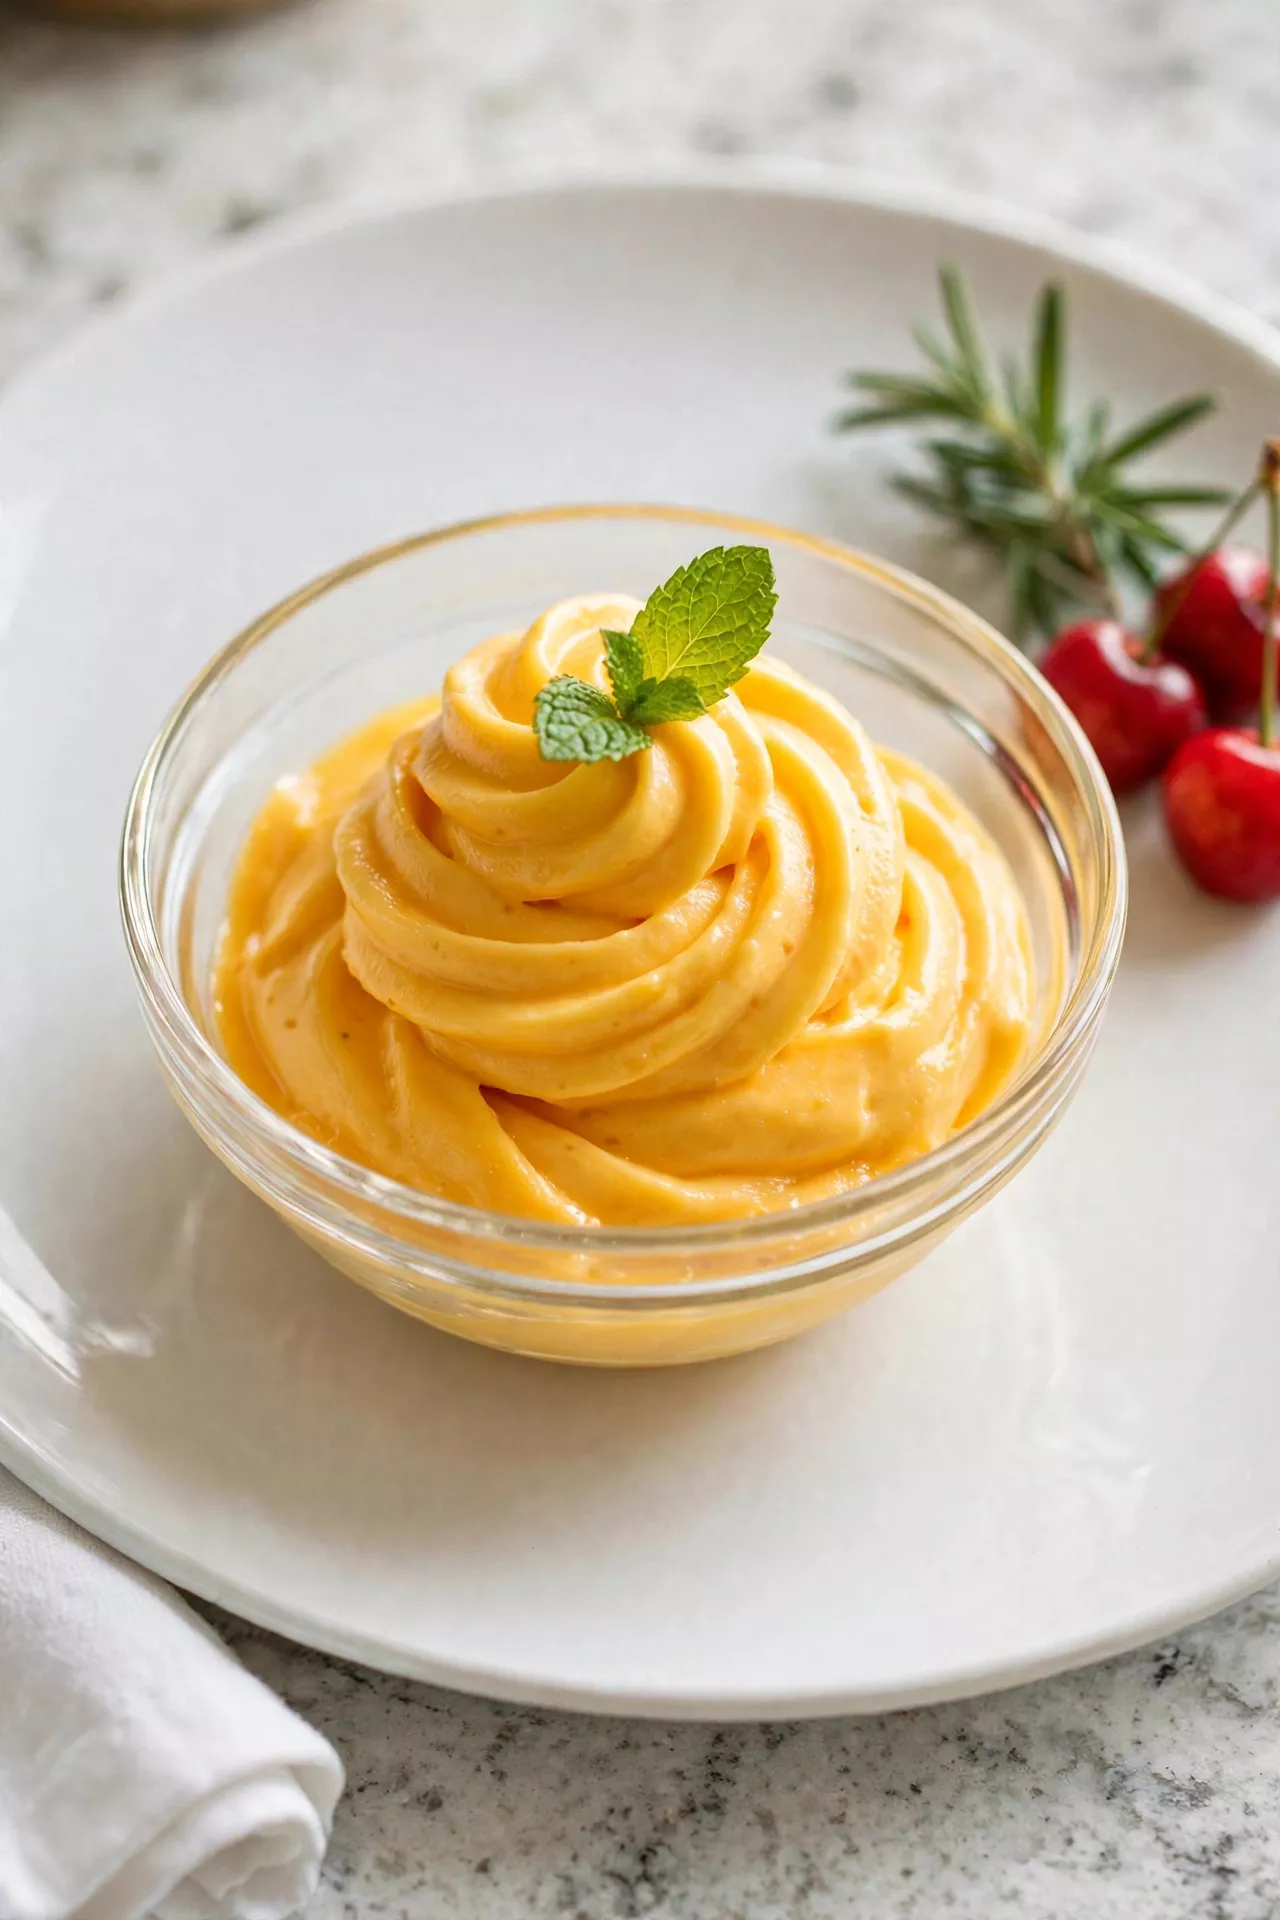
Nice cream is the dessert that made my grandkids believe fruit can taste like ice cream, and this one is a fresh and sunny 3-ingredient dessert — frozen mango, frozen banana, and a squeeze of lime juice. Everything blends into a soft, creamy swirl that tastes like a tropical sorbet and a soft-serve had a baby. There is no sugar and no cream, just sweet ripe fruit, so you can feel good about seconds.
Prep Time: 10 minutes | Cook Time: 0 minutes | Servings: 4
Ingredients
- 3 cups frozen mango chunks
- 2 ripe bananas, peeled, sliced, and frozen
- 1 tablespoon fresh lime juice
Instructions
- Freeze the fruit ahead by spreading the mango chunks and banana slices on a parchment-lined tray and freezing until solid, at least 4 hours or overnight. Freezing them flat in a single layer keeps them from clumping into one big block.
- Rest the fruit briefly on the counter for about 5 minutes before blending. Just a few minutes of softening keeps your food processor from working too hard.
- Blend the mango and banana in a food processor, stopping often to scrape down the sides and push the fruit toward the blades. At first it will look crumbly and dry — keep going, and it will suddenly turn smooth and creamy.
- Add the lime juice and blend for a few more seconds until the nice cream is thick, glossy, and swirls like soft-serve ice cream. The lime brightens the mango and keeps the banana from taking over.
- Serve soft or freeze firm — spoon it straight into bowls for soft-serve style, or pack it into a container and freeze for about 2 hours for scoopable ice cream. If it freezes longer, let it sit on the counter for 10 minutes before scooping.
- Store leftovers in a sealed container in the freezer for up to 2 weeks. A quick 10-minute rest on the counter brings back the creamy texture before serving.