Grandma Sycamore Bread Recipe
My favorite way to enjoy this Grandma Sycamore-style bread is toasted with avocado on top. The soft slices also make a lovely sandwich, and the simple dough needs only familiar pantry ingredients.
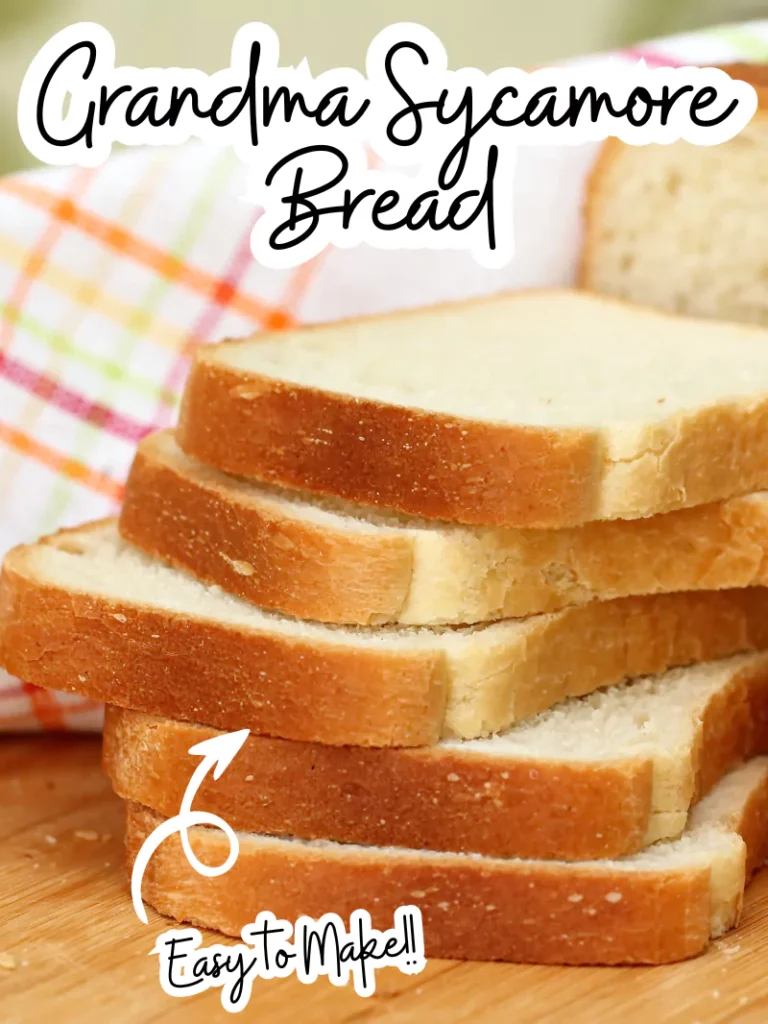
This homemade version makes two loaves with flour, water, yeast, sugar, salt, and oil. It is inspired by a soft sandwich loaf, with a gentle flavor that suits sweet and savory toppings.
Give the dough time to rise and the baked bread time to cool. Most of the process is waiting, so plan on about three hours and forty-five minutes before slicing, with extra time if your kitchen is cool.
Why This Bread Is Great
- Two loaves give you one to enjoy now and one to freeze. Slicing the second loaf before freezing makes individual pieces easy to take out later.
- The dough uses water and oil, so this particular recipe needs neither milk nor eggs. Check your individual ingredients if you are baking around an allergy.
- A little sugar balances the flavor without turning the bread into a sweet loaf. It works with avocado, jam, cheese, or a simple sandwich filling.
- Hand kneading lets you feel the dough change from rough and sticky to smoother and more elastic. No bread machine is needed for the recipe.
- Baking in loaf pans gives the bread a familiar shape that is easy to slice. The edges toast nicely while the middle stays soft when stored well.
What Is the Best Flour for This Bread?
Use all-purpose flour for the original soft loaf. Fluff the flour, spoon it into a dry measuring cup, and level the top without packing it down. Scooping a dense cup directly from the bag can add more flour than you expect and make the bread heavy.
Flour absorbs water differently from one kitchen to another. This dough should feel soft and a little tacky after kneading, rather than stiff. The ingredient list includes extra flour for the work surface; use it lightly and gradually. A damp dough may look untidy at first, but kneading helps it become easier to handle.
Ingredients
- 5 cups all-purpose flour
- 2 tablespoons granulated sugar
- 1 tablespoon salt
- 2 packages of active dry yeast
- 2 cups warm water (110°F)
- 1/4 cup vegetable oil
- Additional flour for kneading
Two standard active dry yeast packets contain 4 1/2 teaspoons in total. Use the full measured sugar, salt, water, and oil listed above. The water should be around 110°F, warm enough to wake the yeast without being hot. Reserve a small amount of the measured oil to lightly coat the bowl and pans.
Kitchen Equipment You Will Need
As an Amazon Associate I earn from qualifying purchases.
- Large mixing bowl
- Mixing spoon
- Dry measuring cups
- Liquid measuring cup
- Measuring spoons
- Food thermometer
- Two 9-by-5-inch loaf pans
- Clean kitchen towel
- Cooling rack
- Oven mitts
- Serrated bread knife
How To Make Grandma Sycamore Bread
- Stir the two packages of active dry yeast and the two tablespoons sugar into the two cups warm water, around 110°F. Let stand 5–10 minutes, until the yeast looks creamy and starts to foam. If there is no sign of activity, check the yeast and water temperature before proceeding.
- In a large bowl, mix two cups of the flour with the tablespoon salt. Add the yeast mixture and the vegetable oil, reserving just enough of the measured oil to lightly coat the rising bowl and loaf pans. Stir together.
- Add the remaining three cups flour gradually, mixing after each addition until a soft dough forms. Scrape any flour from the bottom of the bowl into the dough; it will become smoother as you knead.
- Turn onto a lightly floured surface. Knead for 8–10 minutes, folding the dough over itself and pressing it away with the heel of your hand. Use the listed additional flour sparingly, until the dough is smooth, elastic, and slightly tacky.
- Place in the lightly oiled bowl, turn once, and cover with a clean towel. Let rise in a warm, draft-free place until about doubled, usually around one hour. Allow longer in a cool room.
- Gently press the air out and divide the dough in half. Pat each half into a rectangle, roll into a snug loaf, pinch the seam closed, and place seam-side down in a lightly oiled 9-by-5-inch loaf pan.
- Cover and let rise again until puffy and approximately doubled, about 30–45 minutes. Begin preheating the oven to 375°F (190°C) near the end of the rise.
- Bake both loaves for about 25–30 minutes, until golden brown and the center of each loaf reaches about 190°F. If needed, bake a little longer to finish the center; color alone is not a reliable test.
- Remove the loaves from their pans and cool on a rack until completely cool before slicing, allowing at least one hour. Plan about 30 minutes preparation, 30 minutes baking, 1 hour 45 minutes rising, and 1 hour cooling: approximately 3 hours 45 minutes total, longer when the dough or loaves need it.
Notes
- Check the yeast date before mixing. An old packet can lead to a very slow rise even when the water temperature is right.
- Measure the water temperature before adding yeast. Guessing by touch can be unreliable, especially if the water came from a kettle or microwave.
- Knead steadily rather than adding large handfuls of flour. The dough should become elastic while keeping enough moisture for a tender crumb.
- Use dough size as the main rising cue. A warm room and fresh yeast can work faster than the clock, while a cool room takes longer.
- Keep the dough covered during both rises. A dried surface can form a skin that limits expansion and tears as the bread bakes.
- Shape the loaves snugly and tuck the ends underneath. Loose shaping can leave large gaps inside a sandwich slice.
- Cool out of the pans. Trapped steam can soften the sides, and slicing while hot can squash the middle or leave a gummy-looking crumb.
Ingredients You Can Add
- Avocado makes a creamy topping for toasted slices, with a little pepper if you like.
- Berry jam brings sweetness to breakfast without changing the plain bread dough.
- Soft butter is a simple finish for a room-temperature slice or warm toast.
- Grated cheese can turn sliced bread into a quick open-faced melt under the broiler.
- Chopped herbs mixed into butter give toasted slices a savory flavor beside soup.
- Tomato and fresh basil make a light topping for crisp toast or small bruschetta bites.
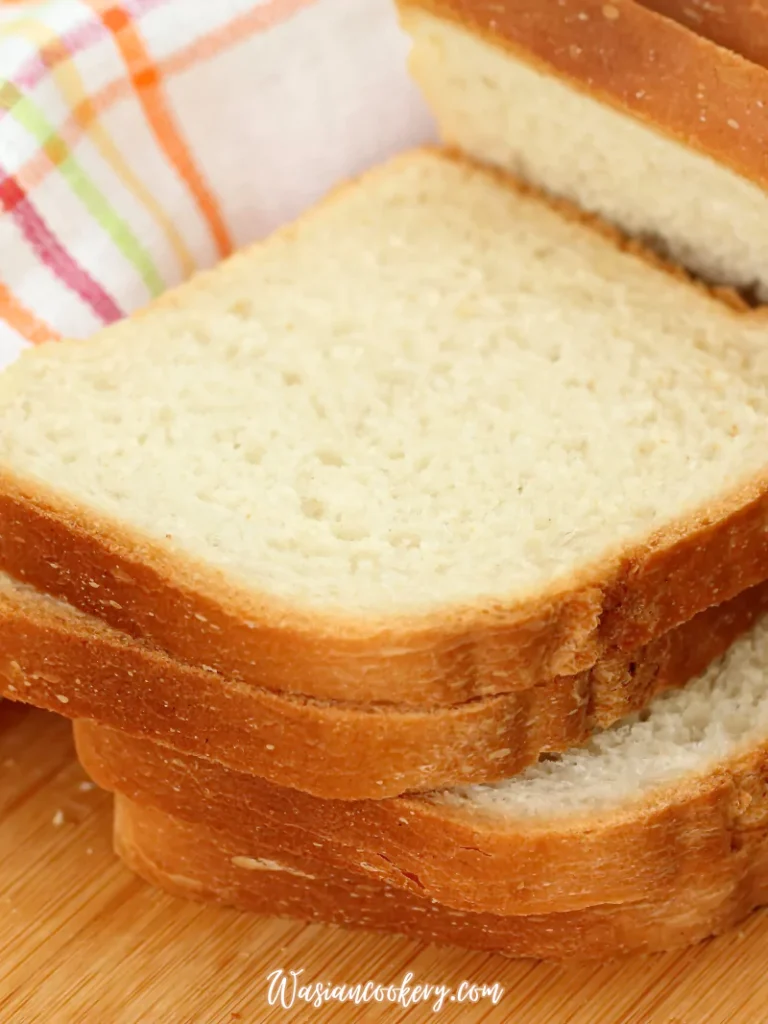
What To Serve with Grandma Sycamore Bread
Serve thick slices beside French onion soup for a warm lunch. Toasting the bread first gives it more structure for dipping, while a soft slice is lovely for soaking up a little broth.
For sandwiches, use four-ingredient chicken salad between fully cooled slices. Add lettuce if you like a fresh crunch, and assemble shortly before eating so the bread keeps its shape.
If a few slices become dry, save them for bread pudding. Bread that has lost a little softness can absorb the custard well. Discard any bread with mold instead of trying to trim the affected area.
Variations and Swaps
- For breakfast toast, slice the cooled loaf a little thicker. It can develop crisp edges while keeping a soft middle.
- For neat sandwiches, use thinner slices and a serrated knife. Saw gently instead of pressing down on the loaf.
- For croutons, cube older slices and toast them with your preferred seasoning. Watch closely because small pieces brown quickly.
- For breadcrumbs, dry spare slices and crush them finely. Store them according to whether they remain moist or are fully dried.
- For garlic toast, add garlic butter after slicing and heat until the edges are crisp. This keeps the dough itself plain and versatile.
- For a dairy-free serving, choose avocado or a suitable plant-based spread. The base dough already uses vegetable oil and water.
- For a freezer loaf, cool completely and slice before wrapping. Separate portions if you want to remove only a few slices at a time.
- For a different flour or yeast, use a recipe written for that ingredient. Whole-grain flour and instant yeast can change hydration, texture, and timing.
Storage
Let the loaves cool completely, then wrap well or place in a bread bag at room temperature. Enjoy within two to three days for the best softness. Keep the bread away from direct sunlight and damp spots. Refrigeration can make plain bread stale faster, so freezing is usually more useful for longer storage.
Freeze a whole loaf or individual slices in tightly closed freezer packaging. Label with the date and aim to use within two months for the best quality. Thaw covered at room temperature, or toast slices from frozen. Let any condensation dry before sealing leftover bread again; warmth and trapped moisture encourage spoilage.
FAQ
Is this the commercial bakery’s exact recipe?
This is a homemade Grandma Sycamore-style loaf inspired by soft sandwich bread. It does not claim to copy the bakery’s formula, processing, or shelf life.
Does this recipe contain eggs?
No eggs are added to this dough. It also uses water rather than milk, although anyone avoiding allergens should check flour, yeast, oil, and chosen toppings.
Why did my dough not rise?
Inactive yeast, overly hot water, or a cold rising space can slow or stop the rise. Give cool dough more time, but do not bake a dense, unchanged dough expecting the oven to fix it.
Why is my bread dense?
Too much extra flour, limited kneading, or cutting the rise short can make the crumb heavy. Keep the dough soft and allow it to become puffy before baking.
How many servings does this make?
The batch makes two loaves. The card’s yield is expressed as loaves because the number of slices and portions depends on how thickly you cut them.
Can I slice the bread while it is warm?
Let it cool completely when you want tidy sandwich slices. The middle continues to settle after baking, and cutting too early can compress the crumb and release moisture.
Short Description
A soft homemade sandwich bread inspired by Grandma Sycamore bread, made with pantry ingredients and shaped into two loaves. The total time includes both rises and cooling before slicing.
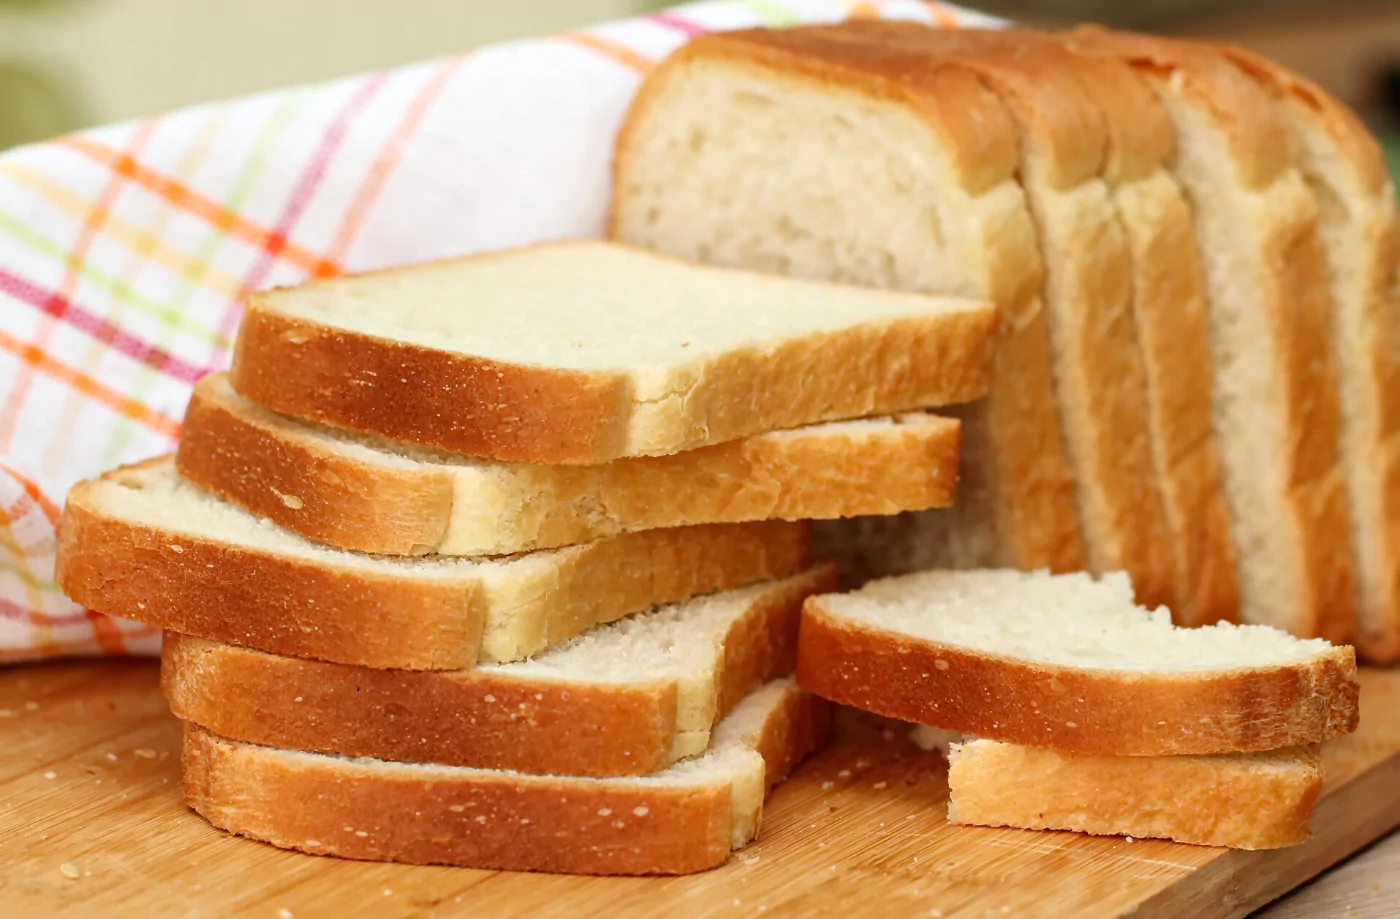
Grandma Sycamore Bread Recipe
Course: BreadCuisine: AmericanDifficulty: Easy2
loaves30
minutes30
minutes3
hours45
minutesA homemade Grandma Sycamore-style sandwich bread that makes two loaves. Allow about 3 hours 45 minutes including both rises and cooling, with more time in a cool kitchen.
Ingredients
5 cups all-purpose flour
2 tablespoons granulated sugar
1 tablespoon salt
2 packages of active dry yeast
2 cups warm water (110°F)
1/4 cup vegetable oil
Additional flour for kneading
Directions
- Stir the two packages of active dry yeast and the two tablespoons sugar into the two cups warm water, around 110°F. Let stand 5–10 minutes, until the yeast looks creamy and starts to foam. If there is no sign of activity, check the yeast and water temperature before proceeding.
- In a large bowl, mix two cups of the flour with the tablespoon salt. Add the yeast mixture and the vegetable oil, reserving just enough of the measured oil to lightly coat the rising bowl and loaf pans. Stir together.
- Add the remaining three cups flour gradually, mixing after each addition until a soft dough forms. Scrape any flour from the bottom of the bowl into the dough; it will become smoother as you knead.
- Turn onto a lightly floured surface. Knead for 8–10 minutes, folding the dough over itself and pressing it away with the heel of your hand. Use the listed additional flour sparingly, until the dough is smooth, elastic, and slightly tacky.
- Place in the lightly oiled bowl, turn once, and cover with a clean towel. Let rise in a warm, draft-free place until about doubled, usually around one hour. Allow longer in a cool room.
- Gently press the air out and divide the dough in half. Pat each half into a rectangle, roll into a snug loaf, pinch the seam closed, and place seam-side down in a lightly oiled 9-by-5-inch loaf pan.
- Cover and let rise again until puffy and approximately doubled, about 30–45 minutes. Begin preheating the oven to 375°F (190°C) near the end of the rise.
- Bake both loaves for about 25–30 minutes, until golden brown and the center of each loaf reaches about 190°F. If needed, bake a little longer to finish the center; color alone is not a reliable test.
- Remove the loaves from their pans and cool on a rack until completely cool before slicing, allowing at least one hour. Plan about 30 minutes preparation, 30 minutes baking, 1 hour 45 minutes rising, and 1 hour cooling: approximately 3 hours 45 minutes total, longer when the dough or loaves need it.