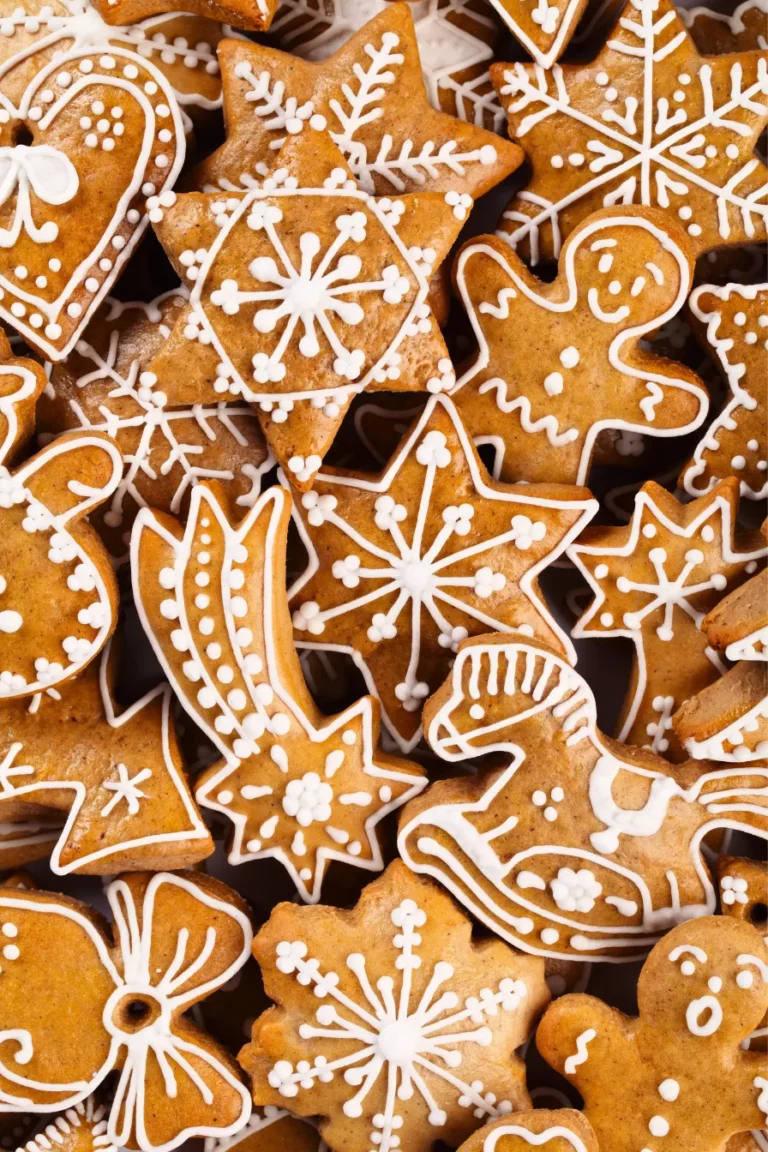
13 Christmas Tree Cookies
Every Christmas, the tree in our living room is not the only tree in the house. My kitchen counter fills up with little trees too — sugar cookie trees with green icing, tiny meringue trees with snowy peaks, and spritz trees no bigger than my thumb. There is just something about a tree-shaped cookie that makes everyone smile before they even take a bite.
What I love most is decorating them. We set out bowls of green icing, sprinkles that look like little ornaments, and tiny candies for the tops of the trees, and then everyone gets to work. The kids make wild, colorful trees with too many sprinkles, I make neat ones for the gift boxes, and by the end of the afternoon the whole tray looks like a little cookie forest.
This list has my 13 favorite Christmas tree cookies, from simple shortbread trees you can make on a busy day to pretty stacked trees that look like a real centerpiece. Some are cut out with a tree cookie cutter, some are piped or pressed, and one even has a candy window that glows like a light. Pick a few, put the Christmas songs on, and start your own little forest — most of these doughs chill well, so you can make them ahead and bake when the family comes over.
Christmas Tree Sugar Cookies with Royal Icing

These are the classic Christmas tree cookies — soft, buttery sugar cookies cut into tree shapes and dressed in smooth green royal icing. A little white icing garland, a sprinkle of tiny candies, and a star on top make each one look like its own little decorated tree. They are the first cookies my family asks for every single year.
Prep Time: 40 minutes | Cook Time: 10 minutes | Servings: 24
Ingredients
- 3 cups all-purpose flour, plus extra for rolling
- 1 teaspoon baking powder
- 1/2 teaspoon salt
- 1 cup unsalted butter, softened
- 1 cup granulated sugar
- 1 large egg
- 1 teaspoon vanilla extract
- 1/2 teaspoon almond extract (optional)
- 3 cups powdered sugar, for the icing
- 3 tablespoons meringue powder
- 4 to 5 tablespoons warm water
- Green gel food coloring, plus yellow for the stars
- Christmas sprinkles and tiny candies, for decorating
Instructions
- Mix the dry ingredients by whisking the flour, baking powder, and salt in a medium bowl, then set it aside. Even mixing now helps every tree bake up light and even.
- Cream the butter and sugar in a large bowl for 2 to 3 minutes until pale and fluffy. Add the egg, vanilla, and almond extract and beat until smooth and well combined.
- Make and chill the dough by mixing in the dry ingredients on low speed just until a soft dough forms. Divide it in half, flatten into disks, wrap, and chill for at least 1 hour so the tree shapes stay sharp in the oven.
- Roll and cut the chilled dough on a floured surface to about 1/4 inch thick. Cut out tree shapes with a Christmas tree cookie cutter and place them on parchment-lined baking sheets, 1 inch apart.
- Bake the cookies at 350°F (175°C) for 9 to 11 minutes, until the edges are just barely golden and the centers still look soft and pale. Cool them completely on a wire rack before icing.
- Make the royal icing by beating the powdered sugar, meringue powder, and warm water for 4 to 5 minutes until smooth and glossy. Tint most of it green, keep a little white for garlands, and tint a spoonful yellow for the stars.
- Decorate the trees by outlining each tree, flooding it with green icing, then piping a white garland across it while the green is still wet. Add sprinkles and tiny candies like ornaments and finish with a little yellow star on top.
- Let them dry uncovered for at least 4 hours, or overnight, before stacking or packing them into gift boxes. Dry icing keeps the pretty decorations from smudging.
Christmas Tree Meringue Cookies
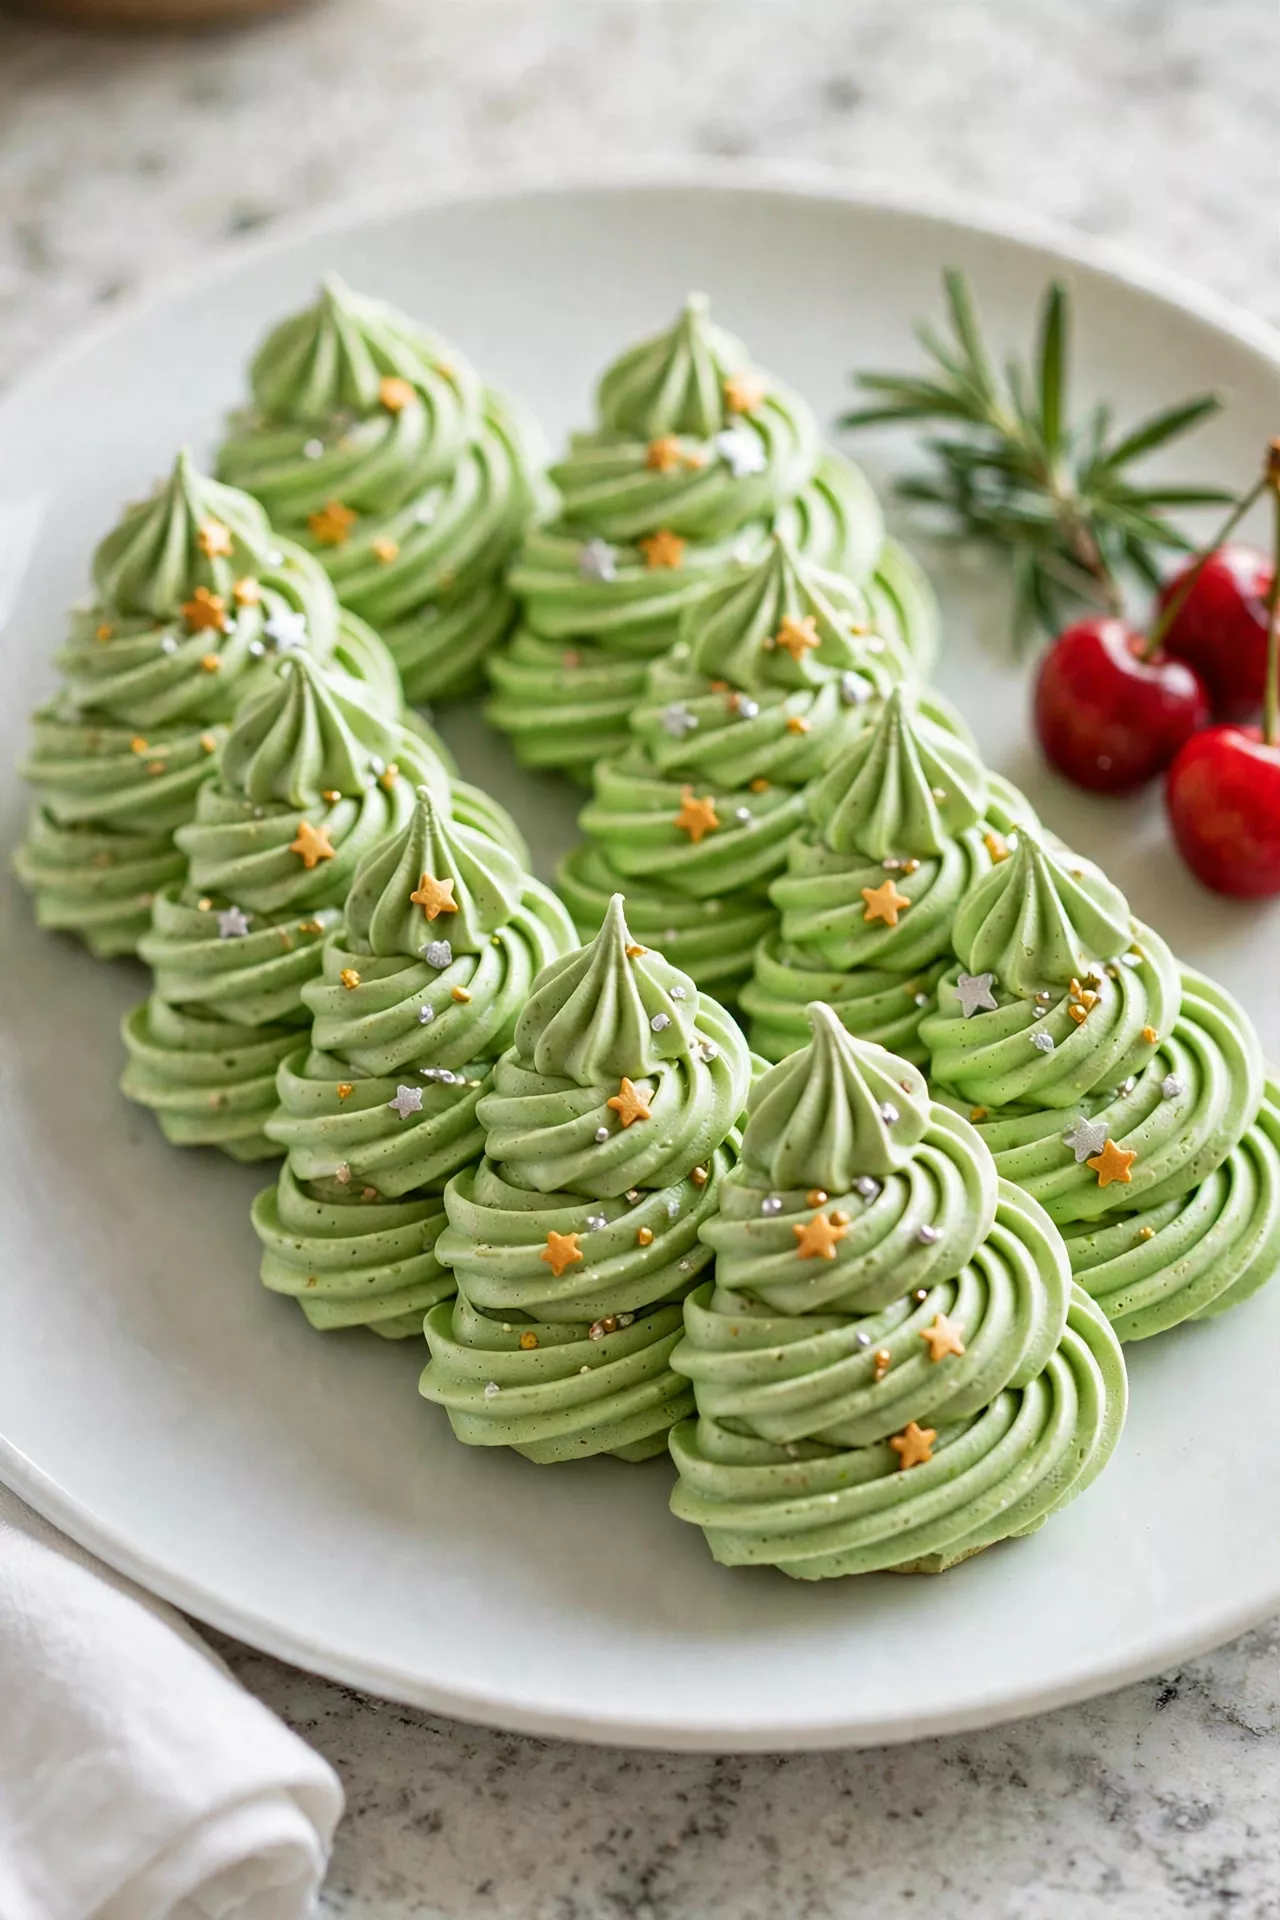
These little meringue trees look like they came straight from a fancy bakery, but they are only egg whites, sugar, and a piping bag. They bake up crisp and light with soft green swirls, and a tiny sprinkle star on top makes them sparkle. They melt on your tongue and look beautiful standing in a row on the cookie tray.
Prep Time: 25 minutes | Cook Time: 90 minutes | Servings: 24
Ingredients
- 4 large egg whites, at room temperature
- 1/4 teaspoon cream of tartar
- 1 cup granulated sugar
- 1 teaspoon vanilla extract
- Green gel food coloring
- 2 tablespoons powdered sugar (optional, for snow)
- Small star sprinkles, for the tops
- 1/4 cup white chocolate chips, melted (optional, for gluing stars)
Instructions
- Prepare the oven and pans by preheating the oven to 225°F (110°C) and lining two baking sheets with parchment paper. A low, slow bake keeps the meringues white and crisp without browning.
- Whip the egg whites in a very clean, dry bowl until foamy, then add the cream of tartar and whip to soft peaks. Any grease in the bowl will stop the whites from whipping, so start with a spotless bowl.
- Add the sugar slowly one spoonful at a time while whipping, until the meringue is thick, glossy, and holds stiff peaks. Rub a little between your fingers — it should feel smooth, not grainy.
- Add the vanilla and color by whipping in the vanilla, then folding in green gel coloring a drop at a time until you get a soft Christmas green. Gel color keeps the meringue thick, so do not use liquid coloring.
- Pipe the trees by filling a piping bag fitted with a large star tip and piping a wide swirl, then a smaller swirl, then a tiny swirl on top, like a little pine tree. Work in neat rows with a little space between each tree.
- Add the stars and snow by pressing one tiny star sprinkle onto the top of each tree while the meringue is still wet. A dusting of powdered sugar over the tray looks like fresh snow.
- Bake low and slow for 1 hour and 30 minutes, then turn the oven off and leave the meringues inside with the door closed for at least 1 more hour. This slow drying is what makes them crisp all the way through.
- Cool and store in an airtight container at room temperature for up to two weeks. Keep them away from humidity, because meringues go soft and sticky in damp air.
Christmas Tree Shortbread Cookies
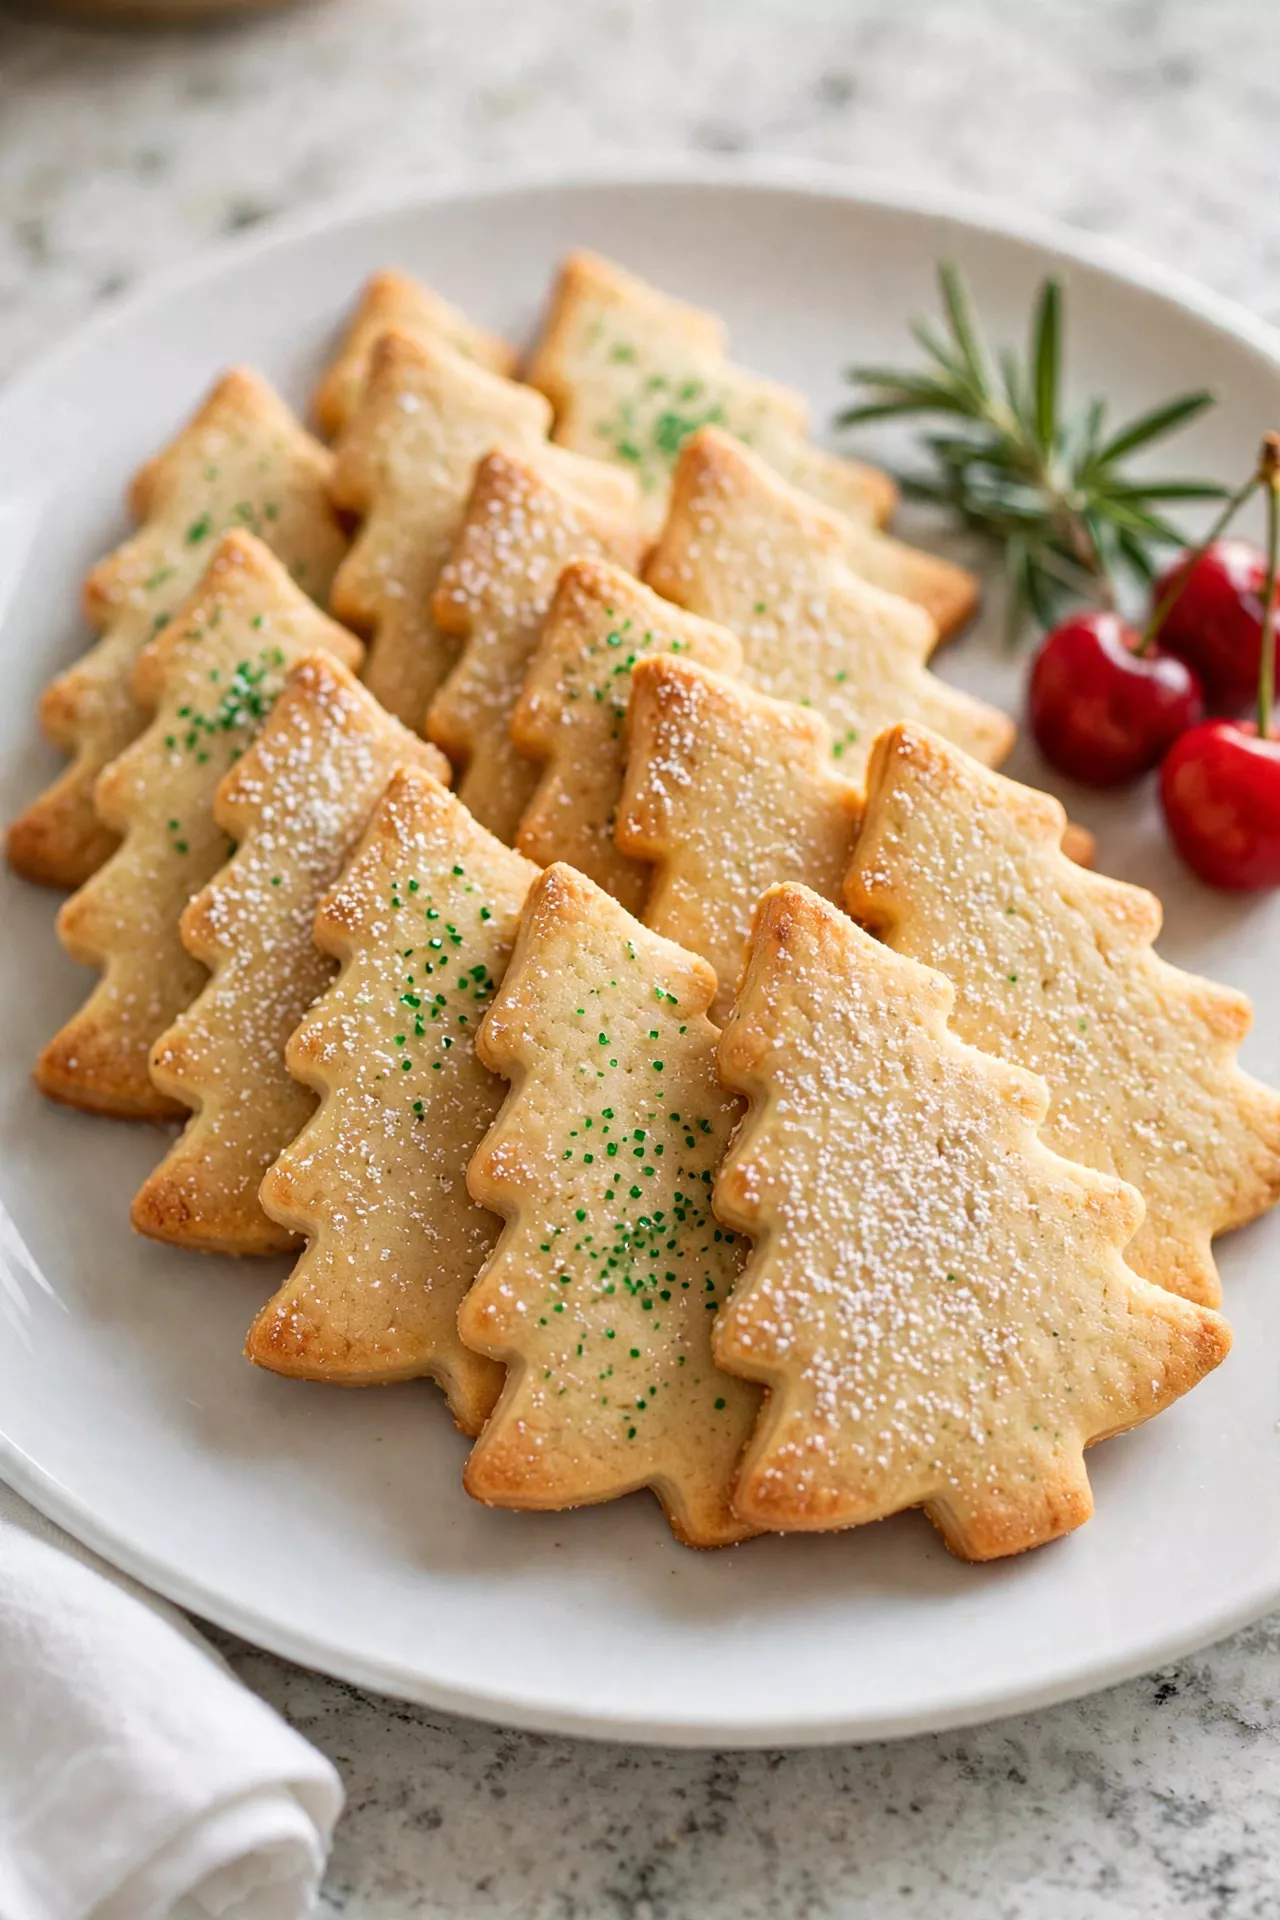
Shortbread trees are the quiet little stars of my cookie tray — all butter, gentle sweetness, and a tender crumb that melts in your mouth. The dough is simple, the trees hold their shape beautifully, and a light green sugar sparkle makes them look dressed up with almost no work. They keep well in a tin, so they are perfect for making early in December.
Prep Time: 20 minutes | Cook Time: 18 minutes | Servings: 24
Ingredients
- 1 cup unsalted butter, softened
- 1/2 cup powdered sugar
- 1 teaspoon vanilla extract
- 2 cups all-purpose flour
- 1/4 cup cornstarch
- 1/4 teaspoon salt
- Green gel food coloring (optional)
- 2 tablespoons green sanding sugar, for sprinkling
- 1/4 cup white chocolate, melted, for drizzling (optional)
Instructions
- Cream the butter and sugar in a large bowl just until smooth and combined, about 1 minute. Do not beat in too much air, or the trees may spread and lose their neat points.
- Add the vanilla and, if you like green trees, a few drops of green gel coloring, and mix until the color is even. The color will look a little softer after baking, so go slightly darker than you want.
- Add the dry ingredients — the flour, cornstarch, and salt — and mix on low until a soft dough forms. Press it together gently with your hands until it holds in one smooth piece.
- Chill the dough by flattening it into a disk, wrapping it, and refrigerating for 30 minutes. Cold dough rolls cleanly and the tree cutter will give you sharp, pretty edges.
- Roll and cut the dough on a lightly floured surface to about 1/3 inch thick and cut out tree shapes. Place them on a parchment-lined baking sheet and sprinkle each tree with green sanding sugar.
- Chill the cut trees on the tray in the fridge for 15 minutes while the oven heats to 325°F (160°C). This extra chill is the secret to shortbread trees that keep their shape.
- Bake low and slow for 16 to 19 minutes, until the edges are set and the bottoms are just barely golden. The tops should stay nice and pale.
- Cool and finish completely on a wire rack. If you like, drizzle a little melted white chocolate over the trees like snow, and let it set before packing them into tins.
Green Christmas Tree Spritz Cookies
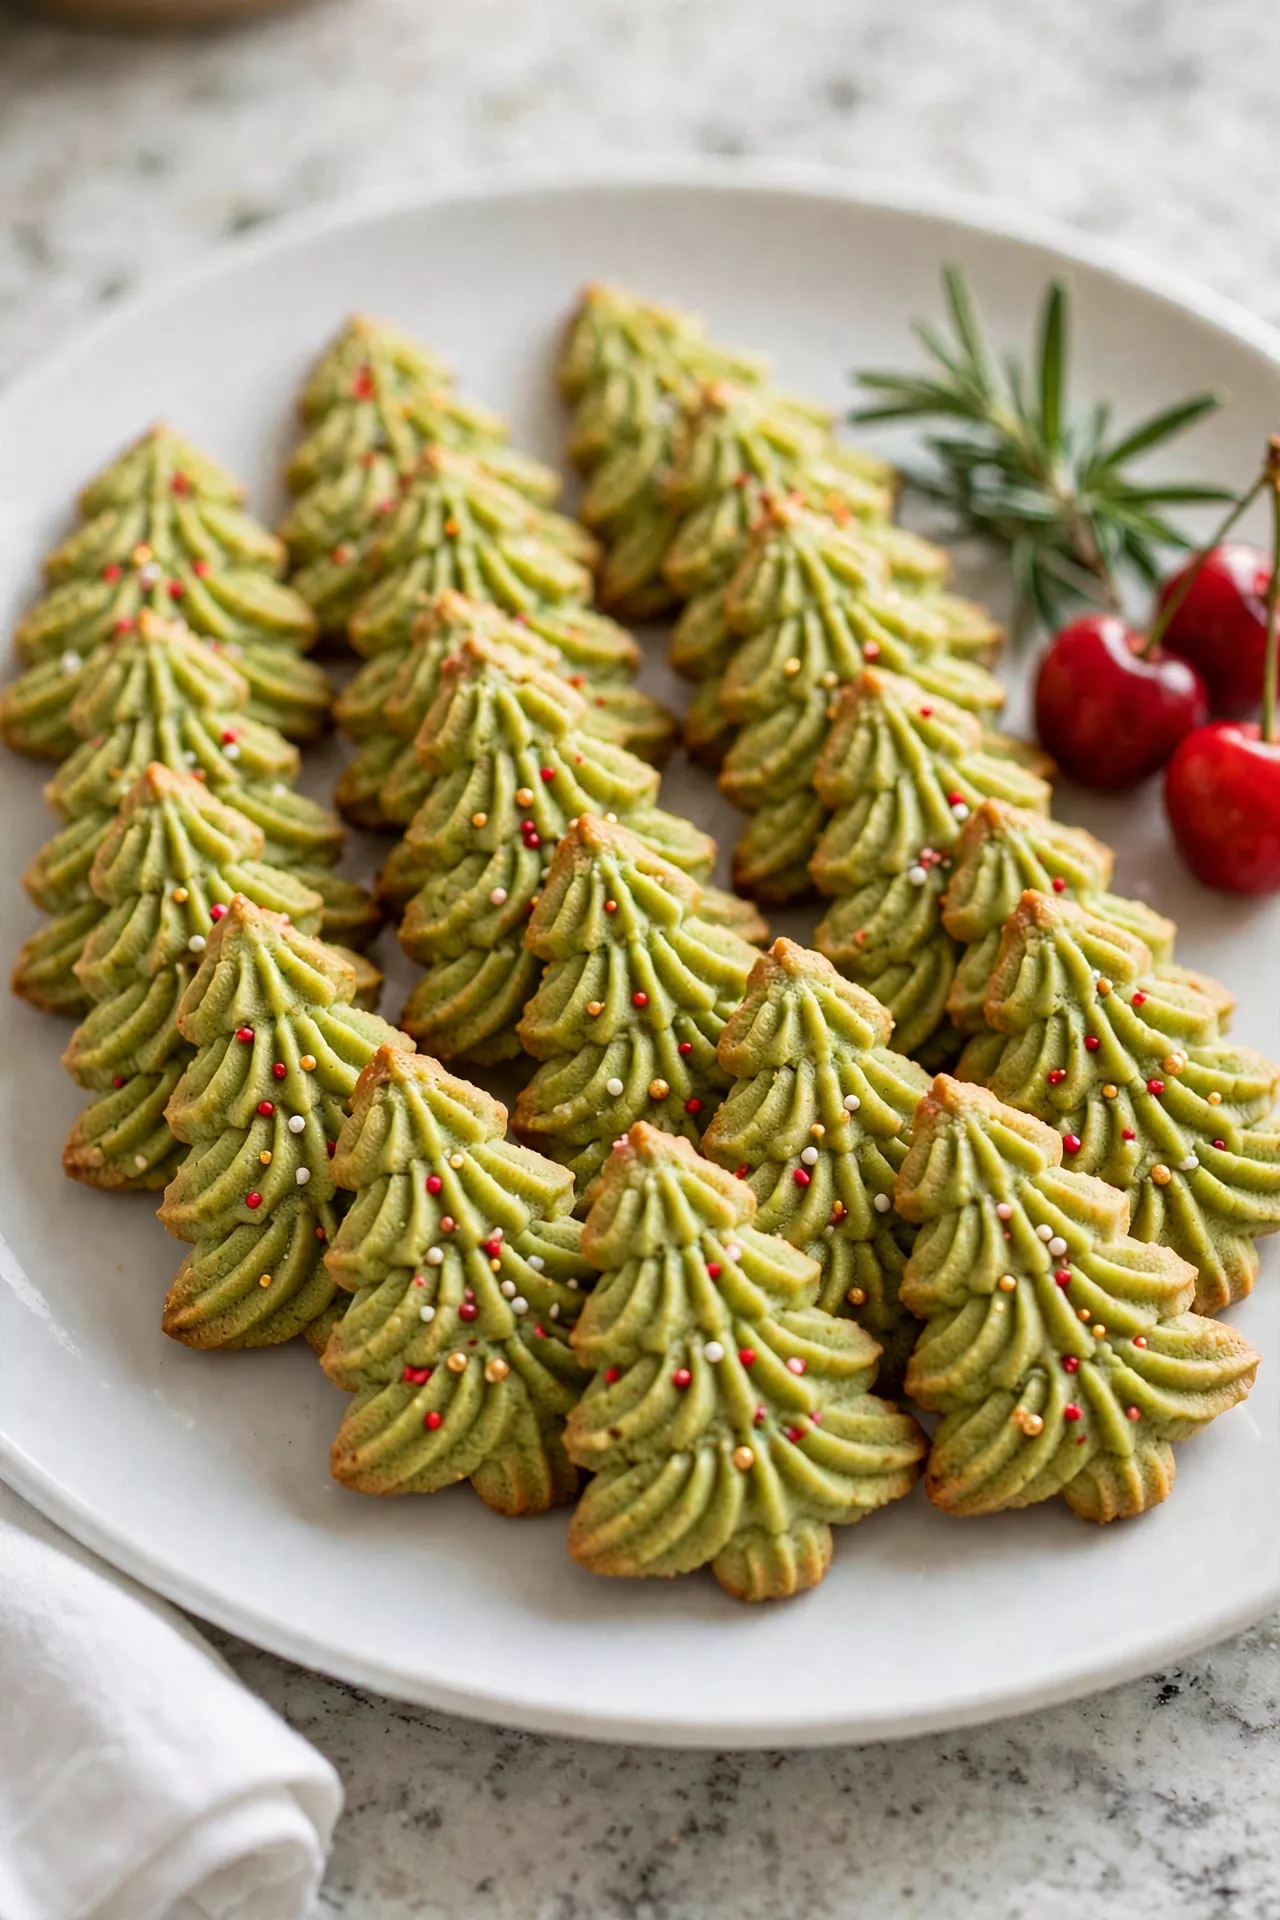
Spritz trees are the tiny green trees pressed through a cookie press, and a whole tray of them looks like a little pine forest. They are light, crisp, and buttery, with a sprinkle of colored sugar that looks like ornaments. Once you learn the press, these come together faster than almost any other cookie on this list.
Prep Time: 25 minutes | Cook Time: 8 minutes | Servings: 36
Ingredients
- 1 cup unsalted butter, softened
- 2/3 cup granulated sugar
- 1 large egg yolk
- 1 teaspoon vanilla extract
- 1/2 teaspoon almond extract
- 2 1/4 cups all-purpose flour
- 1/4 teaspoon salt
- Green gel food coloring
- Colored sugar and tiny sprinkles, for decorating
- Small cinnamon candies, for the tops (optional)
Instructions
- Cream the butter and sugar in a large bowl for about 2 minutes, until very light and fluffy. A well-creamed base matters for spritz, because the dough must be soft enough to press.
- Add the yolk, extracts, and color and beat until smooth and glossy, mixing in green gel coloring a little at a time until the dough is a deep Christmas green. Gel color tints without making the dough wet.
- Add the flour and salt and mix on low just until a soft, smooth dough forms, like soft play dough. Do not chill this dough, or it will be too stiff for the press.
- Load the press with dough and fit it with the Christmas tree disk, following the maker’s directions. Press out one or two test trees on a plate to get the feel of the click.
- Press the trees onto a cold, ungreased, unlined baking sheet, holding the press flat against the pan and clicking once per cookie. The dough sticks best to a bare cold pan, so chill the sheet if your kitchen is warm.
- Decorate before baking by sprinkling the soft trees with colored sugar and tiny sprinkles, and pressing one tiny cinnamon candy at the top of a few trees if you like. The decorations bake right on and stay put.
- Bake the cookies at 375°F (190°C) for 7 to 9 minutes, until they are set and the edges are just barely golden. They bake fast, so stay close to the oven for the first tray.
- Cool and serve on the pan for 2 minutes, then move them gently to a wire rack. They are crisp and light, and they keep well in gift tins for up to two weeks.
Christmas Tree Gingerbread Cookies
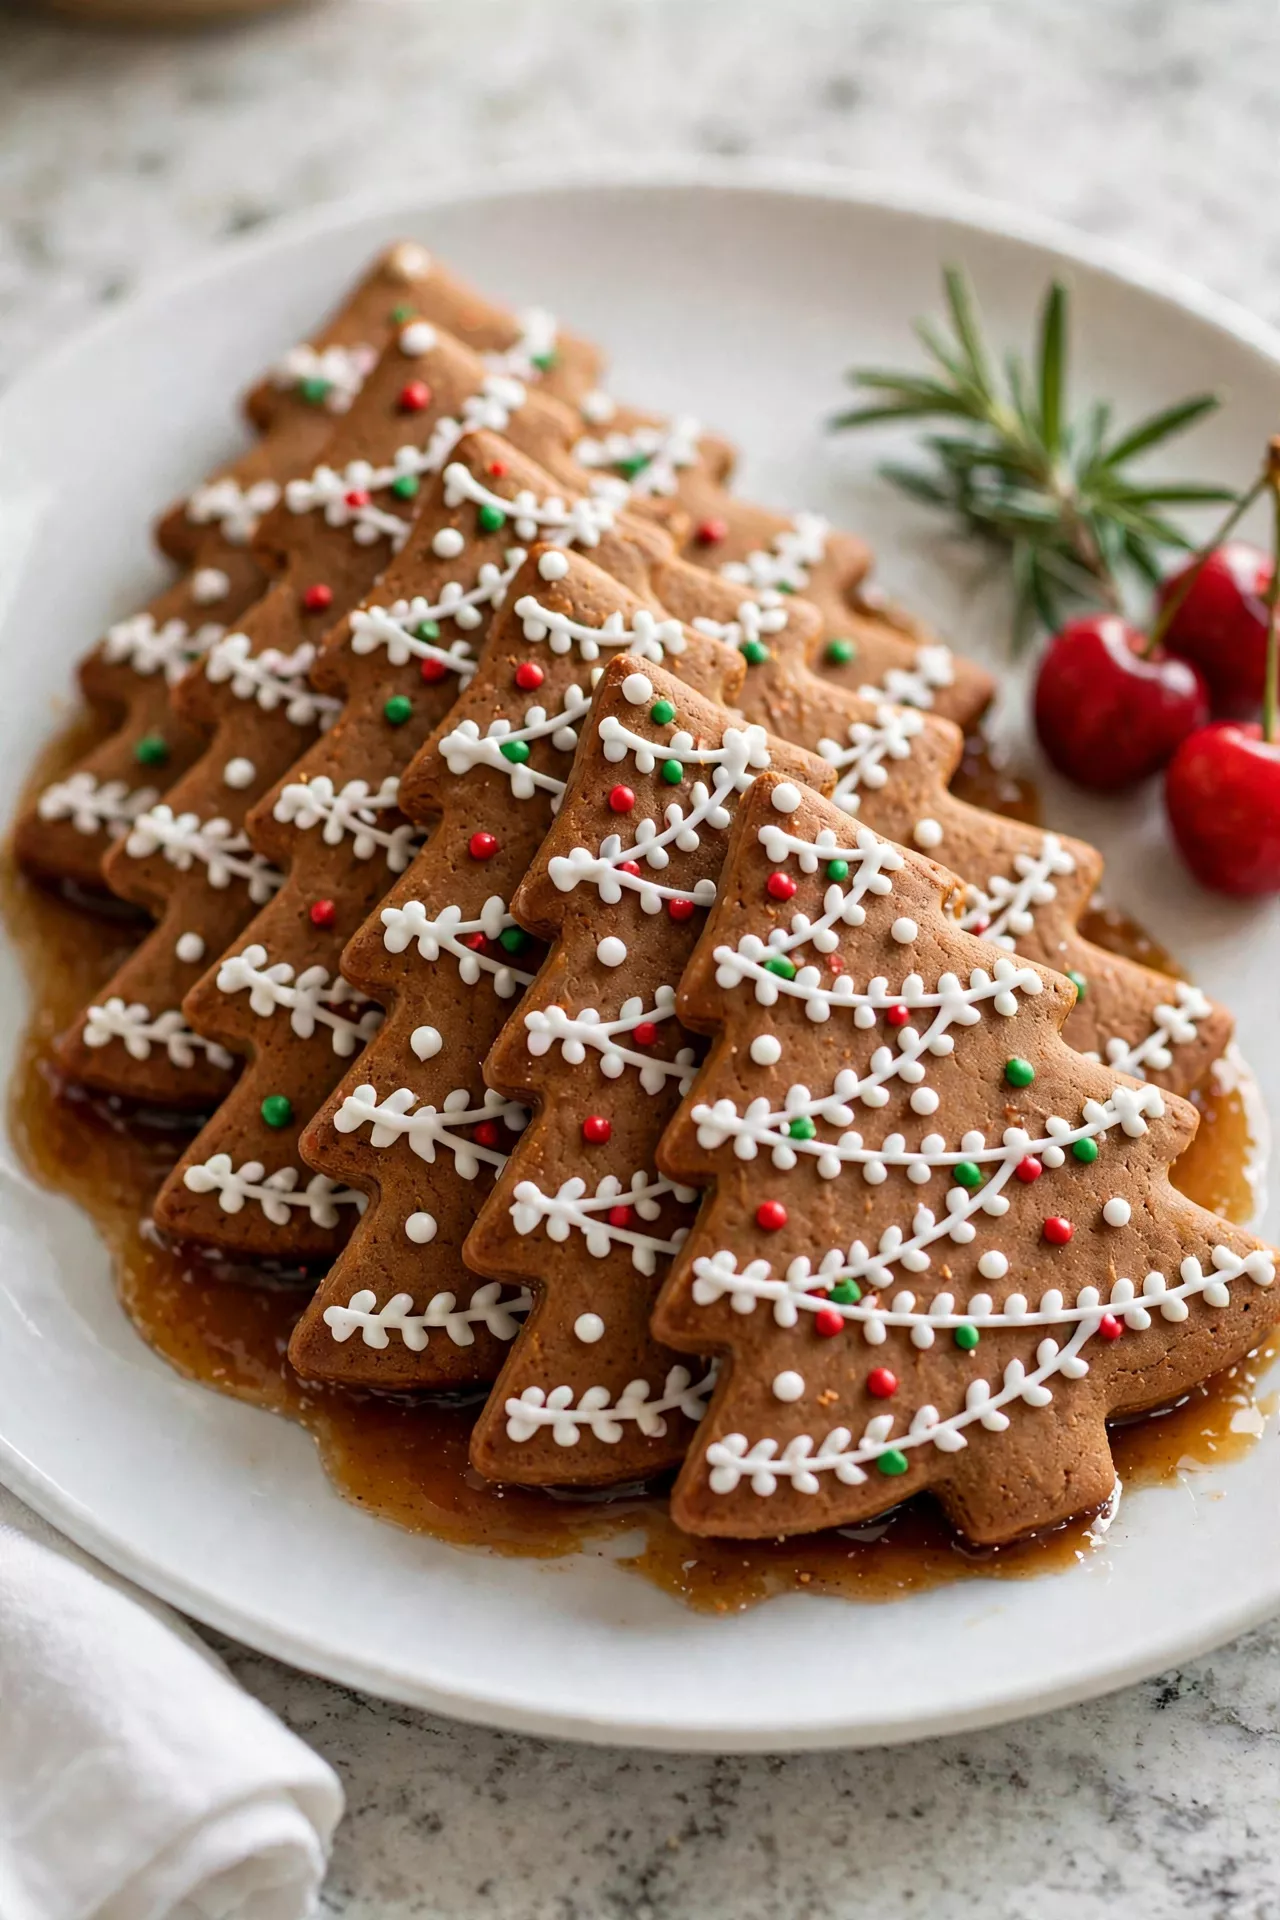
Gingerbread trees bring all the warm spice of classic gingerbread into the prettiest Christmas shape. The deep brown dough rolls out like a dream and holds its shape, so every tree comes out with sharp little branches. A simple white icing garland and a dusting of sugar snow are all the decorating they need.
Prep Time: 30 minutes | Cook Time: 10 minutes | Servings: 24
Ingredients
- 3 1/4 cups all-purpose flour, plus extra for rolling
- 1 teaspoon baking soda
- 1 tablespoon ground ginger
- 1 1/2 teaspoons ground cinnamon
- 1/2 teaspoon ground cloves
- 1/4 teaspoon ground nutmeg
- 1/4 teaspoon salt
- 3/4 cup unsalted butter, softened
- 3/4 cup brown sugar, firmly packed
- 2/3 cup molasses
- 1 large egg
- 1 teaspoon vanilla extract
- 1 cup powdered sugar mixed with 2 to 3 teaspoons milk, for icing
Instructions
- Mix the dry ingredients by whisking the flour, baking soda, ginger, cinnamon, cloves, nutmeg, and salt together in a medium bowl. Set it aside so the warm spices are evenly mixed and ready.
- Cream the butter and sugar in a large bowl with an electric mixer for about 2 minutes, until light and fluffy. This step puts air into the dough and helps the cookies bake up tender.
- Add the molasses and egg and beat until smooth, dark, and glossy, then mix in the vanilla. Scrape down the sides of the bowl so everything is mixed in well.
- Make the dough by adding the dry ingredients a little at a time, mixing on low just until a soft dough forms. Do not overmix, or the cookies can turn tough.
- Chill the dough by dividing it in half, flattening each half into a disk, wrapping it, and chilling for at least 2 hours or overnight. Cold gingerbread dough is much easier to roll and cut.
- Roll and cut the dough on a lightly floured surface to about 1/4 inch thick and cut out tree shapes with a Christmas tree cutter. Place the trees on parchment-lined baking sheets, about 1 inch apart.
- Bake the cookies at 350°F (175°C) for 9 to 11 minutes, until the edges are firm and the centers look just set. They will firm up more as they cool on the pan.
- Cool and decorate completely on a wire rack, then pipe a simple white icing garland across each tree and add a tiny dusting of powdered sugar for snow. Let the icing dry before stacking.
Christmas Tree Thumbprint Cookies
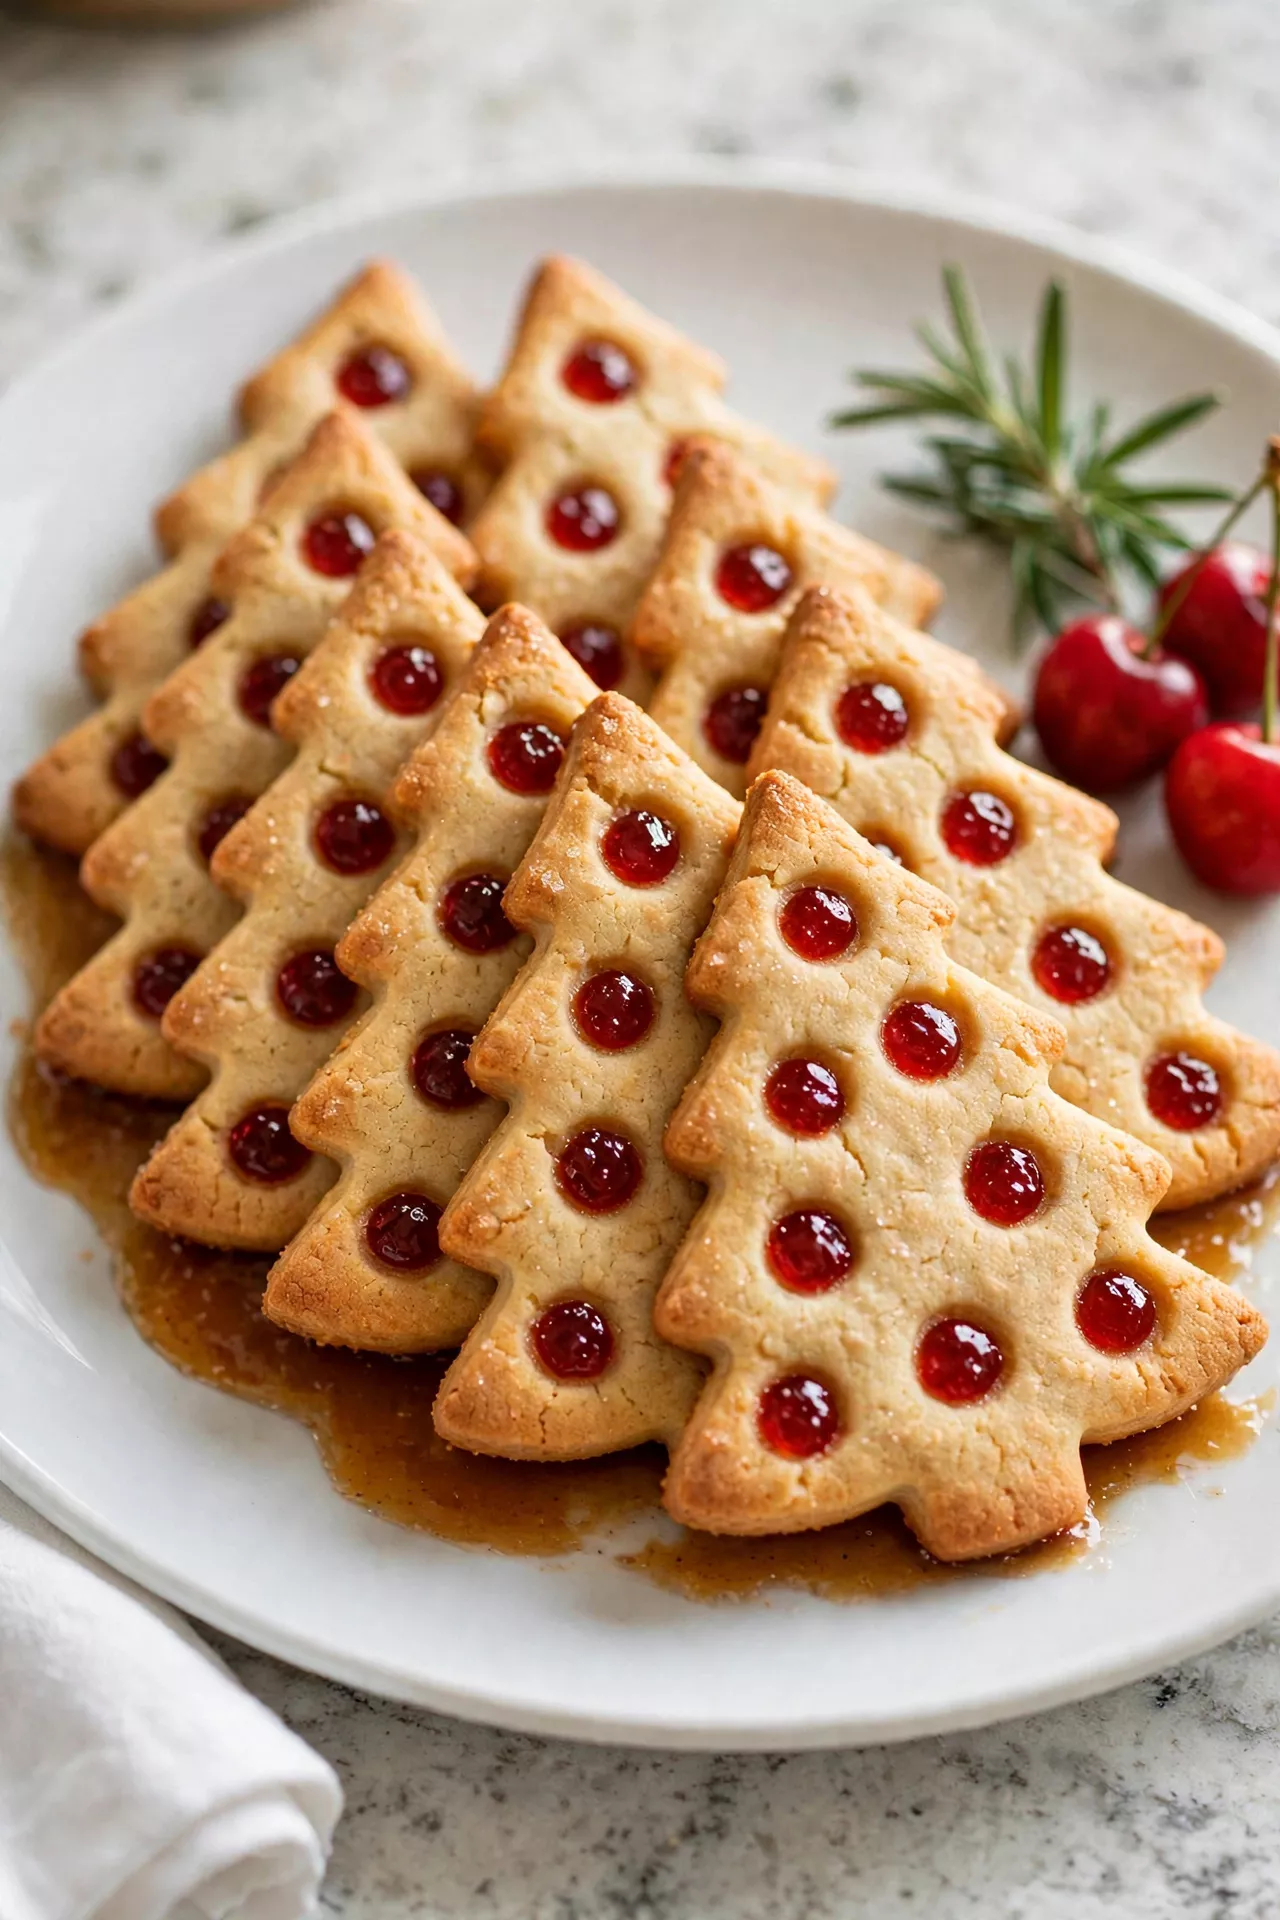
These little thumbprint trees are a fun twist on the classic — tender butter cookie dough shaped into trees, with a tiny well pressed in the middle and filled with shiny green or red jam, or a little pool of icing. Shaped by hand, no cutter needed, they are a lovely project for kids. Each tree looks a little different, and that is exactly the charm.
Prep Time: 30 minutes | Cook Time: 14 minutes | Servings: 20
Ingredients
- 1 cup unsalted butter, softened
- 2/3 cup granulated sugar
- 1 large egg yolk
- 1 teaspoon vanilla extract
- 2 cups all-purpose flour
- 1/4 teaspoon salt
- Green gel food coloring
- 1/3 cup seedless raspberry jam or apricot jam
- 1/2 cup powdered sugar mixed with 2 teaspoons milk, for icing (optional)
- Tiny sprinkles, for decorating
Instructions
- Cream the butter and sugar in a large bowl for about 2 minutes until light and fluffy. A well-creamed base makes these little trees extra tender.
- Add the yolk, vanilla, and color and beat until smooth, then mix in green gel coloring until the dough is an even Christmas green. Scrape the bowl so no white streaks are left.
- Make the dough by adding the flour and salt and mixing on low just until a soft dough comes together. Press it together gently with your hands if it looks a little crumbly.
- Chill the dough in the fridge for 30 minutes. Chilled dough holds the tree shape better and cracks less when you press the centers.
- Shape the trees by rolling about 1 1/2 tablespoons of dough into a cone — fat at the bottom and pointed at the top — then flattening it gently on a parchment-lined sheet. Pinch little branch lines along the sides with your fingers or a fork.
- Make the thumbprints by pressing your fingertip, or the round end of a wooden spoon, gently into the center of each tree to make a small well. If the edges crack, pinch them back together.
- Fill and bake by spooning about 1/2 teaspoon of jam into each well, or leaving them empty to fill with icing after baking. Bake at 350°F (175°C) for 13 to 15 minutes, until the edges are just set and lightly golden underneath.
- Cool and decorate on a wire rack until fully cool. If you left the wells empty, fill them with the powdered sugar icing now and add tiny sprinkles before it sets.
Christmas Tree Pinwheel Cookies
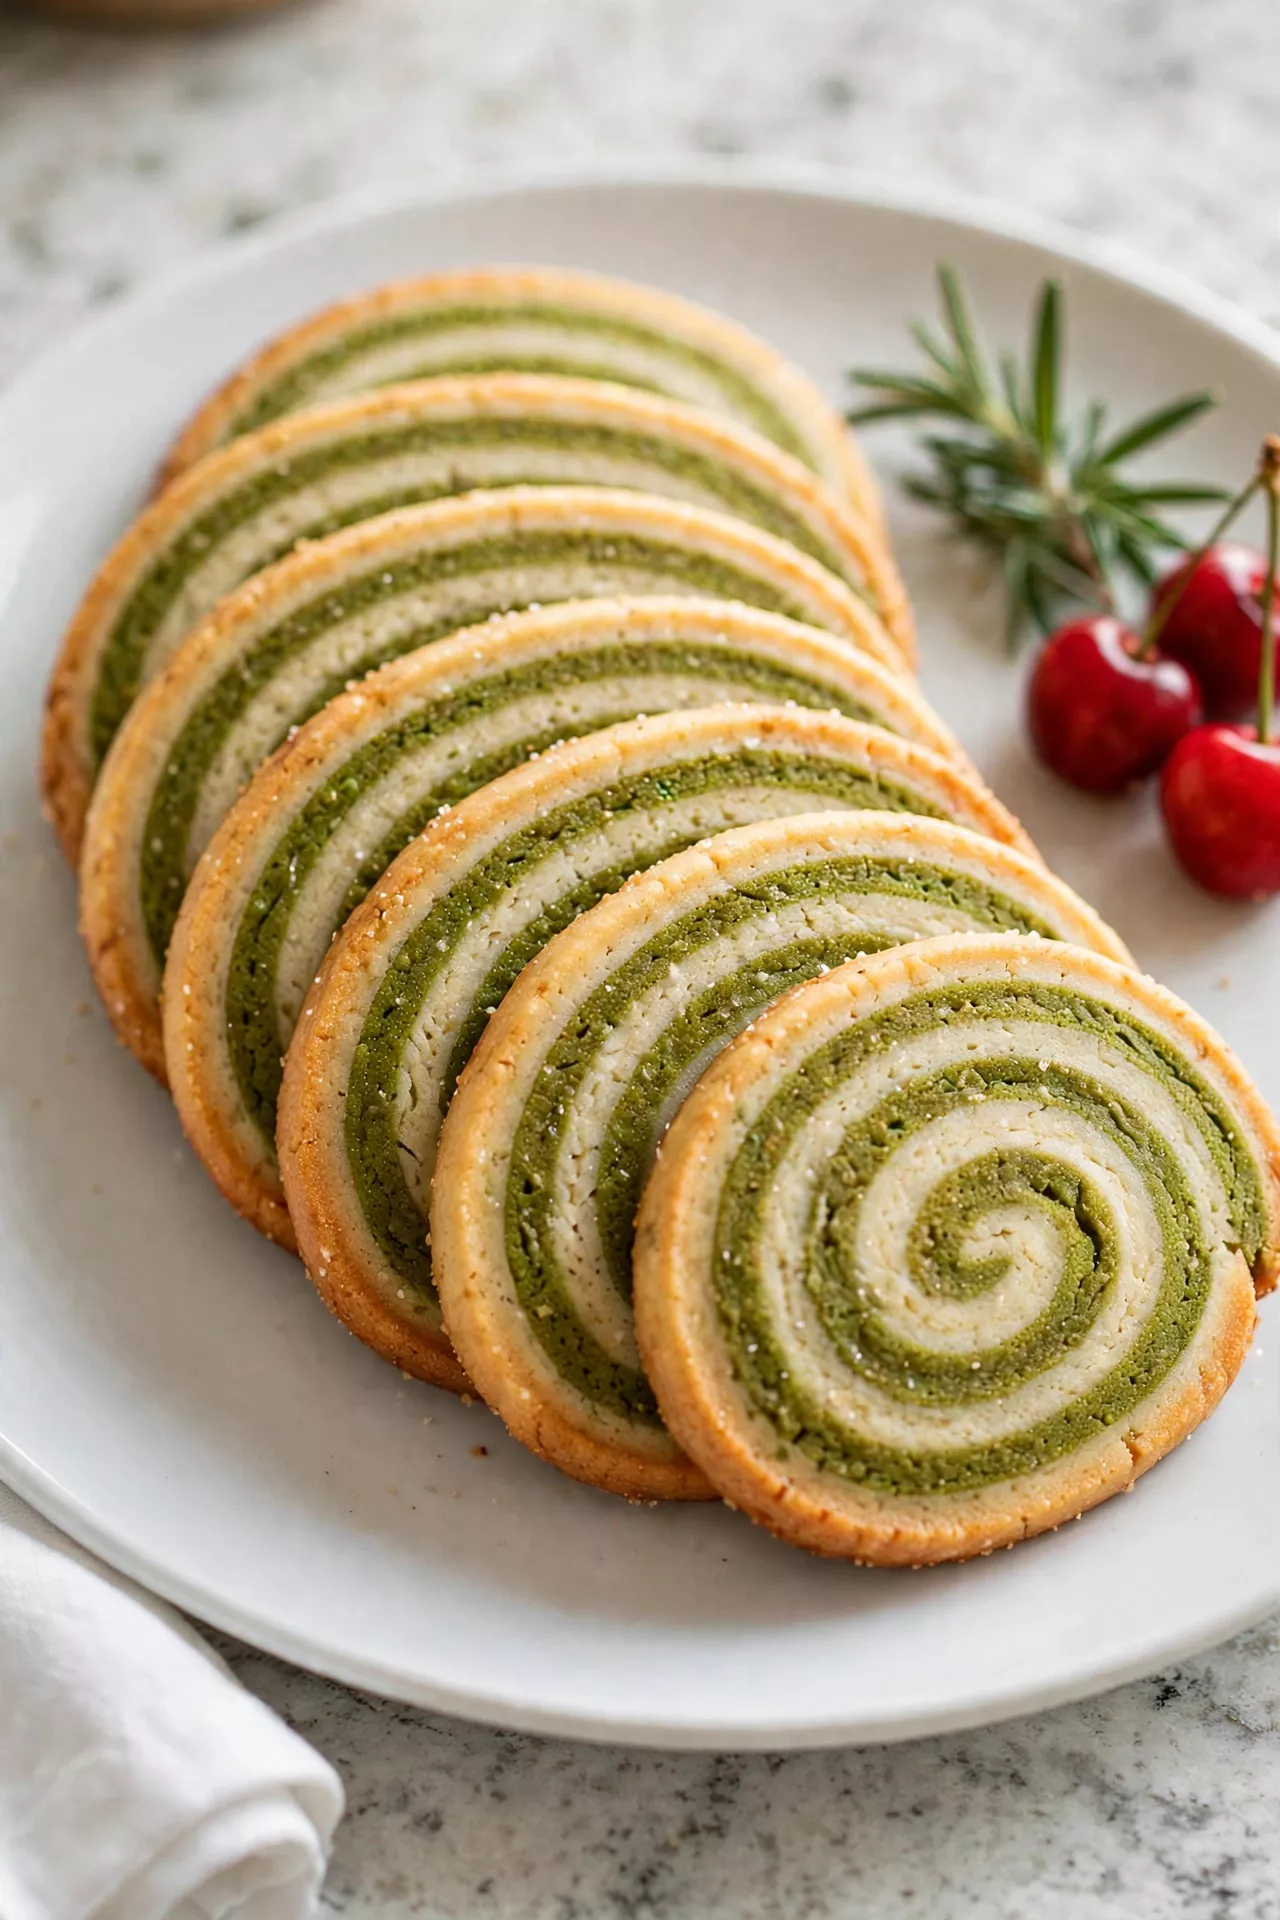
Pinwheel cookies are the show-offs of the tray — green and white dough rolled together into a log, then sliced so every cookie has a pretty swirl. Cut the slices into rounds or press a tree cutter over them, and each tree shows off the spiral like rings on a real trunk. They slice and bake in minutes once the log is chilled, which makes them perfect for busy days.
Prep Time: 35 minutes | Cook Time: 11 minutes | Servings: 28
Ingredients
- 3 cups all-purpose flour
- 1 teaspoon baking powder
- 1/2 teaspoon salt
- 1 cup unsalted butter, softened
- 1 cup granulated sugar
- 1 large egg
- 1 teaspoon vanilla extract
- 1/2 teaspoon almond extract (optional)
- Green gel food coloring
- 2 tablespoons green sanding sugar or sprinkles, for the edges
Instructions
- Mix the dry ingredients by whisking the flour, baking powder, and salt in a medium bowl, then set it aside. This keeps the dough light and even.
- Cream the butter and sugar in a large bowl for about 2 minutes until pale and fluffy. Add the egg, vanilla, and almond extract and beat until smooth.
- Make the dough by mixing in the dry ingredients on low just until a soft dough forms. Divide the dough in half, and knead green gel coloring into one half until it is an even Christmas green.
- Roll out both doughs between sheets of parchment into matching rectangles, about 1/4 inch thick. Chill both sheets for 15 minutes so they are firm but still flexible.
- Roll the pinwheel log by laying the green sheet on top of the white sheet, peeling off the top parchment, and rolling them up together tightly from the long side, like a jelly roll. Roll the log in sanding sugar if you like sparkly edges.
- Chill the log wrapped in plastic for at least 1 hour, or freeze it for 30 minutes. A firm log slices into clean rounds without squashing the swirl.
- Slice and shape the log into 1/4-inch rounds with a sharp knife. For tree shapes, press a small tree cutter over each round, or leave them as pretty swirl rounds and pinch the top to a soft point.
- Bake the cookies at 350°F (175°C) for 10 to 12 minutes, until the edges are just set and the bottoms are barely golden. Cool on a wire rack — the swirls look prettiest once the cookies are fully cool.
Chocolate Christmas Tree Cookies
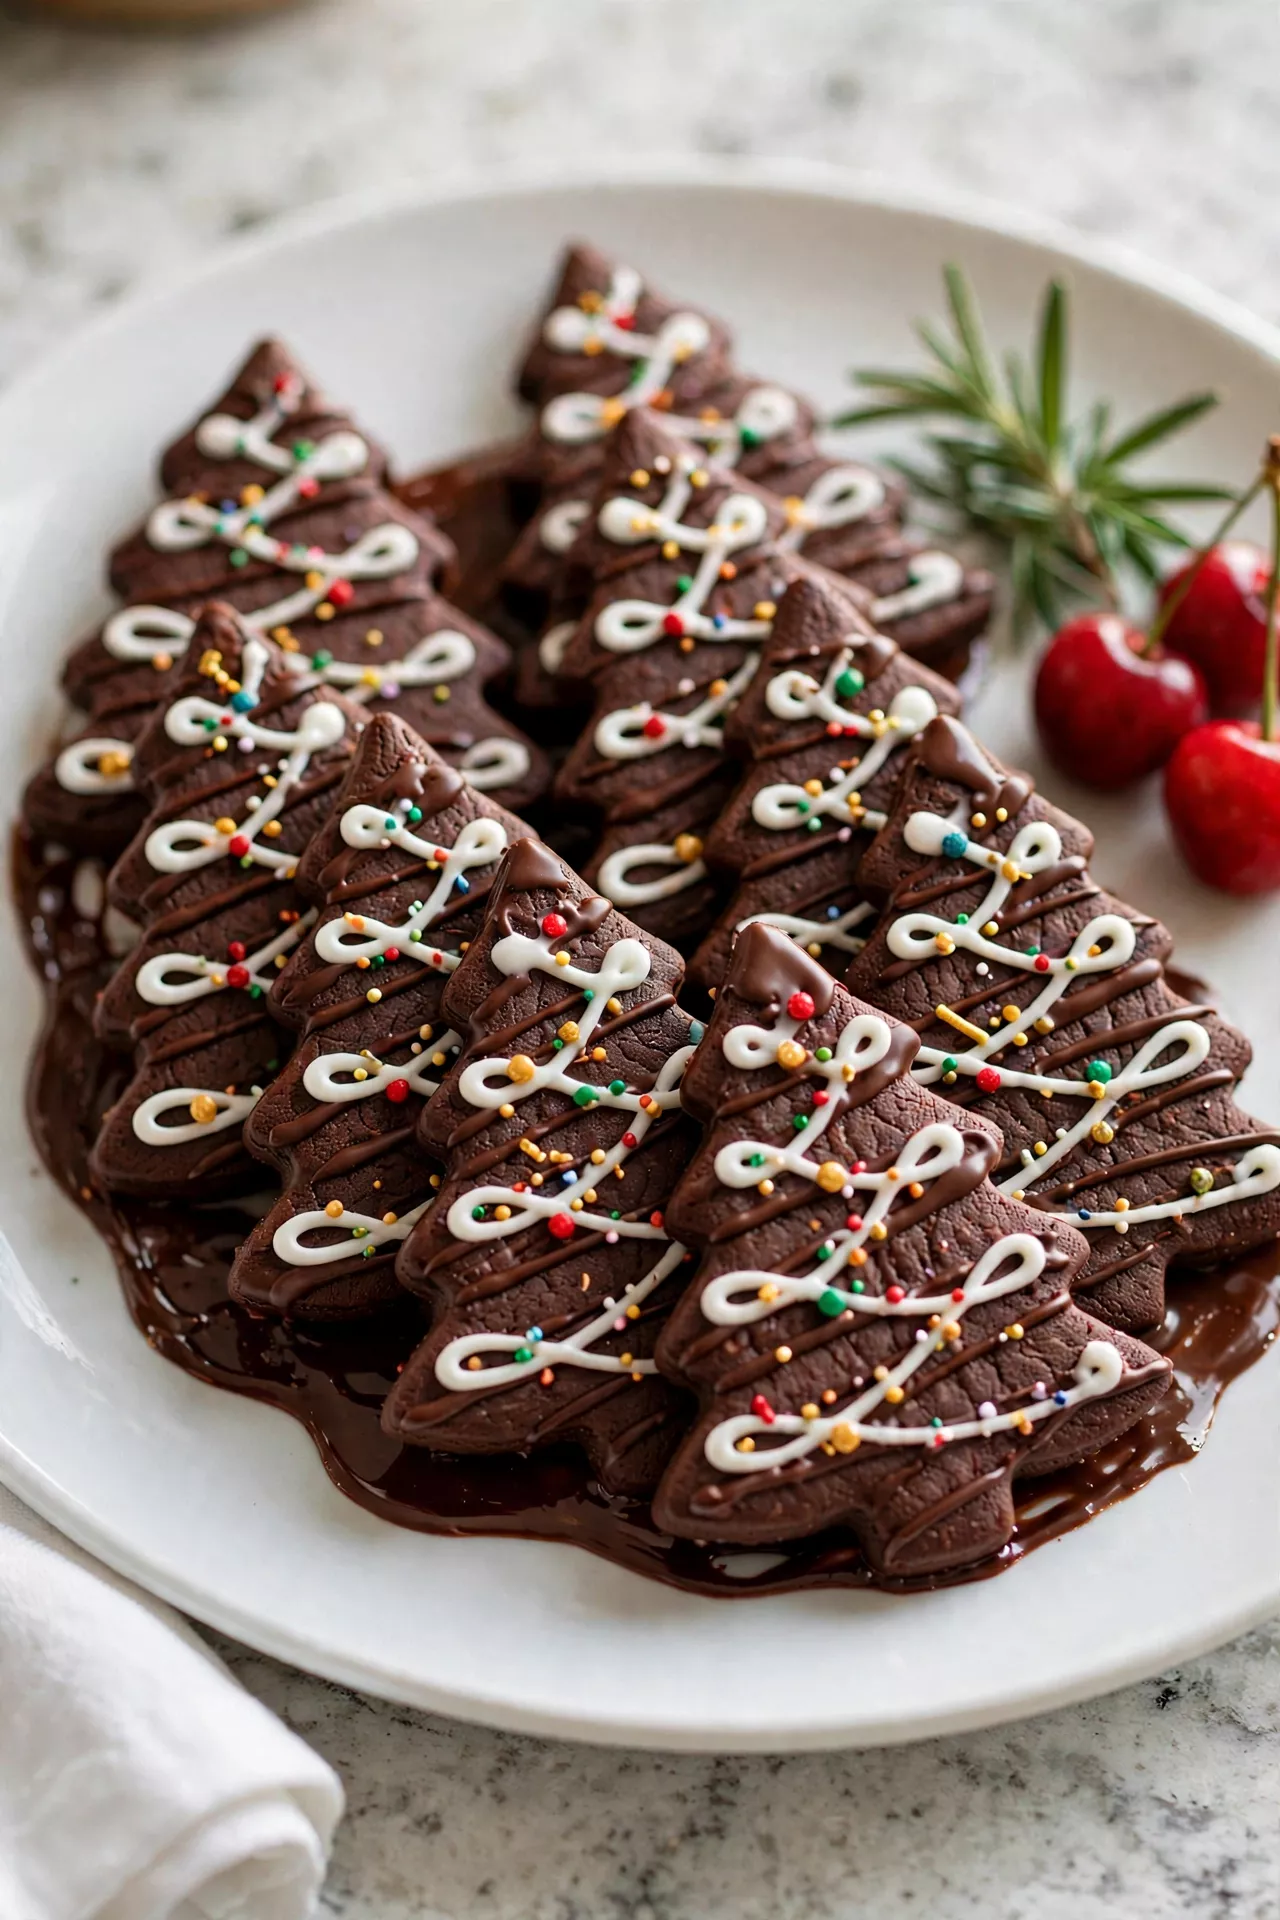
Chocolate trees are for the chocolate lovers at the table — deep, dark cocoa cookies with a soft, brownie-like middle and crisp little edges. A drizzle of white chocolate looks like snow falling on the branches, and a few tiny candies finish them like ornaments. They bring a rich, dark color to the tray that makes all the green cookies around them pop.
Prep Time: 25 minutes | Cook Time: 10 minutes | Servings: 24
Ingredients
- 2 cups all-purpose flour
- 3/4 cup unsweetened cocoa powder
- 1 teaspoon baking soda
- 1/2 teaspoon salt
- 1 cup unsalted butter, softened
- 3/4 cup granulated sugar
- 3/4 cup brown sugar, firmly packed
- 1 large egg
- 1 teaspoon vanilla extract
- 1/2 cup semisweet chocolate chips (optional)
- 1/2 cup white chocolate, melted, for drizzling
- Tiny candies and sprinkles, for decorating
Instructions
- Mix the dry ingredients by whisking the flour, cocoa powder, baking soda, and salt in a medium bowl until the cocoa looks even and dark. Sift the cocoa if it is lumpy so the dough mixes smoothly.
- Cream the butter and sugars in a large bowl for about 2 minutes until light and fluffy. The two sugars together give these trees crisp edges and a soft, chewy middle.
- Add the egg and vanilla and beat until the mixture is smooth and glossy. Fold in the chocolate chips if you are using them, for little pockets of extra chocolate.
- Make and chill the dough by mixing in the dry ingredients on low just until combined, then flattening the dough into a disk, wrapping it, and chilling for at least 1 hour. Cocoa dough is soft, and chilling keeps the tree points sharp.
- Roll and cut the dough on a surface dusted with a little cocoa powder instead of flour, so the trees stay deep and dark. Cut out tree shapes and place them on parchment-lined baking sheets, 1 inch apart.
- Bake the cookies at 350°F (175°C) for 9 to 11 minutes, until the edges are set and the centers still look a little soft. They will finish setting as they cool, and the middles stay fudgy.
- Cool completely on a wire rack before decorating. Warm cookies will melt the white chocolate drizzle into a puddle instead of pretty snow lines.
- Drizzle and decorate by zigzagging melted white chocolate across each tree like falling snow, then adding tiny candies while it is still wet. Let the chocolate set before stacking the trees.
Stacked Christmas Tree Cookies (3D Star Stack)
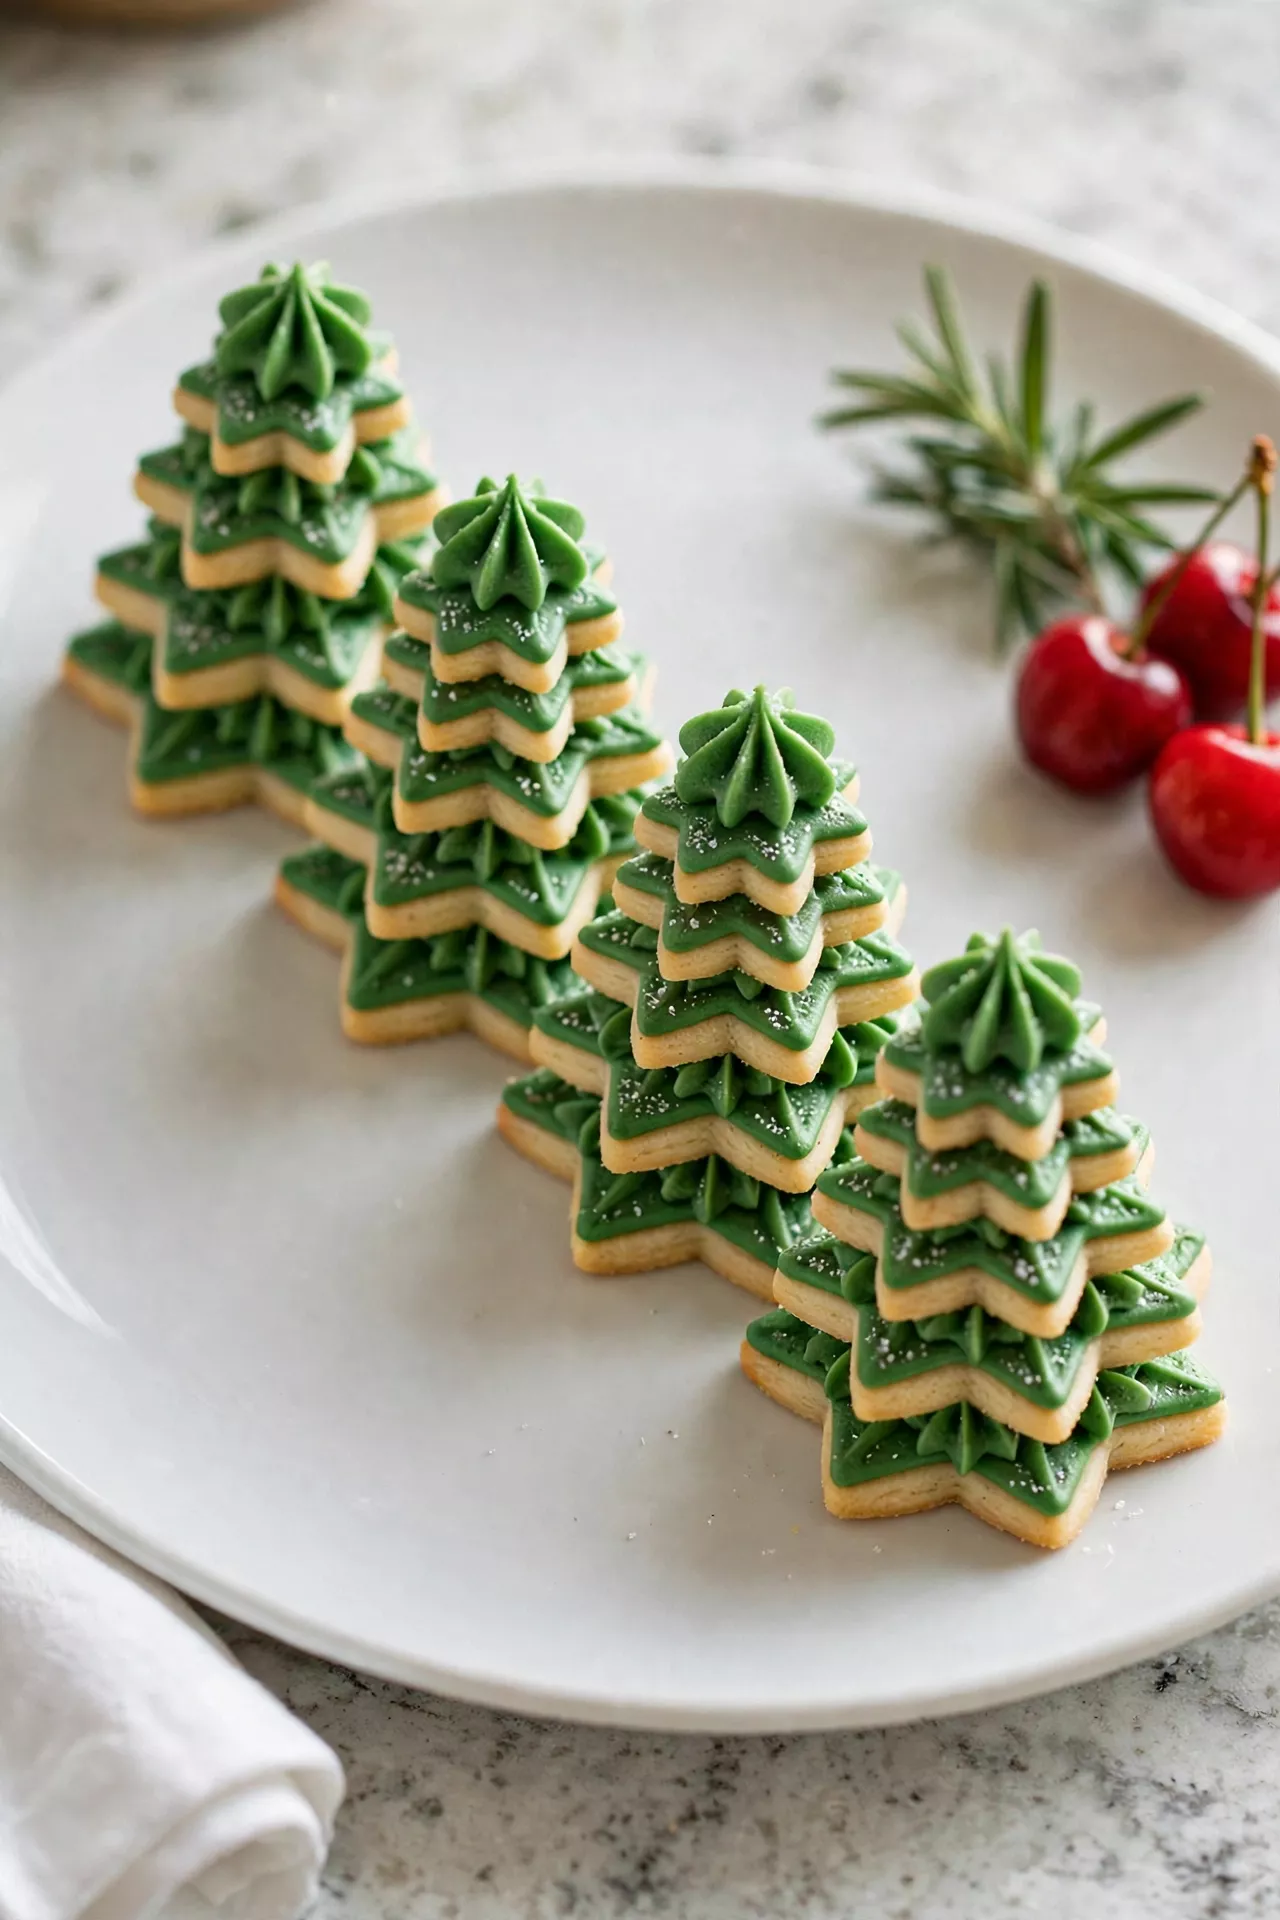
These stacked trees are the centerpiece cookie — star cookies in three or four sizes, iced green and stacked from big to small with a tiny star standing on top. They look like little Christmas trees standing right on the dessert table, and guests always ask how you made them. Pull them apart star by star to eat, or give them whole as the sweetest gift on the tray.
Prep Time: 45 minutes | Cook Time: 10 minutes | Servings: 8 trees
Ingredients
- 3 cups all-purpose flour, plus extra for rolling
- 1 teaspoon baking powder
- 1/2 teaspoon salt
- 1 cup unsalted butter, softened
- 1 cup granulated sugar
- 1 large egg
- 1 teaspoon vanilla extract
- 2 cups powdered sugar, for the icing
- 2 tablespoons meringue powder
- 3 to 4 tablespoons warm water
- Green gel food coloring, plus a little yellow
- Sprinkles and tiny candies, for decorating
- Star sprinkles or small star cookies, for the tops
Instructions
- Mix the dry ingredients by whisking the flour, baking powder, and salt in a medium bowl, then set it aside. You will cut four sizes of stars from this one dough, so it needs to be sturdy and even.
- Cream the butter and sugar in a large bowl for 2 to 3 minutes until pale and fluffy. Add the egg and vanilla and beat until smooth and well combined.
- Make and chill the dough by mixing in the dry ingredients on low just until a soft dough forms. Flatten it into a disk, wrap it, and chill for at least 1 hour so the star points stay crisp and sharp.
- Roll and cut the stars on a floured surface to about 1/4 inch thick. For each tree you need one large, one medium, one small, and one tiny star, so cut 8 of each size for 8 trees.
- Bake the stars at 350°F (175°C) for 9 to 11 minutes, taking the tiny stars out a minute or two early so they do not burn. Cool all the stars completely on a wire rack before icing.
- Make the green icing by beating the powdered sugar, meringue powder, and warm water until smooth and a little thick — it should hold soft peaks, because it also works as the glue. Tint it green, and tint a spoonful yellow for the top stars.
- Ice and decorate each star with green icing, adding sprinkles and tiny candies while the icing is wet. Ice the tiny top stars yellow, or leave them green with a star sprinkle pressed on top.
- Stack the trees once the icing is dry to the touch, using a dot of thick icing between layers and turning each star so its points sit between the points of the star below. Let the finished trees set for 1 hour before moving them.
Green Christmas Tree Crinkle Cookies
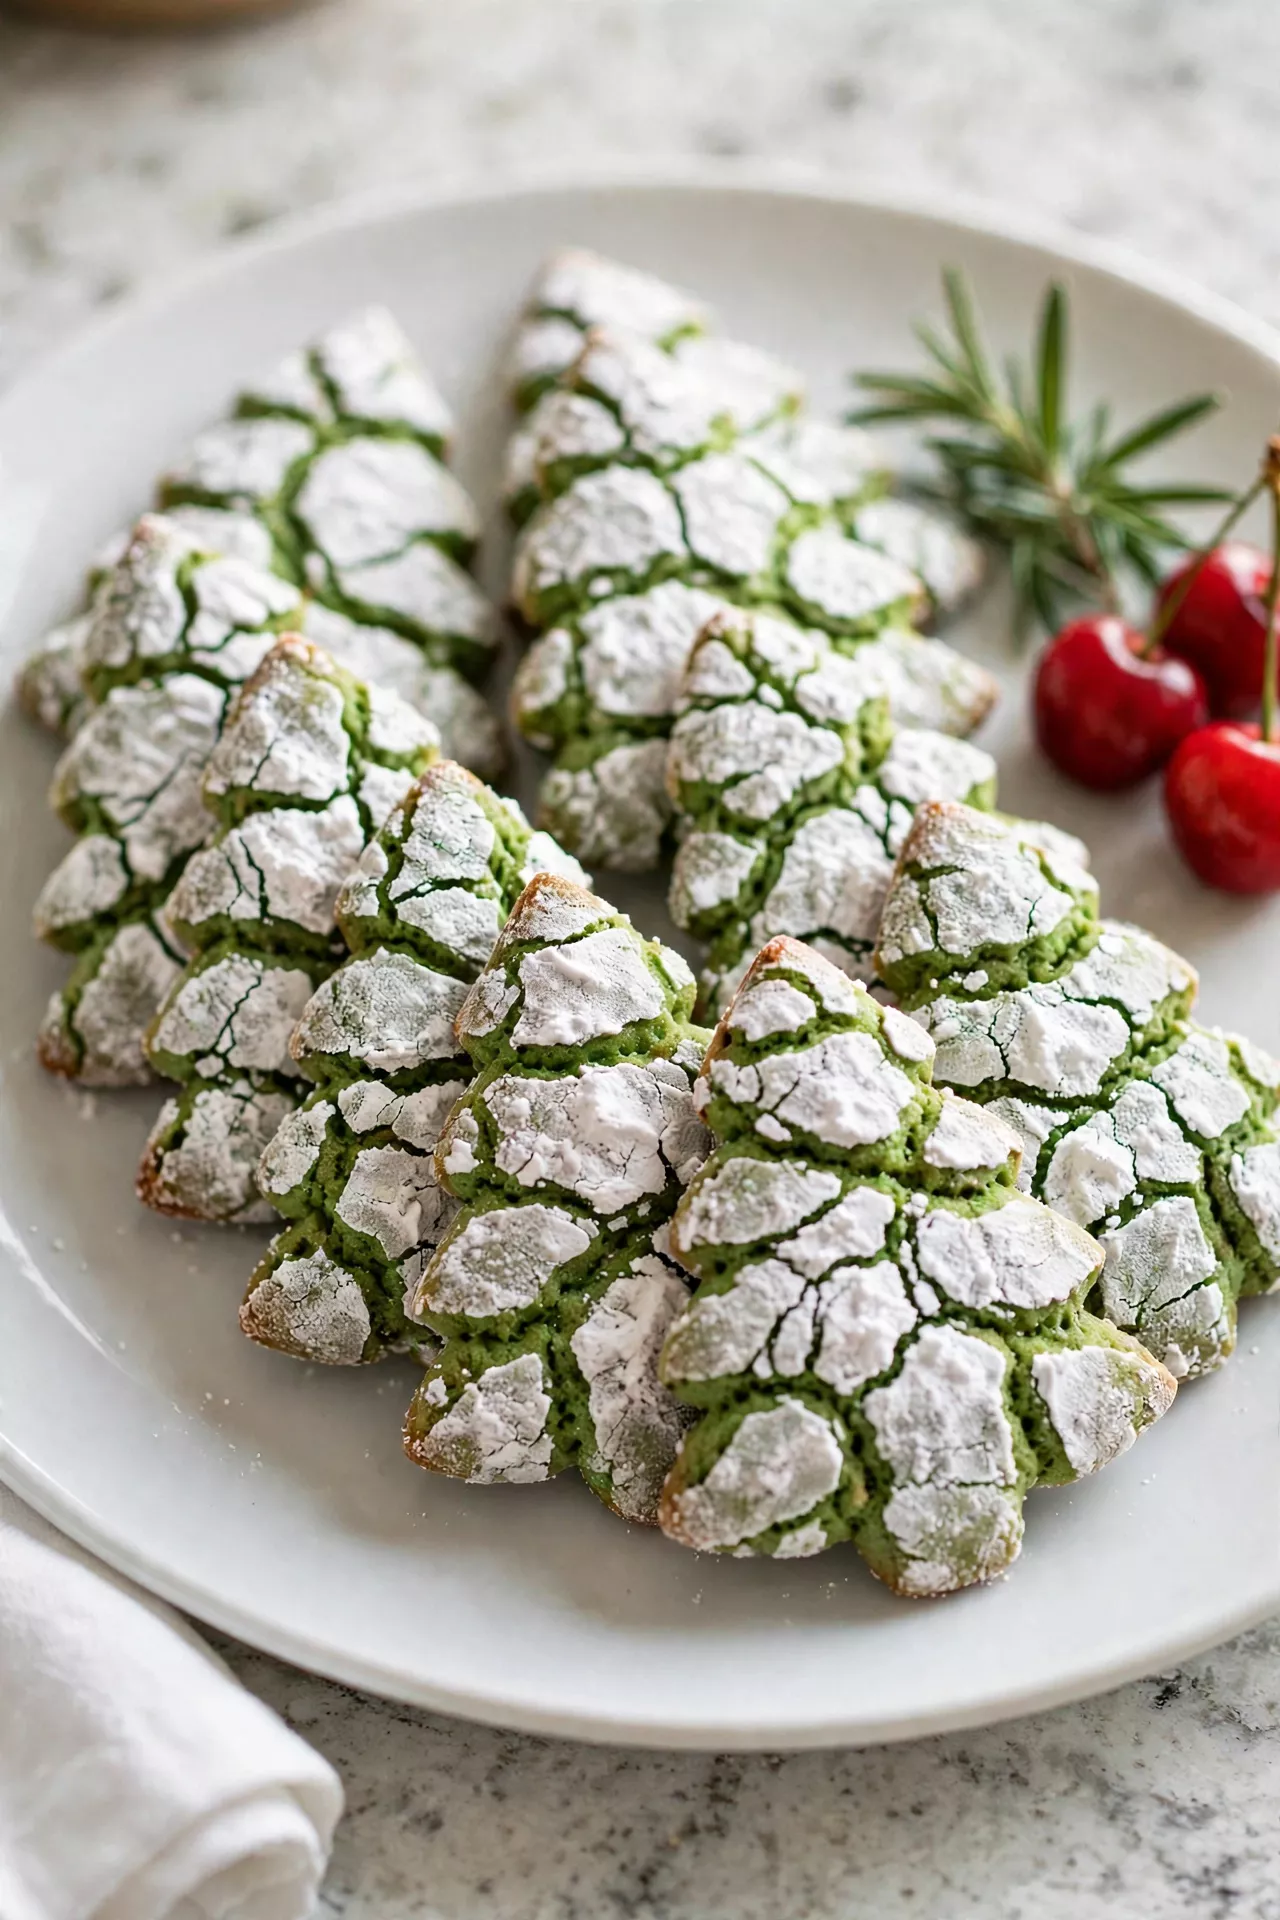
Green crinkle trees are pure fun — soft vanilla cookie dough tinted bright green, rolled in powdered sugar, and cut or scooped into little trees that crack open as they bake. The white cracks look like snow settling into the branches, and the centers stay soft and chewy. Kids love rolling these in the sugar, so expect snowy fingers and a lot of laughing.
Prep Time: 20 minutes | Cook Time: 11 minutes | Servings: 24
Ingredients
- 1/2 cup unsalted butter, softened
- 1 cup granulated sugar
- 1 large egg
- 1 teaspoon vanilla extract
- 1 1/2 cups all-purpose flour
- 1 teaspoon baking powder
- 1/4 teaspoon salt
- Green gel food coloring
- 1/2 cup granulated sugar, for rolling
- 3/4 cup powdered sugar, for rolling
- Yellow star sprinkles (optional)
Instructions
- Cream the butter and sugar in a large bowl for about 2 minutes until light and fluffy. This soft base is what gives crinkles their tender, chewy centers.
- Add the egg, vanilla, and color and beat until smooth, then mix in green gel coloring a little at a time until the dough is a bright Christmas green. The color deepens a bit as it sits, so do not overdo it.
- Add the dry ingredients — the flour, baking powder, and salt — and mix on low just until a soft dough forms. The dough will be sticky, and that is exactly right for crinkles.
- Chill the dough for at least 1 hour in the fridge. Cold dough rolls without sticking and cracks much better in the oven.
- Roll in the sugars by scooping about 1 tablespoon of dough, rolling it into a ball, rolling it first in granulated sugar and then generously in powdered sugar until it is thickly coated white. The double roll is the secret to bold white cracks.
- Shape the trees by pinching each sugar-coated ball gently into a cone — wide at the bottom, pointed at the top — and standing it on a parchment-lined baking sheet. Leave about 2 inches between trees, because they will spread a little.
- Bake the cookies at 350°F (175°C) for 10 to 12 minutes, until they have puffed, spread, and cracked open with pretty white lines. The centers should still look soft when you take them out.
- Cool and finish on the pan for 5 minutes, then move to a wire rack. Press a tiny yellow star sprinkle on top of a few trees while they are still warm, if you like, and serve once fully cool.
Christmas Tree Butter Cookies with Sprinkles
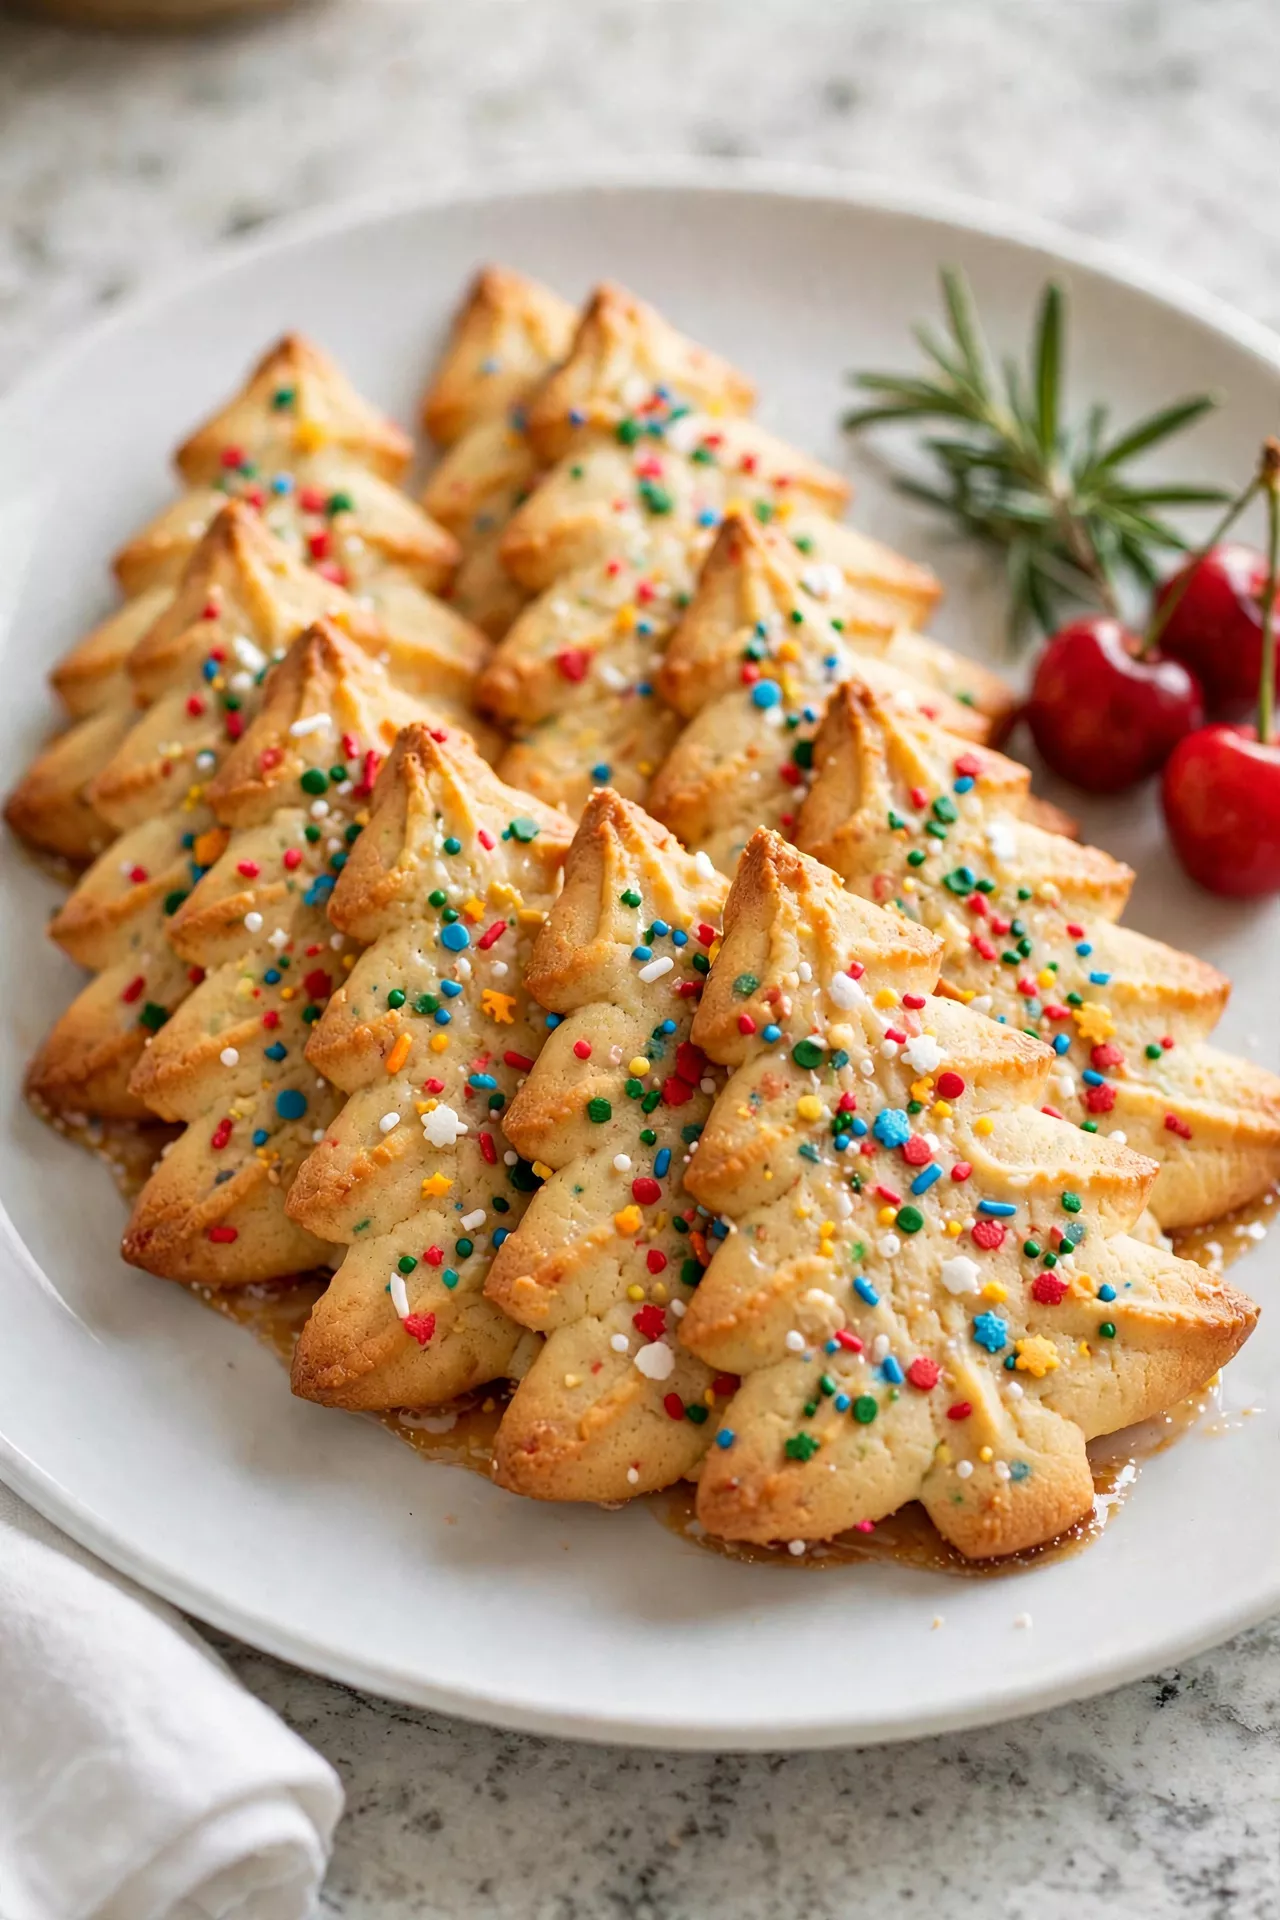
These simple butter cookie trees are the ones I make when I want a big batch fast — soft, golden dough cut into trees and showered with green sprinkles before they even go in the oven. No icing, no fuss, just buttery cookies with a happy crunch of sugar on top. They are wonderful for little helpers, because the decorating takes about ten seconds per tree.
Prep Time: 20 minutes | Cook Time: 10 minutes | Servings: 30
Ingredients
- 1 cup unsalted butter, softened
- 3/4 cup granulated sugar
- 1 large egg yolk
- 1 teaspoon vanilla extract
- 1/2 teaspoon almond extract (optional)
- 2 1/4 cups all-purpose flour
- 1/2 teaspoon baking powder
- 1/4 teaspoon salt
- Green sanding sugar and Christmas sprinkles, for decorating
- 1 egg white beaten with 1 teaspoon water, for brushing (optional)
Instructions
- Mix the dry ingredients by whisking the flour, baking powder, and salt in a medium bowl, then set it aside. A little baking powder keeps these butter trees light instead of dense.
- Cream the butter and sugar in a large bowl for about 2 minutes until light in color and fluffy. This helps the trees bake up tender with crisp little edges.
- Add the yolk and extracts and beat until smooth and glossy, scraping the bowl once so nothing is left behind. The yolk makes the dough rich and golden.
- Make the dough by mixing in the dry ingredients on low speed just until a soft dough forms. If the dough feels very soft, chill it for 20 to 30 minutes so the tree shapes cut cleanly.
- Roll and cut the dough on a lightly floured surface to about 1/4 inch thick and cut out tree shapes with a Christmas tree cutter. Place the trees on parchment-lined baking sheets, about 1 inch apart.
- Brush and sprinkle each tree lightly with the beaten egg white if using, then shower them with green sanding sugar and Christmas sprinkles. The egg white helps the sprinkles stick like glue.
- Bake the cookies at 350°F (175°C) for 9 to 11 minutes, until the edges are just set and the bottoms are lightly golden. The tops will stay pale under their sprinkles.
- Cool and serve on a wire rack until fully cool and crisp. These keep well in a sealed tin for a week, and the sprinkle crunch stays nice and bright.
Stained Glass Christmas Tree Cookies
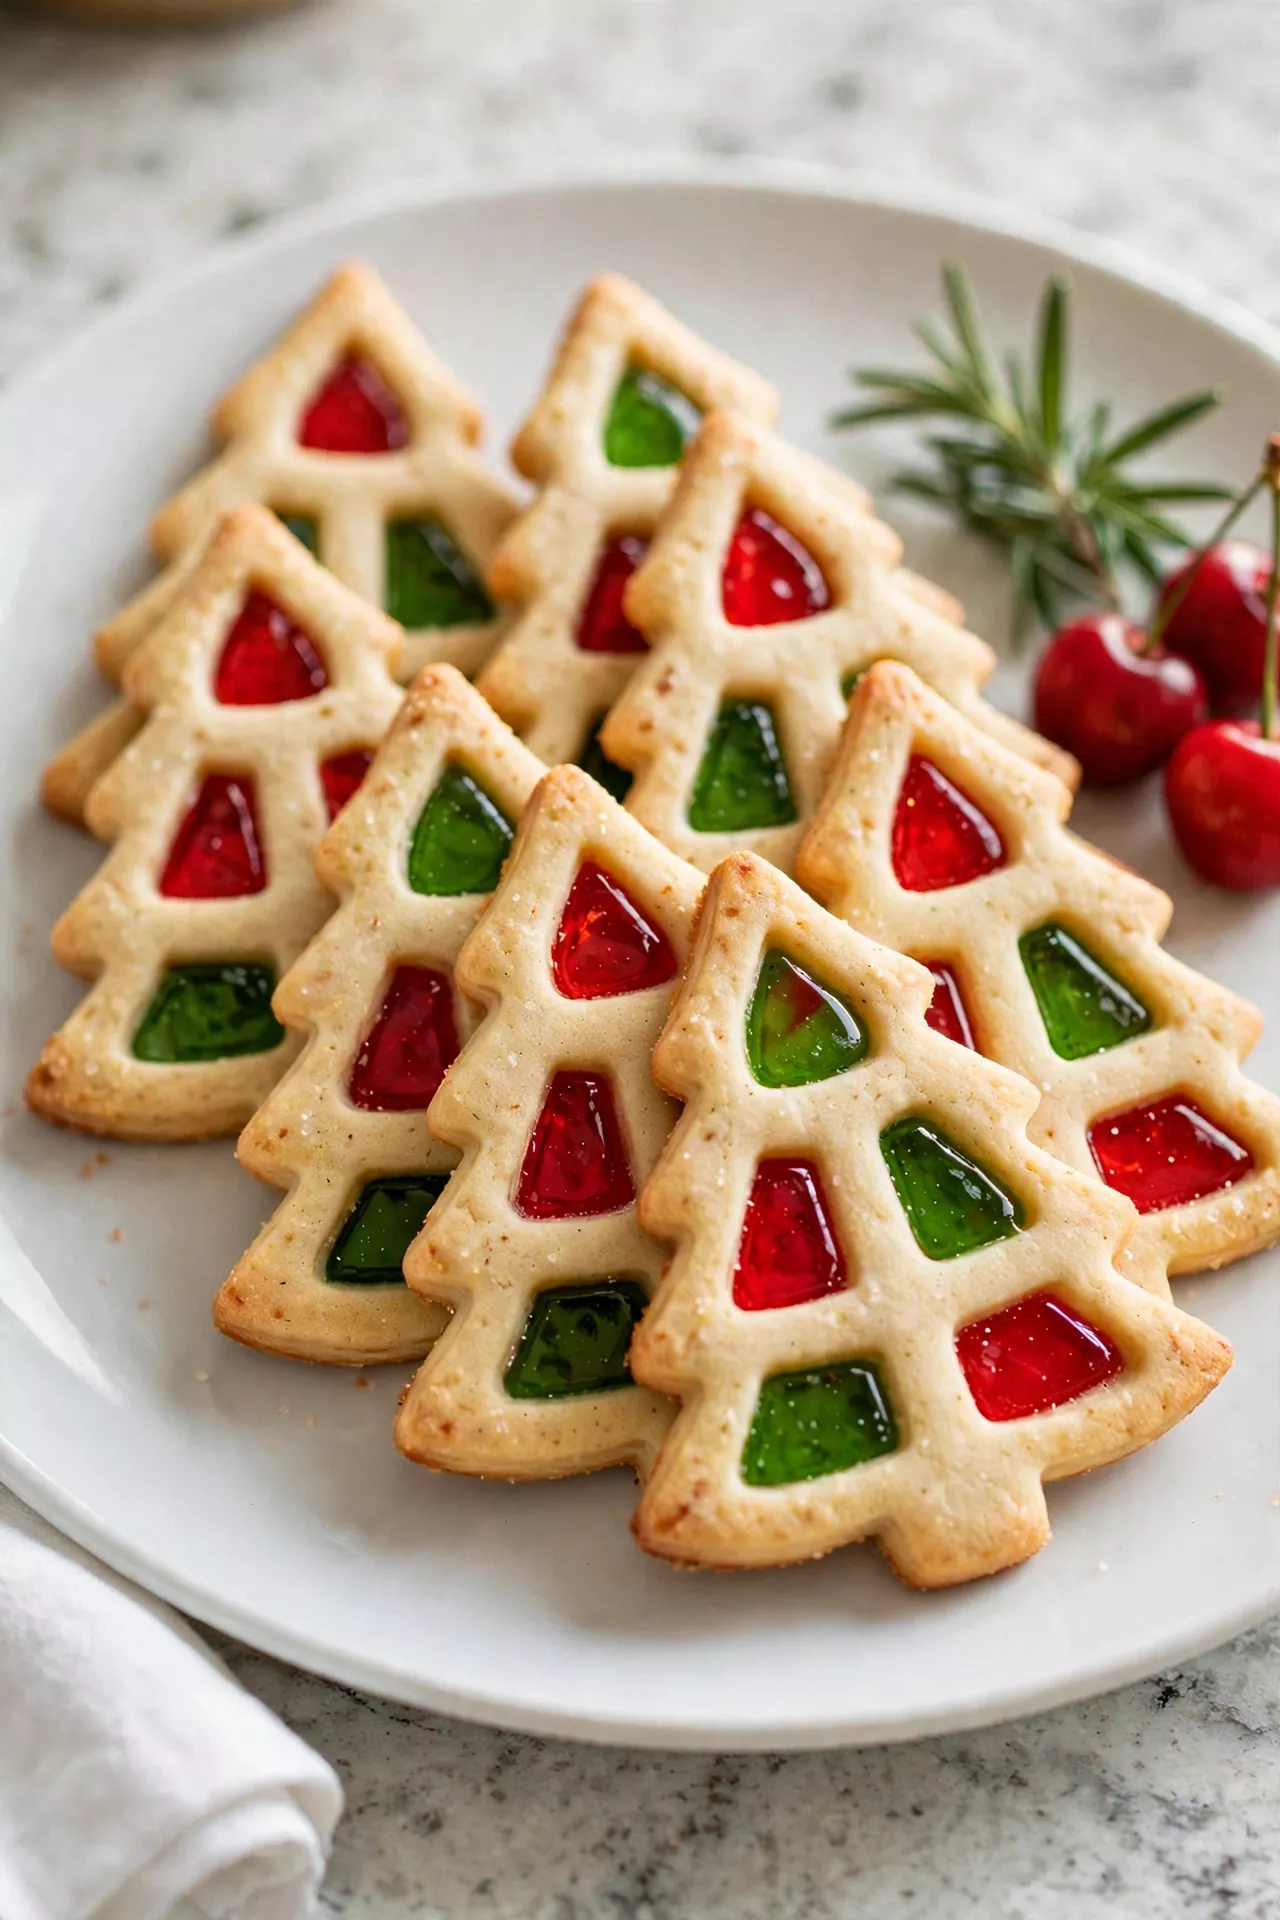
Stained glass trees are the prettiest cookies I know — crisp sugar cookie trees with a window cut in the middle and filled with crushed candy that melts into a shiny, jewel-bright center. Hold one up to the Christmas lights and the middle glows like a real window. They look fancy, but the trick is simple: hard candies and a hot oven do all the work.
Prep Time: 35 minutes | Cook Time: 10 minutes | Servings: 20
Ingredients
- 3 cups all-purpose flour, plus extra for rolling
- 1 teaspoon baking powder
- 1/2 teaspoon salt
- 1 cup unsalted butter, softened
- 1 cup granulated sugar
- 1 large egg
- 1 teaspoon vanilla extract
- 1 cup hard candies in red, green, and gold, sorted by color
- 1 tablespoon granulated sugar, for sprinkling (optional)
Instructions
- Mix the dry ingredients by whisking the flour, baking powder, and salt in a medium bowl, then set it aside. This sturdy dough needs to hold a window, so even mixing matters.
- Cream the butter and sugar in a large bowl for 2 to 3 minutes until pale and fluffy. Add the egg and vanilla and beat until smooth and well combined.
- Make and chill the dough by mixing in the dry ingredients on low just until a soft dough forms. Flatten it into a disk, wrap it, and chill for at least 1 hour so the trees cut cleanly.
- Crush the candies by putting each color in its own zip-top bag and crushing them with a rolling pin until they are fine crumbs with a few tiny pieces. Keep the colors separate so each window is one clear, bright color.
- Roll and cut the trees on a floured surface to about 1/4 inch thick, cut out tree shapes, and place them on parchment-lined baking sheets. Use a small round or star cutter to cut a window out of the middle of each tree.
- Fill the windows by spooning crushed candy into each window until it is full and level, mounding it just a tiny bit in the middle. Brush off any candy crumbs on the cookie, because stray crumbs melt into spots.
- Bake the cookies at 350°F (175°C) for 9 to 11 minutes, until the edges are lightly golden and the candy centers are fully melted and smooth. Do not let the candy bubble for long, or it can turn cloudy.
- Cool completely on the pan for at least 15 minutes before moving the cookies — the candy windows must harden fully, or they will crack. Peel them gently off the parchment and store them in a single layer.
Christmas Tree Sandwich Cookies
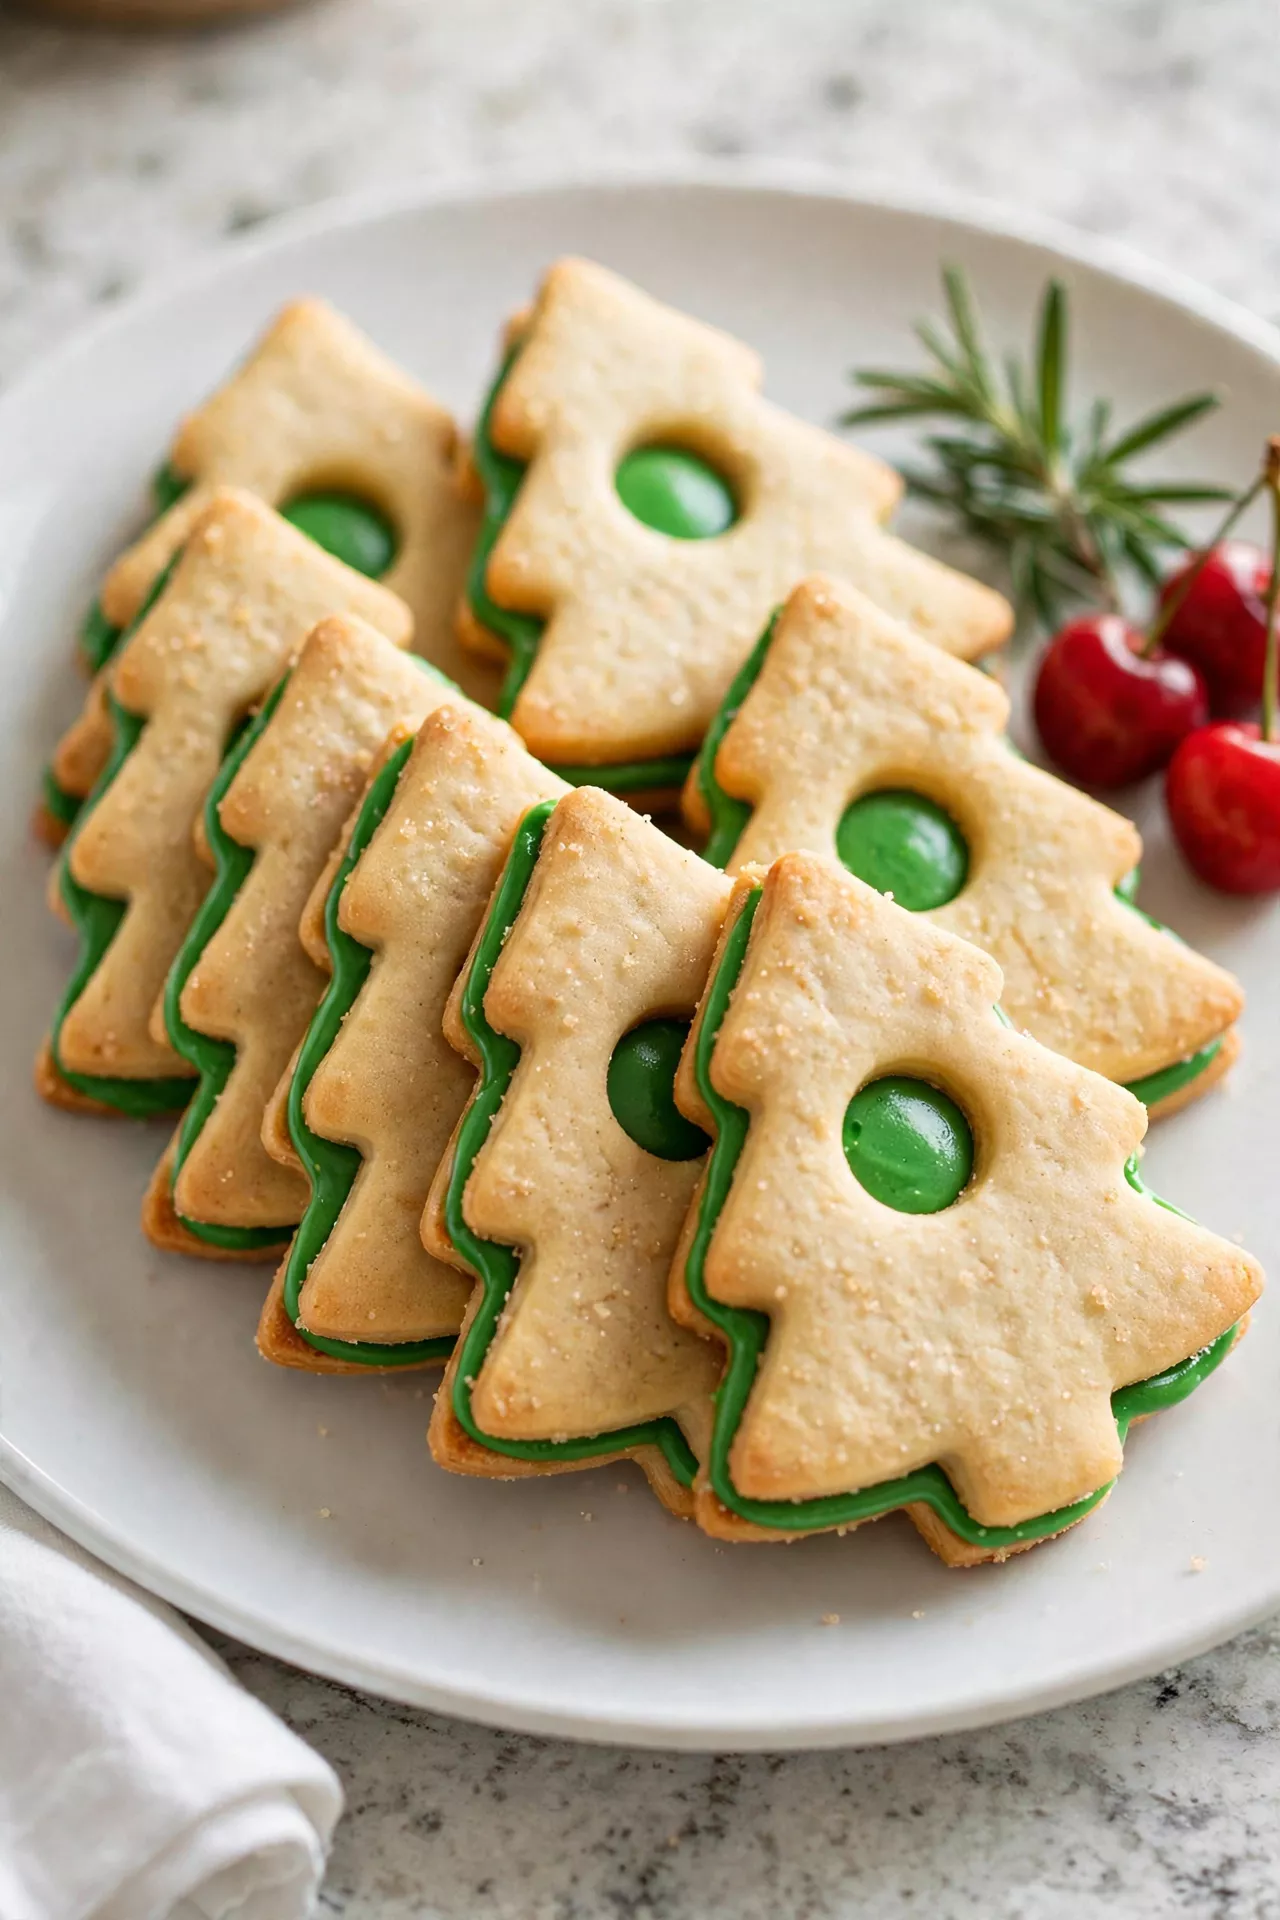
Sandwich trees are two little tree cookies with a sweet filling hiding in the middle — buttercream, chocolate ganache, or even a spoonful of jam. The top tree can have a tiny window cut out so the filling peeks through, which makes them look extra special on the tray. They taste like a bakery cookie, soft and rich, and they are the ones my family hides from each other.
Prep Time: 35 minutes | Cook Time: 10 minutes | Servings: 16 sandwiches
Ingredients
- 3 cups all-purpose flour, plus extra for rolling
- 1 teaspoon baking powder
- 1/2 teaspoon salt
- 1 cup unsalted butter, softened, for the cookies
- 1 cup granulated sugar, for the cookies
- 1 large egg
- 1 teaspoon vanilla extract
- Green gel food coloring
- 1/2 cup unsalted butter, softened, for the filling
- 1 1/2 cups powdered sugar, for the filling
- 2 tablespoons milk or cream
- 1/2 teaspoon vanilla or peppermint extract, for the filling
- Powdered sugar, for dusting
Instructions
- Mix the dry ingredients by whisking the flour, baking powder, and salt in a medium bowl, then set it aside. This is the same sturdy sugar cookie base, so the sandwiches hold together well.
- Cream the butter and sugar in a large bowl for 2 to 3 minutes until pale and fluffy. Add the egg and vanilla and beat until smooth, then mix in green gel coloring until the dough is an even Christmas green.
- Make and chill the dough by mixing in the dry ingredients on low just until a soft dough forms. Flatten it into a disk, wrap it, and chill for at least 1 hour so the trees cut with clean edges.
- Roll and cut the trees on a floured surface to about 1/4 inch thick. Cut out 32 tree shapes, and if you like, cut a tiny star or round window in the center of half of them — those will be the tops.
- Bake the cookies at 350°F (175°C) for 9 to 11 minutes, until the edges are just set and the bottoms are barely golden. Cool the trees completely on a wire rack, because warm cookies will melt the filling.
- Make the filling by beating the 1/2 cup butter with the powdered sugar, milk, and vanilla or peppermint extract until smooth, fluffy, and spreadable. It should hold soft peaks and taste sweet and creamy.
- Fill the sandwiches by spreading or piping about 1 tablespoon of filling onto the flat side of a whole tree, then gently pressing a top tree over it until the filling just peeks out at the edges. If your tops have windows, the filling will show through prettily.
- Dust and rest the finished sandwiches with a light snowfall of powdered sugar and let them rest for 30 minutes so the filling sets. Store them in a single layer in the fridge for up to 5 days.