Chocolate Croissants Recipe
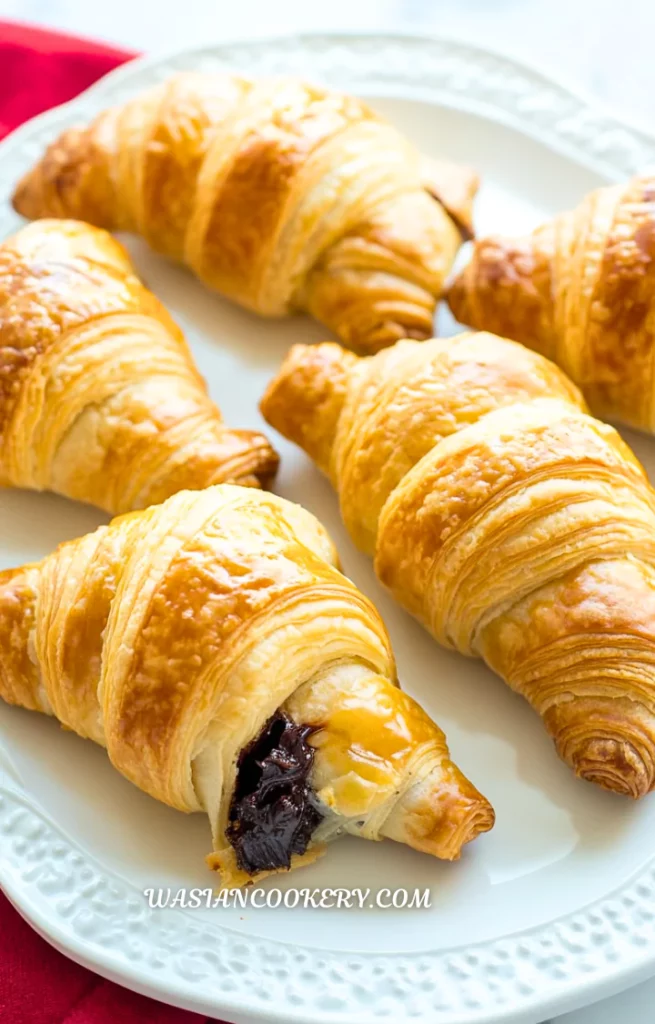
In my kitchen, Chocolate Croissants are a pastry worth making slowly, with time for the dough to chill and rise. The crisp, buttery outside opens to a soft center with melted chocolate. A small amount of sweetness in the dough lets that chocolate flavor come through.
This recipe starts with homemade yeast dough and a separate butter layer. Rolling and folding create the flakes, while yeast helps the shaped pastries become light. The chocolate goes in after the final roll, so it stays tucked inside the little rectangular pastries as they bake.
Read the full method before starting and make room in the refrigerator for a flat dough packet. The work is spread across several rests, making a clear schedule helpful. Give the baked pastries time to cool before serving, because melted chocolate holds heat longer than the crust suggests.
Why This Dish Is Great
- The homemade dough gives you buttery layers around a simple chocolate filling.
- Semisweet or dark chocolate lets you choose the balance of sweetness and cocoa flavor.
- The recipe makes 12 pastries, with the filling divided evenly among them.
- Three letter folds give a clear sequence for building the layers.
- The egg-and-milk wash creates a shiny golden top without a separate glaze.
- The baked pastries can be frozen for a later breakfast or afternoon treat.
What Is the Best Chocolate for Chocolate Croissants?
Use the listed 6 ounces of semisweet or dark chocolate. Baking chocolate sticks are convenient, and a chocolate bar cut into narrow pieces also works. Divide it into 12 equal portions, about ½ ounce each, before shaping so the last pastries receive as much filling as the first. Keep the pieces short enough to fit across the dough without sticking far out of the ends.
Chocolate chips hold their shape more than some baking bars, so the middle may feel less smooth if you use them as a variation. For the butter layer, choose solid unsalted butter that can be tapped into a neat square. It should remain cool and flexible; brittle butter can crack, while greasy butter can blend into the dough instead of forming distinct layers.
Ingredients
For the Dough
- 4 cups all-purpose flour
- ¼ cup sugar
- 1 tbsp active dry yeast
- 1 tsp salt
- 1 ¼ cups warm milk
- 2 tbsp unsalted butter (softened)
For the Butter Layer
- 1 cup unsalted butter (cold)
For the Filling
- 6 oz semi-sweet or dark chocolate (cut into sticks or bars)
For the Egg Wash
- 1 egg
- 1 tbsp milk
Kitchen Equipment You Will Need
As an Amazon Associate I earn from qualifying purchases.
- Large mixing bowl
- Small mixing bowl
- Small saucepan
- Measuring cups
- Measuring spoons
- Food thermometer
- Mixing spoon
- Whisk
- Rolling pin
- Pastry ruler
- Pastry cutter
- Chef’s knife
- Cutting board
- Kitchen scale
- Pastry brush
- Plastic wrap
- Parchment paper
- Rimmed baking sheets
- Cooling rack
- Oven mitts
- Zester
- Fine-mesh sieve
- Airtight container
- Freezer bags
- Serving plates
- Fruit bowl
How To Make Chocolate Croissants
Plan about 7 hours 15 minutes total: 60 minutes for preparation and handling, 2 hours for the first dough chill, three 30-minute rests after folding, up to 2 hours for proofing, 25 minutes for baking, and 20 minutes for cooling. Butter-block preparation overlaps the first chill and oven preheating overlaps proofing. A cooler kitchen, extra rests, or separate oven batches can extend the schedule.
Step 1: Mix the Yeast Dough
Warm the 1 ¼ cups milk to 110–115°F, or the temperature directed by your active dry yeast package. Stir in the yeast and a little of the measured ¼ cup sugar. Wait 5–10 minutes until foamy, then combine with the flour, remaining sugar, salt, and 2 tablespoons softened butter. Knead by hand for about 5 minutes until cohesive and reasonably smooth. Flatten into a square, wrap, and refrigerate for 2 hours.
Step 2: Prepare the Butter Square
While the dough chills, tap and roll the separate 1 cup cold butter between parchment sheets into an even 8-inch square. Refrigerate flat until cool and firm. Before rolling it into the dough, let it become just flexible enough to bend without snapping. Keep the butter cool, with no greasy patches, and aim for a similar firmness to the dough.
Step 3: Roll, Fold, and Chill Three Times
Roll the dough to a 12-inch square and place the butter diagonally in the middle. Fold the dough corners over it and pinch the seams closed. Roll gently to an 8-by-24-inch rectangle. Brush off loose dusting flour; fold one short third over the center, then fold the opposite third over it, like a letter. This is fold 1. Wrap and chill 30 minutes. Rotate 90 degrees, roll to the same rectangle, and repeat for fold 2; chill 30 minutes. Repeat for fold 3 and chill 30 minutes before shaping. Complete three letter folds total, extending any rest if the butter is soft or the dough resists rolling.
Step 4: Cut and Fill 12 Pastries
Roll the dough to about 12 by 18 inches, approximately ¼ inch thick. Cut into twelve 3-by-6-inch rectangles. Divide all 6 ounces chocolate among them, about ½ ounce each. Put each portion near a short edge and roll along the length to enclose it without squeezing the layers tight. Place seam-side down on two parchment-lined rimmed baking sheets, with about 2 inches between pastries.
Step 5: Let the Pastries Rise
Cover loosely with plastic wrap and proof at a cool room temperature, around 70–75°F, for about 1½–2 hours, or longer until visibly puffy and gently wobbly when the tray moves. The layers should look more open, and the pastry should feel light. Keep it away from hot appliances or direct sun so the butter does not melt.
Step 6: Brush and Bake
Toward the end of proofing, preheat the oven to 400°F (200°C). Whisk the egg with the separate 1 tablespoon milk and brush gently over the tops, avoiding pools along the cut edges. Discard leftover egg wash and wash the brush. Bake for about 20–25 minutes, checking from 18 minutes, until deeply golden with browned bottoms and no pale, wet dough at the seams. For two trays, use upper- and lower-middle racks and exchange and rotate them after about 15 minutes, once the pastries have set.
Step 7: Cool the Chocolate Centers
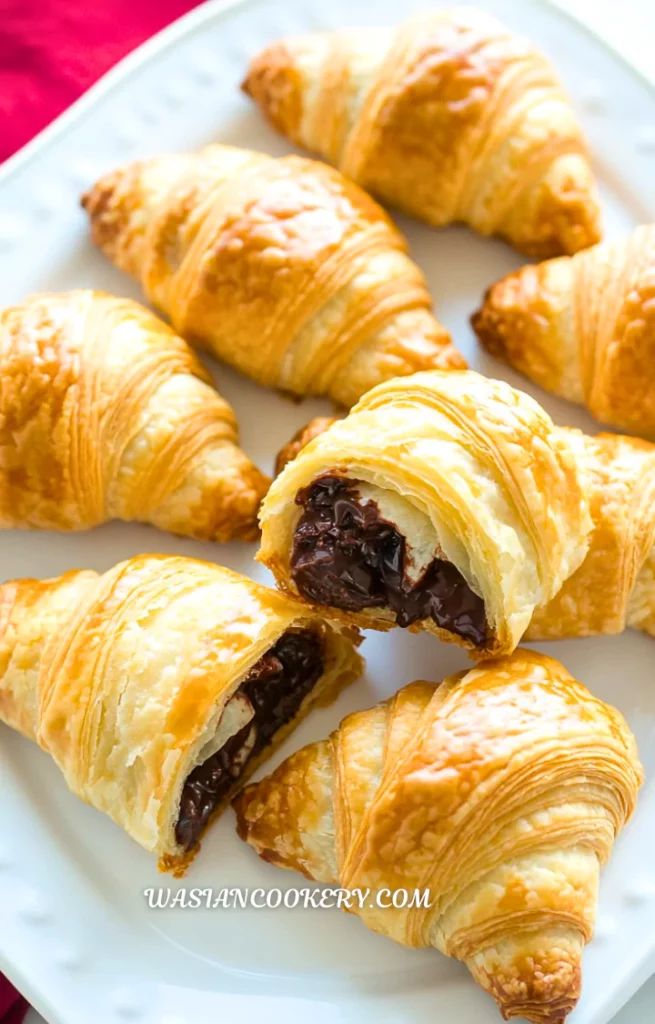
Set the baking sheets on a cooling rack and allow at least 20 minutes before serving. The crumb needs time to set, and the chocolate can remain hot inside. Cool completely before packing leftovers. Serve warm with coffee, tea, or a simple bowl of fruit.
Notes
- Measure flour by spooning it lightly into the cup and leveling the top. Packing flour tightly can make the dough too stiff.
- Use a light dusting of flour for rolling, then brush away the loose excess before folding. Thick flour patches can interfere with the layers joining neatly.
- If butter cracks into chunks, stop and let it soften slightly. If it smears or leaks, refrigerate the wrapped packet until firm again.
- Roll evenly from the middle outward, keeping corners square. A thick middle and thin edges lead to uneven shaping.
- Cut with a sharp pastry cutter instead of sawing back and forth. Clean edges help the layers open during baking.
- Keep the chocolate portions compact and even. Overfilling can leave large gaps, unsealed seams, or filling that escapes onto the tray.
- Judge the final proof by expansion and lightness. A tight, heavy pastry needs more time even when the suggested proofing window has ended.
Ingredients You Can Add
- Flaky sea salt on the tops provides a small salty contrast to the chocolate.
- Sliced almonds over the egg wash give a lightly toasted finish.
- Orange zest adds citrus fragrance when mixed into the dough; wash and dry the orange before zesting.
- A little vanilla extract can round out the dough’s flavor without changing the chocolate portion.
- Powdered sugar can be sifted over cooled pastries for a simple finish.
- Cinnamon sugar adds a warm topping. These are optional additions, separate from the measured dough, butter, filling, and egg wash.
What To Serve with Chocolate Croissants
Coffee, tea, or a glass of milk keeps breakfast simple and lets the buttery chocolate pastry be the main treat. If you want a fruit bowl for a more dessert-like brunch, Better Than Sex Fruit Salad adds another sweet, fruity option.
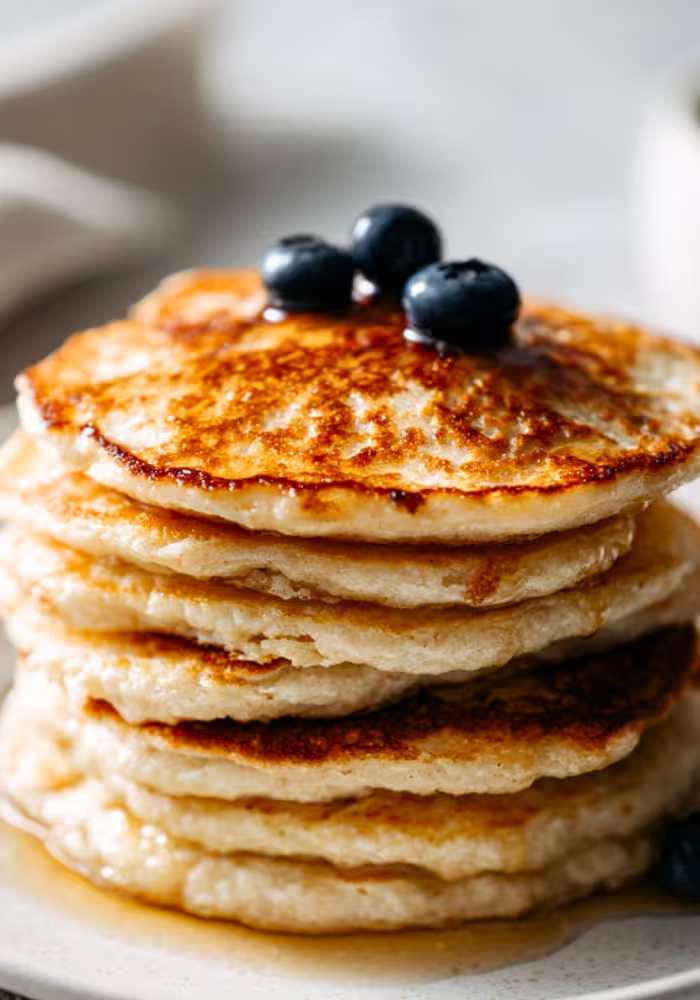
For a larger breakfast spread, Blueberry Pancakes offer a softer, fruit-filled choice. Make them while the croissants finish cooling rather than cutting into the pastries too soon. Fresh berries alongside either option add color without any extra preparation.
If some people prefer their pastry without chocolate, serve a separate batch of Flaky Croissants. Their plain buttery flavor works well with jam or honey. Plan the oven space for each recipe so the shaped dough is not left waiting in a hot kitchen.
Variations and Swaps
- Dark chocolate: choose the listed dark option for a stronger cocoa flavor and less sweetness.
- Semisweet chocolate: use the same 6-ounce amount for a sweeter, familiar filling.
- Chocolate sticks or bars: either can work when portioned evenly and sized to fit the rectangles.
- White chocolate: this makes a different, sweeter pastry; use baking-quality pieces and watch for filling leakage.
- Almond-chocolate filling: a thin layer of almond paste adds a nutty flavor, but avoid crowding the pastry with extra filling.
- Fruit and chocolate: a little thick preserve offers a fruity variation. Wet fruit or excessive jam can make the middle harder to bake.
- Dairy-free version: the dough, butter layer, chocolate, and wash all need suitable alternatives. Choose a formula developed for those products because their melting behavior varies.
- Gluten-free version: the elastic dough here depends on wheat flour. A direct flour-blend swap is not a reliable route to the same layers; use a specifically developed recipe.
Storage
Let the baked chocolate croissants cool completely, then keep them in an airtight container at room temperature for up to 2 days. They taste crispest on the baking day. To refresh the crust, warm them in a 300°F (150°C) oven for about 5–10 minutes, watching the color. Let the chocolate center cool briefly again before eating.
For longer storage, wrap the cooled pastries and put them in freezer bags for up to 2 months for quality. Thaw, then warm in the oven. Freezing the baked batch is the simpler option for this recipe because raw frozen dough needs a separate thawing and proofing schedule. Do not seal warm pastries in a bag, where trapped steam softens the crust.
FAQ
Is this recipe made with prepared puff pastry?
No. It uses the listed homemade yeast dough and butter block. Prepared puff pastry can make a separate shortcut chocolate pastry, but it has no yeast and should be baked according to its own package instructions rather than this proofing schedule.
Why are my chocolate croissants dense?
They may have been underproofed, rolled too tightly, or baked before the oven was fully hot. Butter that melts into the dough during rolling also reduces distinct layers. Check the dough’s feel at each stage instead of rushing through the rests.
How do I stop the butter from leaking?
Keep the dough and butter cool and similar in firmness during rolling. Seal the butter enclosure carefully and chill when the dough warms. Large oven puddles can also reflect insufficient proofing, so let the pastries become visibly airy first.
Can I prepare the dough the night before?
Yes. After completing the third fold, leave it wrapped in the refrigerator overnight instead of taking only the final 30-minute rest. Shape and proof the next day. The overnight pause and any extra proofing time must be added to the total.
Do I have to use chocolate sticks?
No. Cut a semisweet or dark bar into narrow pieces and divide the full 6 ounces among the 12 pastries. Chocolate chips are an optional alternative, but they may keep more of their shape after baking.
When are the centers ready to eat?
Wait at least 20 minutes after baking, and use care with the first bite. The outer crust cools faster than the chocolate. Cutting immediately can also compress the soft crumb before its structure has settled.
Short Description
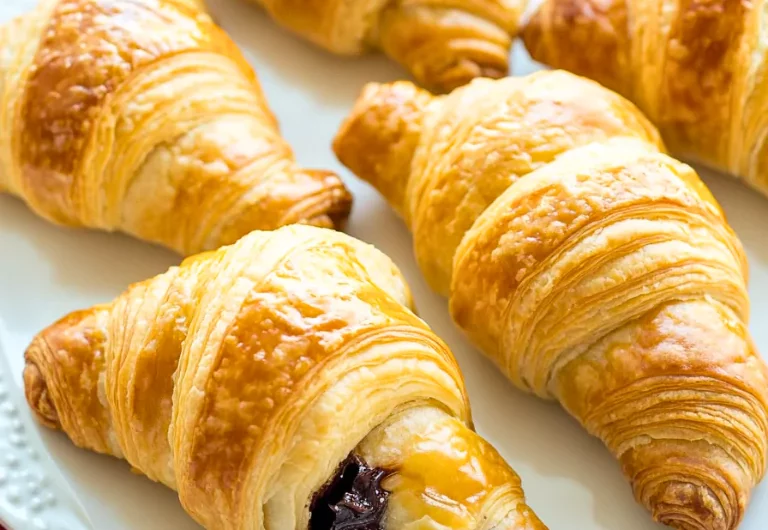
Chocolate Croissants wrap semisweet or dark chocolate in homemade laminated yeast dough, then bake into 12 golden pastries with crisp layers and warm chocolate centers.
Chocolate Croissants
Course: BreakfastCuisine: FrenchDifficulty: Easy12
servings1
hour25
minutes7
hours15
minutesChocolate Croissants wrap semisweet or dark chocolate in homemade laminated yeast dough, then bake into 12 golden pastries with crisp layers and warm chocolate centers.
Ingredients
- For the Dough:
4 cups all-purpose flour
¼ cup sugar
1 tbsp active dry yeast
1 tsp salt
1 ¼ cups warm milk
2 tbsp unsalted butter (softened)
- For the Butter Layer:
1 cup unsalted butter (cold)
- For the Filling:
6 oz semi-sweet or dark chocolate (cut into sticks or bars)
- For the Egg Wash:
1 egg
1 tbsp milk
Directions
- Warm the 1 ¼ cups milk to 110–115°F, or the temperature directed by your active dry yeast package. Stir in the yeast and a little of the measured ¼ cup sugar. Wait 5–10 minutes until foamy, then combine with the flour, remaining sugar, salt, and 2 tablespoons softened butter. Knead by hand for about 5 minutes until cohesive and reasonably smooth. Flatten into a square, wrap, and refrigerate for 2 hours.
- While the dough chills, tap and roll the separate 1 cup cold butter between parchment sheets into an even 8-inch square. Refrigerate flat until cool and firm. Before rolling it into the dough, let it become just flexible enough to bend without snapping. Keep the butter cool, with no greasy patches, and aim for a similar firmness to the dough.
- Roll the dough to a 12-inch square and place the butter diagonally in the middle. Fold the dough corners over it and pinch the seams closed. Roll gently to an 8-by-24-inch rectangle. Brush off loose dusting flour; fold one short third over the center, then fold the opposite third over it, like a letter. This is fold 1. Wrap and chill 30 minutes. Rotate 90 degrees, roll to the same rectangle, and repeat for fold 2; chill 30 minutes. Repeat for fold 3 and chill 30 minutes before shaping. Complete three letter folds total, extending any rest if the butter is soft or the dough resists rolling.
- Roll the dough to about 12 by 18 inches, approximately ¼ inch thick. Cut into twelve 3-by-6-inch rectangles. Divide all 6 ounces chocolate among them, about ½ ounce each. Put each portion near a short edge and roll along the length to enclose it without squeezing the layers tight. Place seam-side down on two parchment-lined rimmed baking sheets, with about 2 inches between pastries.
- Cover loosely with plastic wrap and proof at a cool room temperature, around 70–75°F, for about 1½–2 hours, or longer until visibly puffy and gently wobbly when the tray moves. The layers should look more open, and the pastry should feel light. Keep it away from hot appliances or direct sun so the butter does not melt.
- Toward the end of proofing, preheat the oven to 400°F (200°C). Whisk the egg with the separate 1 tablespoon milk and brush gently over the tops, avoiding pools along the cut edges. Discard leftover egg wash and wash the brush. Bake for about 20–25 minutes, checking from 18 minutes, until deeply golden with browned bottoms and no pale, wet dough at the seams. For two trays, use upper- and lower-middle racks and exchange and rotate them after about 15 minutes, once the pastries have set.
- Set the baking sheets on a cooling rack and allow at least 20 minutes before serving. The crumb needs time to set, and the chocolate can remain hot inside. Cool completely before packing leftovers. Serve warm with coffee, tea, or a simple bowl of fruit.
Notes
- The 7-hour-15-minute total includes 60 minutes preparation, 2 hours first chilling, three 30-minute fold rests, 2 hours proofing, 25 minutes baking, and 20 minutes cooling.
- Use all 6 ounces chocolate, divided among 12 pastries. Make three letter folds total and keep the butter cool but flexible.
- Allow extra time when the dough needs more chilling or proofing. Chocolate remains hot after the crust cools; wait at least 20 minutes before serving.